

Mini Mandala
“Now that we can use the compass like ninjas—fast, nimble and agile—we’re ready for our very first professional mandala,” Smudge declared.
GRRRRRRROOOOWL!
His stomach interrupted. It rumbled so loudly that the parrots nearly fell off their perches.
“Quickly! It’s nearly lunchtime, and I need a sandwich,” he admitted, patting his belly.
“Let’s start small. Think of this as a warm-up before the big show—a snack-sized mandala. Just a few arcs stacked together, like layers of bread and filling. Bingo!”
Step 1
Set the Stage
Make sure your canvas is prepared, secured and centred—ready and waiting for more.
Smudge nodded. “Set, centred, splendid. Onward!”

Step 2
The Centre Circle
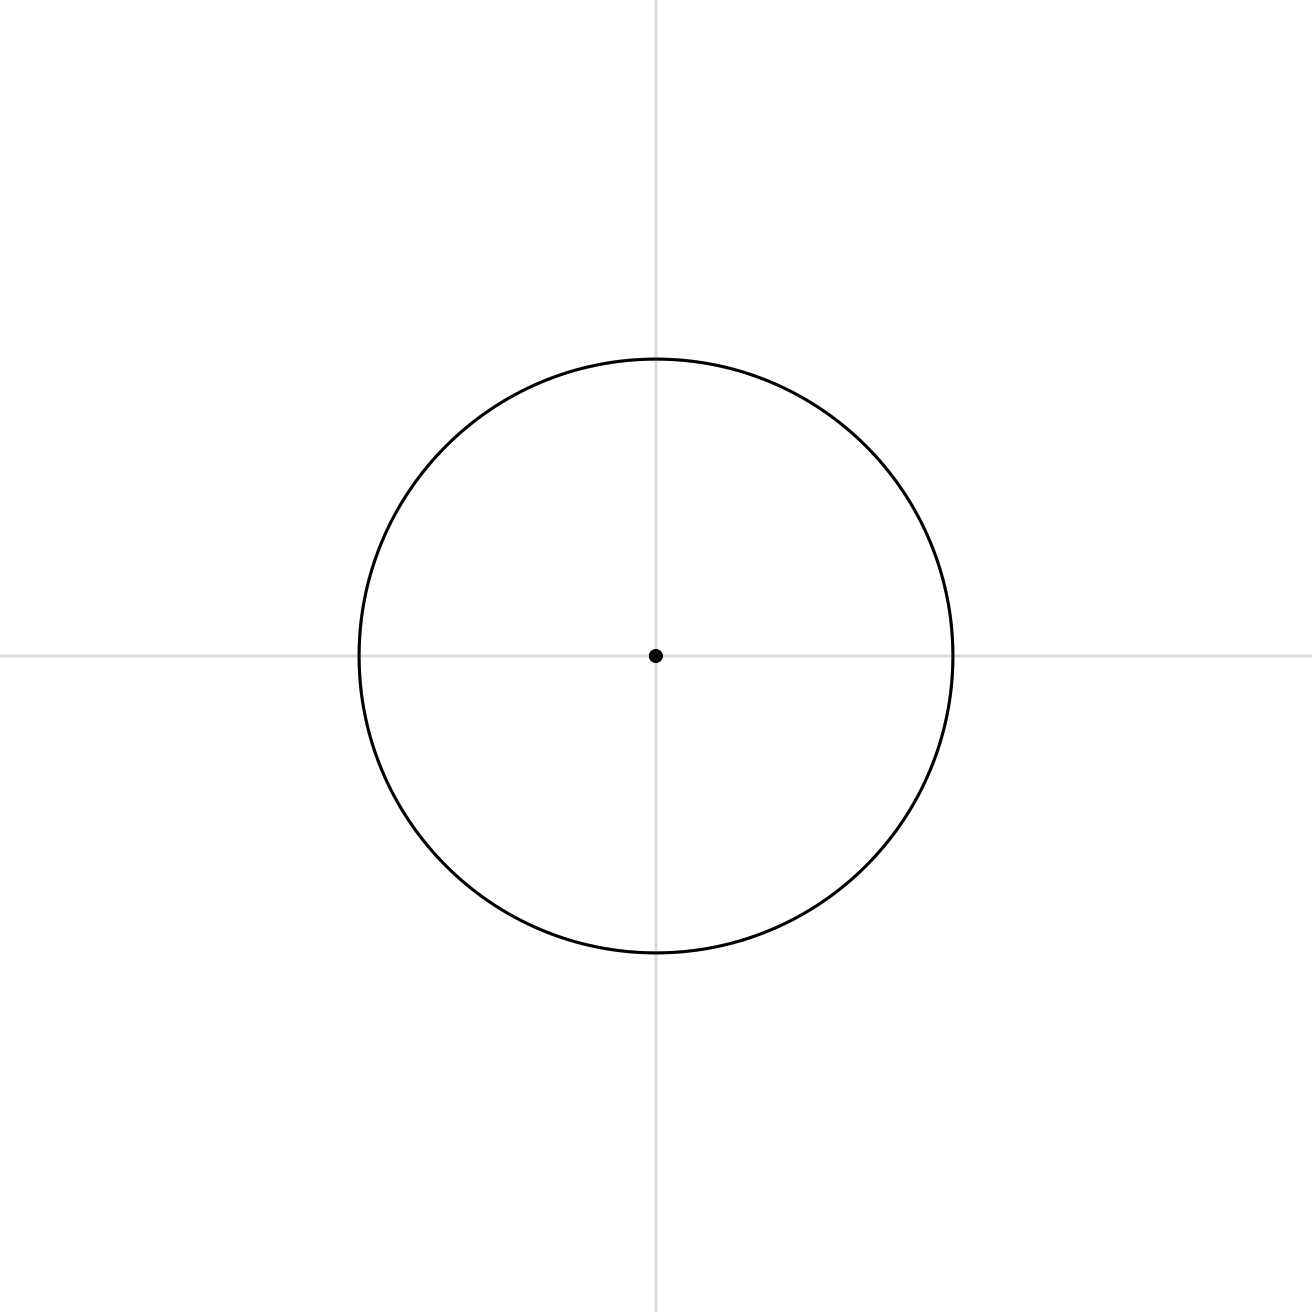
“Compass ready?” Smudge called. “Needle on the centre, pencil stretched outward. Now spin a smooth circle—nice and steady—and give the middle a tap for good measure.”
Step 3
First Petal Edge
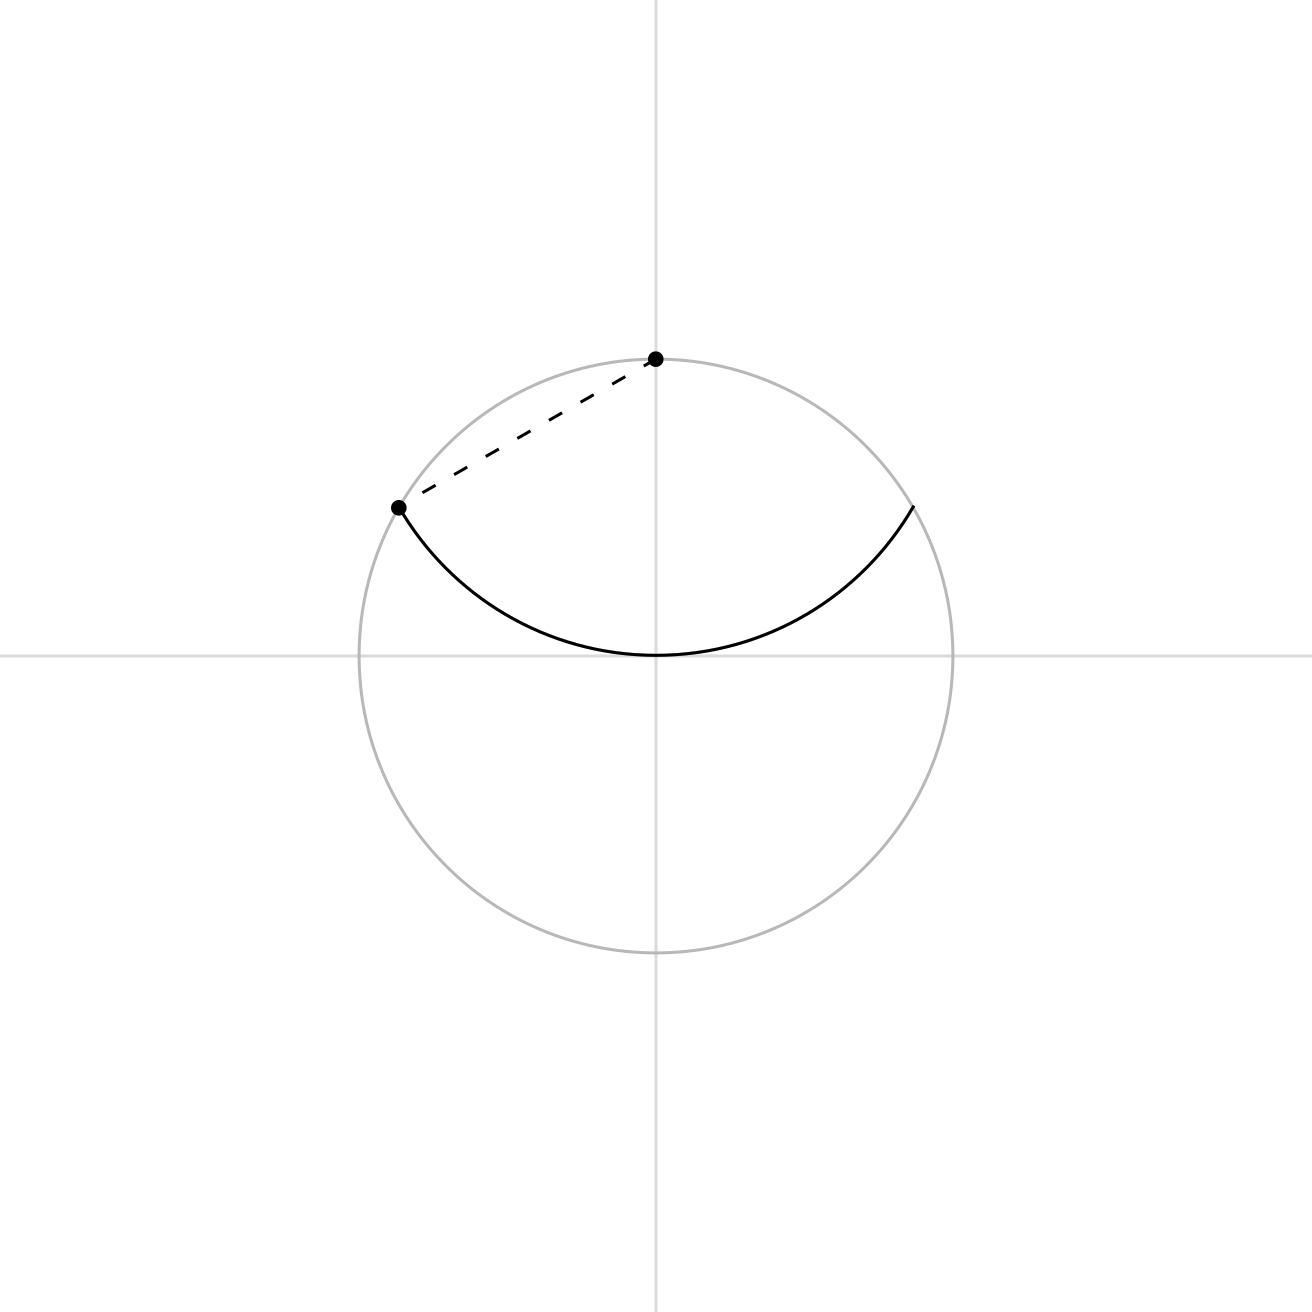
“Time for a petal!” Smudge cheered. He placed his compass on the top crossing—where the vertical line meets the circle. “Now draw an inside arc.”
Step 4
Second Petal Edge
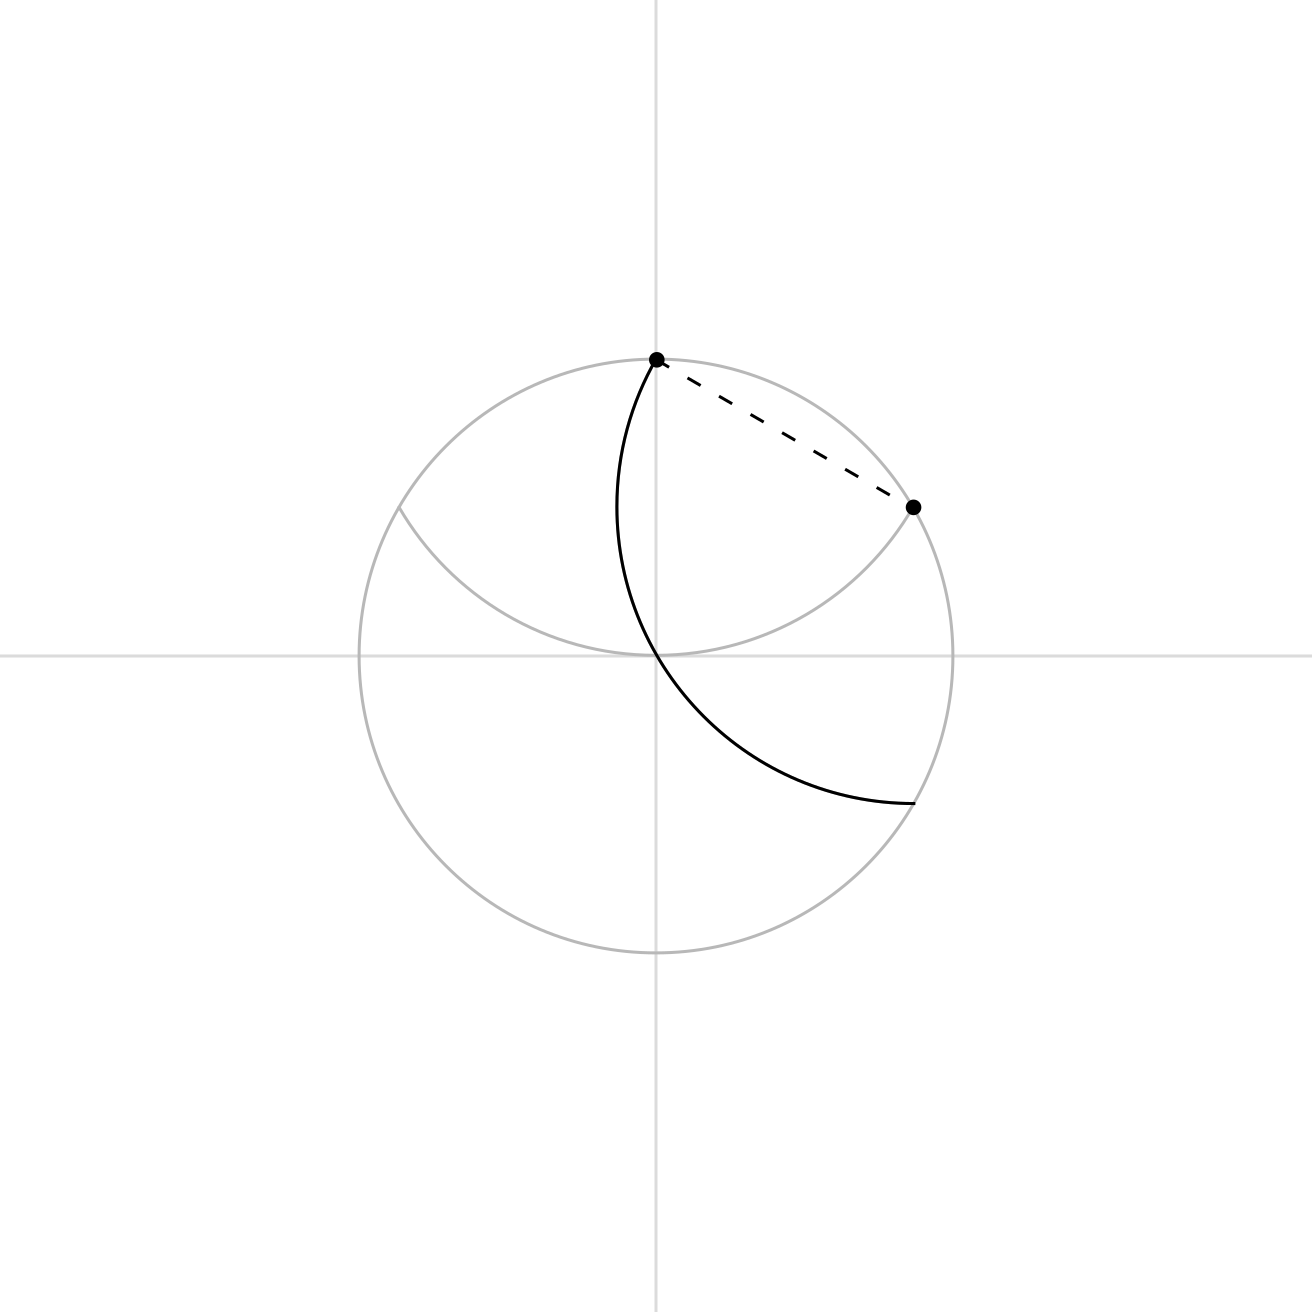
“See the new spots where the arc meets the circle?” Smudge said. “Hop your compass on one of those and draw another arc.”
Step 5
Walk It Around
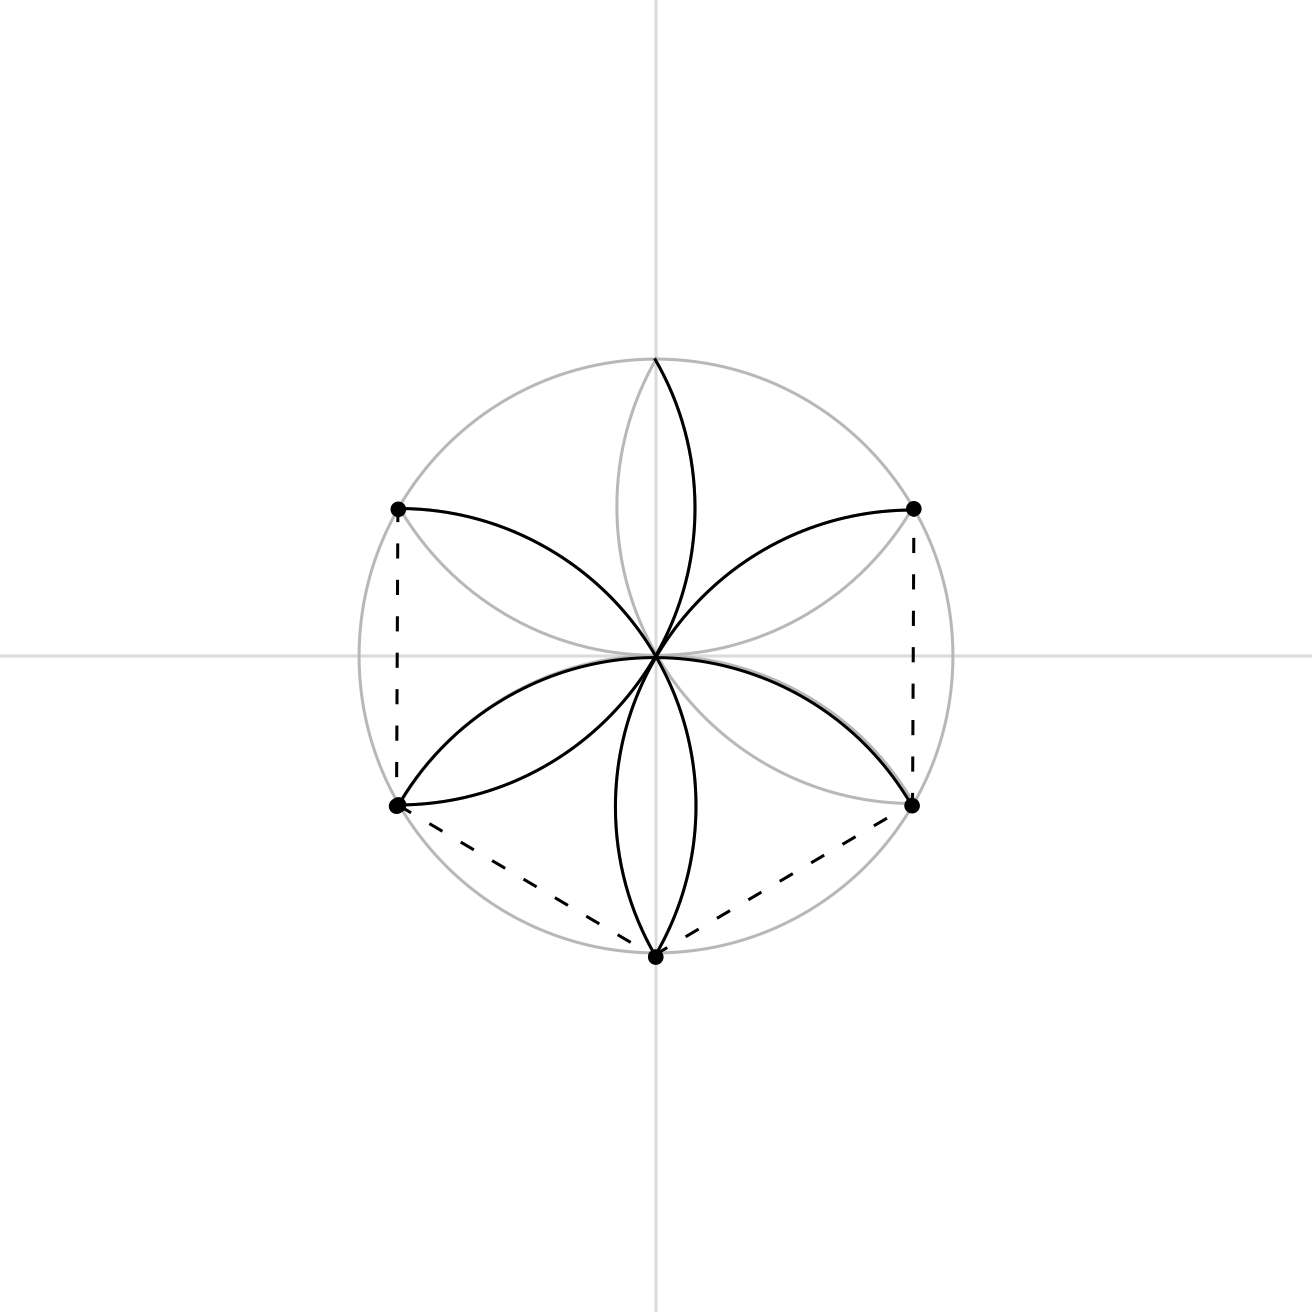
Smudge stepped his compass carefully from one intersection to the next, tracing arcs as he went.
“Walk it, walk it, walk it… and like magic, the petals grow all the way around.”
Step 6
Congratulations!
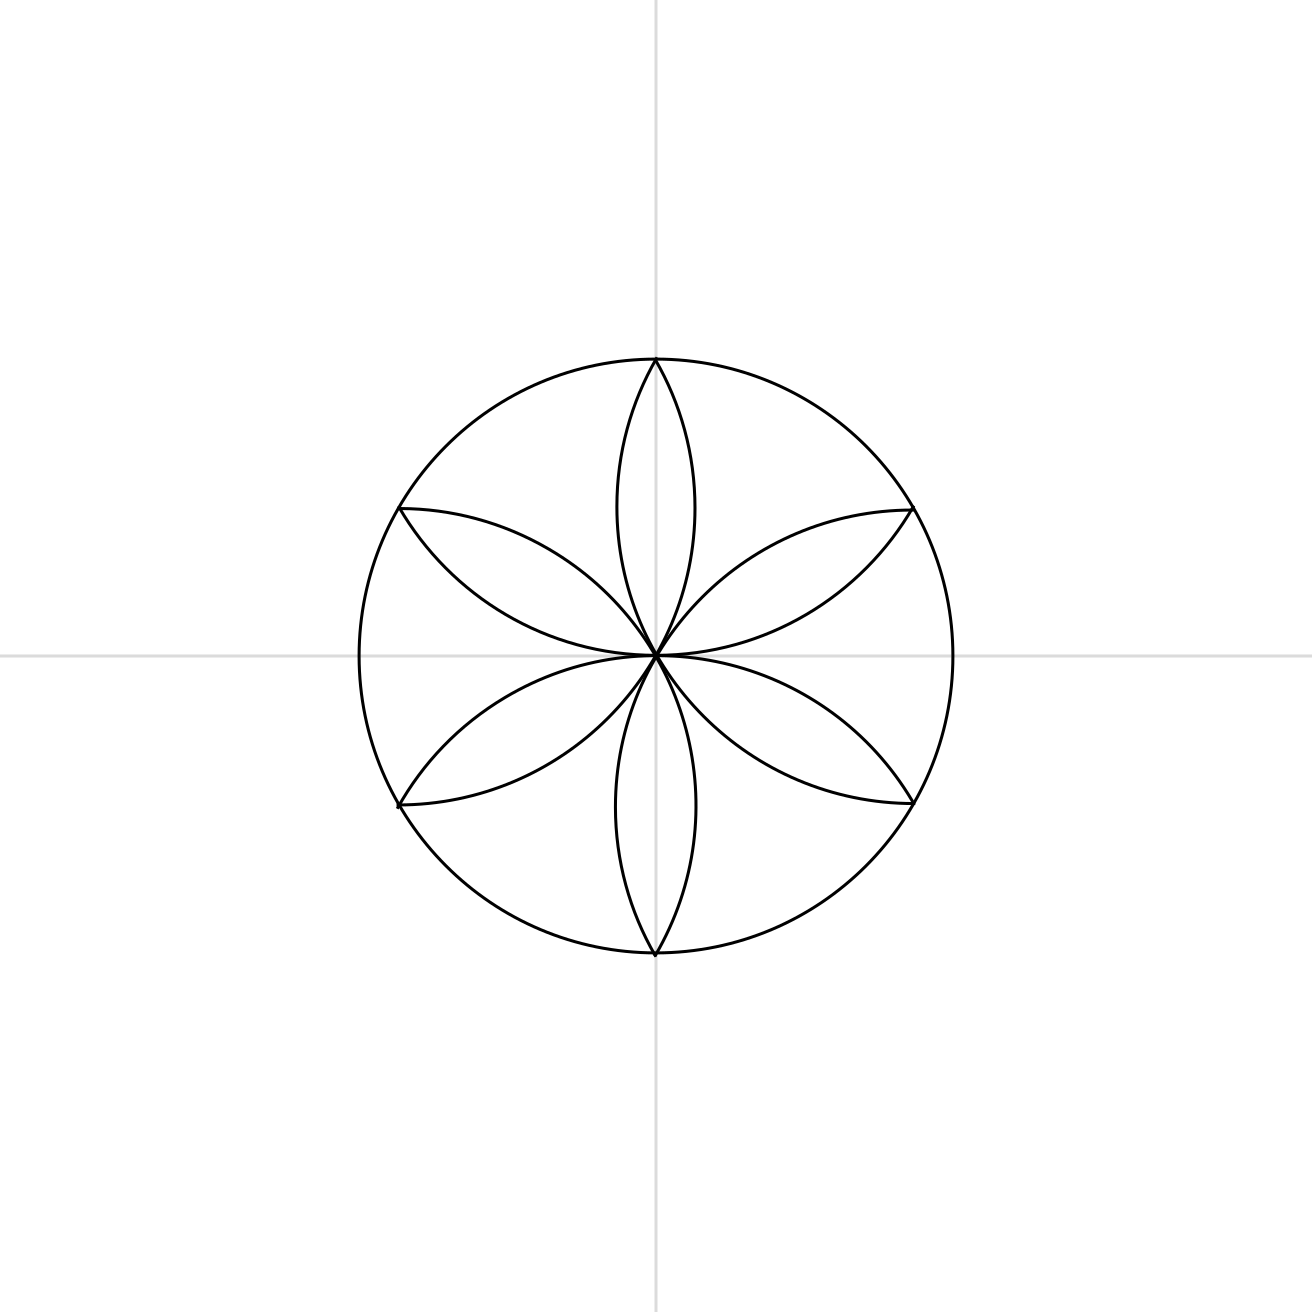
“There you have it—a baby mandala, small but perfectly formed!” Smudge bowed.
“Feel free to applaud yourself. I certainly would.”
The animals leaned in to admire it: a tiny circle of harmony, neat as a button and full of promise.
Step 7
Go Again
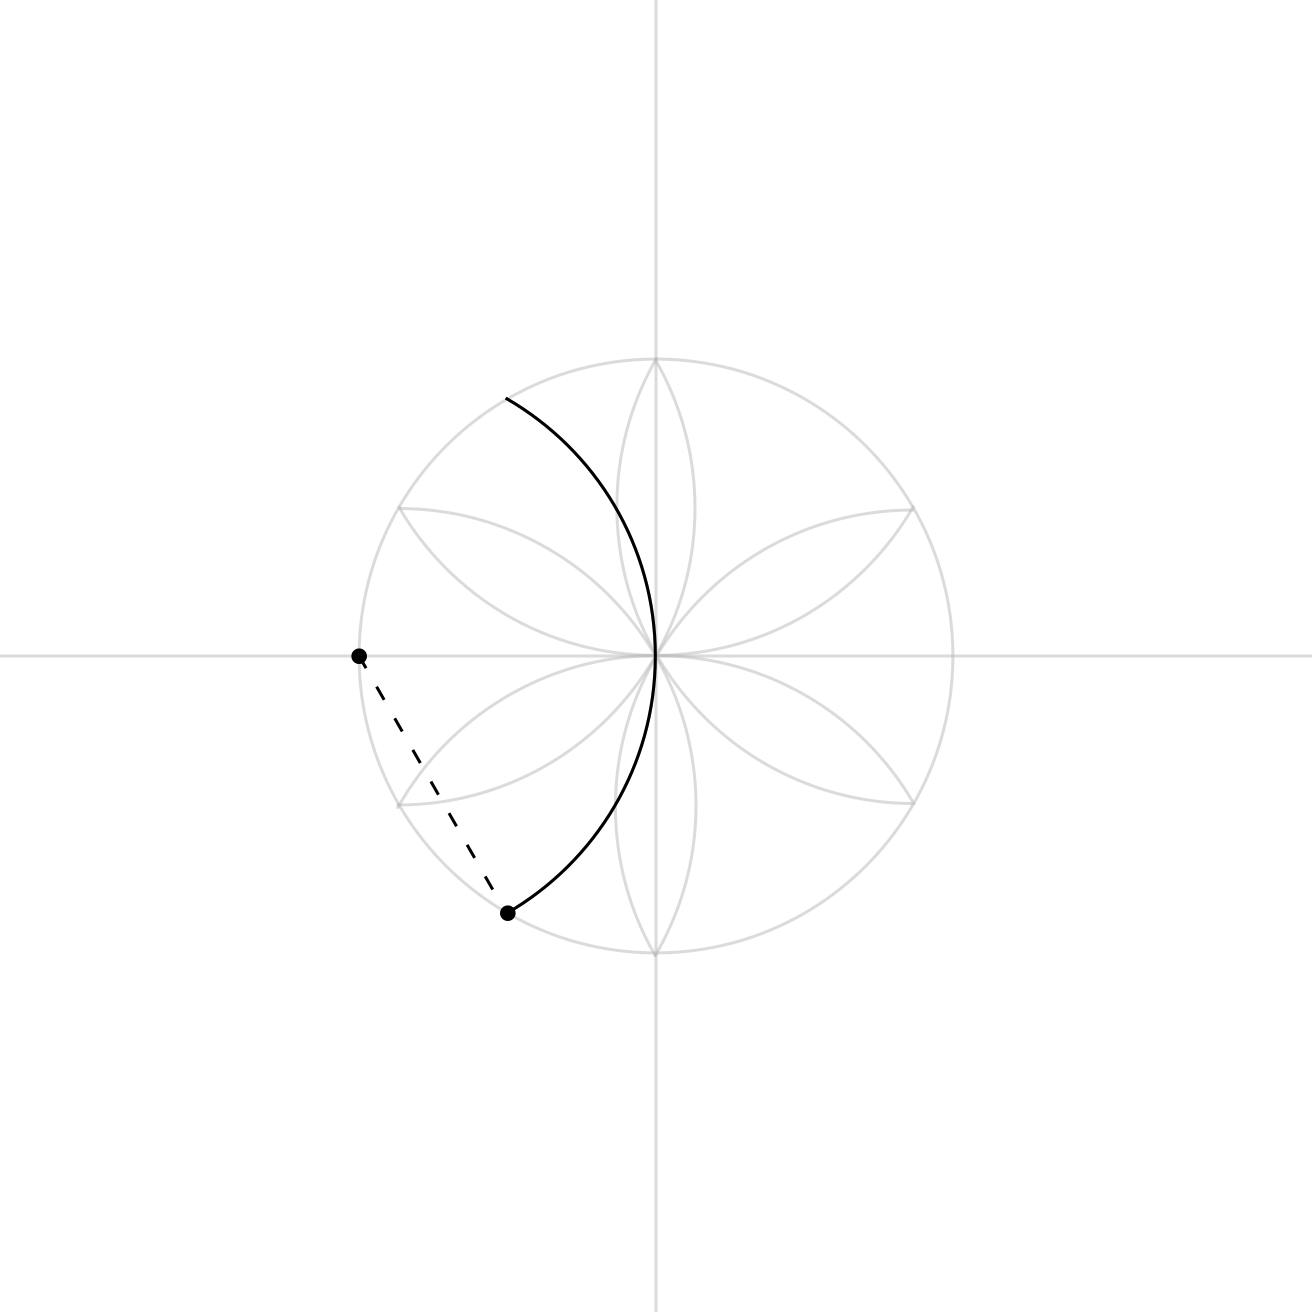
“But wait—there’s more!” Smudge grinned. “Do it all again, but this time start on the side intersection, where the horizontal line meets the circle.”
Step 8
Next Petal Edge
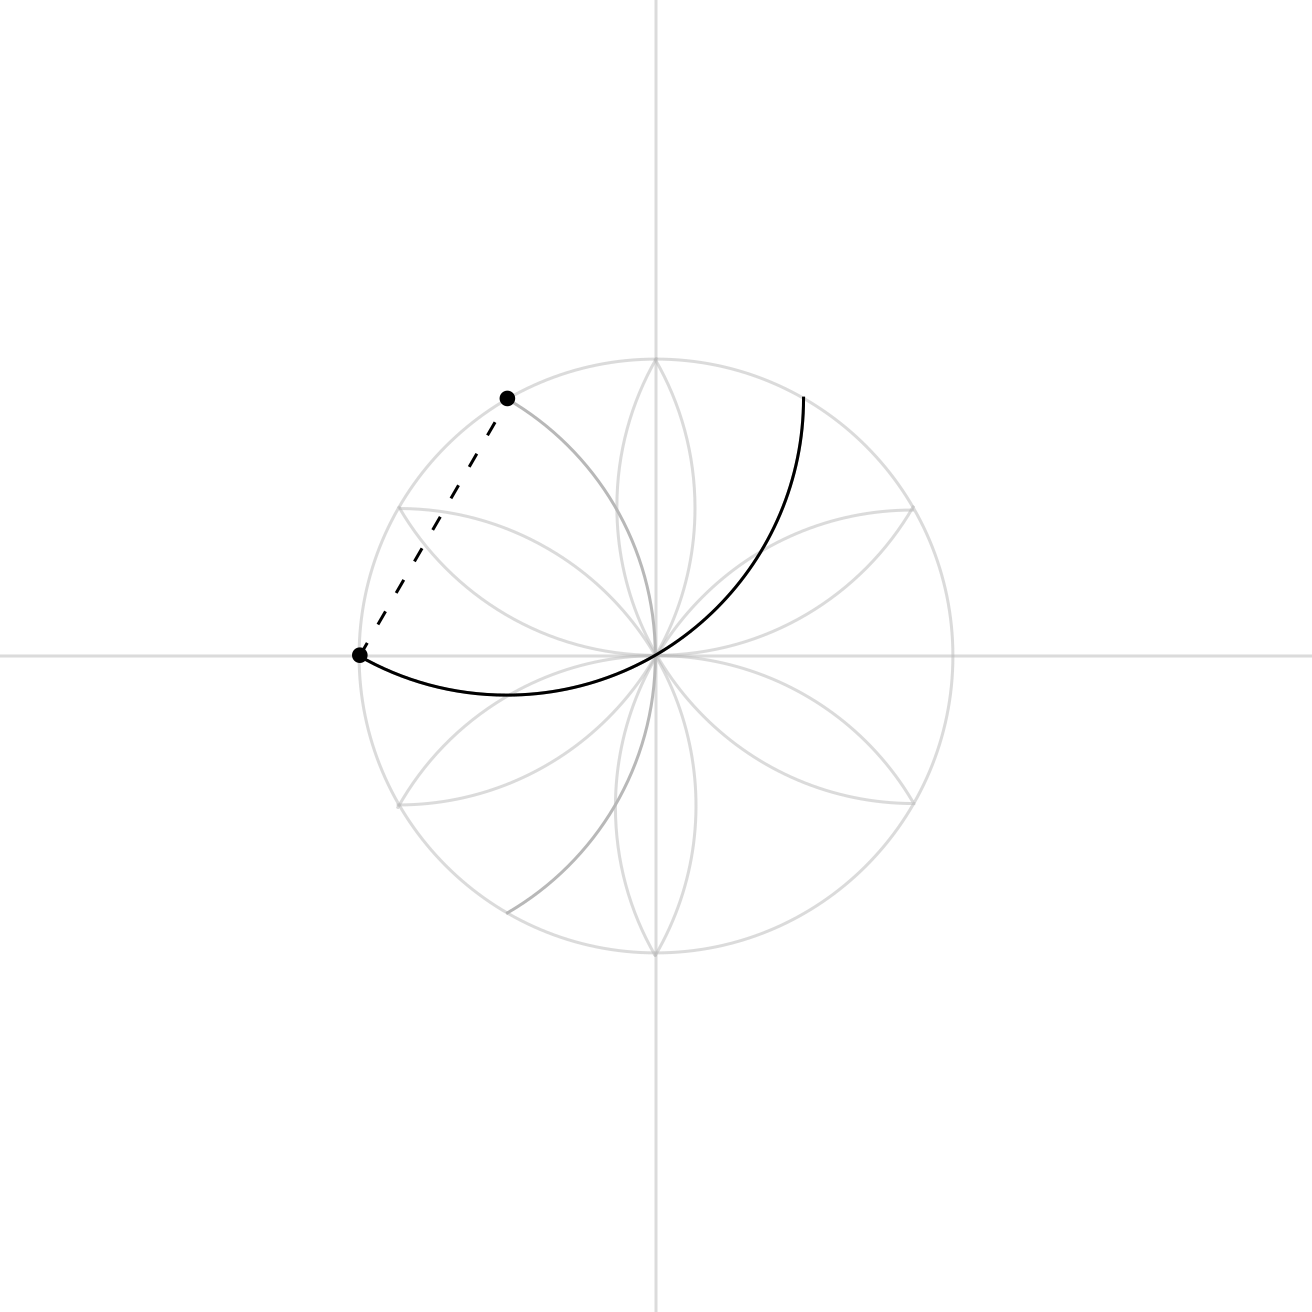
“Move your compass point to a new intersection—right where the new arc meets the circle,” Smudge said. “Now repeat with another inside arc. You know the score!”
Step 9
Walk It Around
“Now, don’t stop there!” Smudge said. “Keep stepping from one intersection to the next, drawing the same gentle arc each time. Nice and steady—no wobbles!”
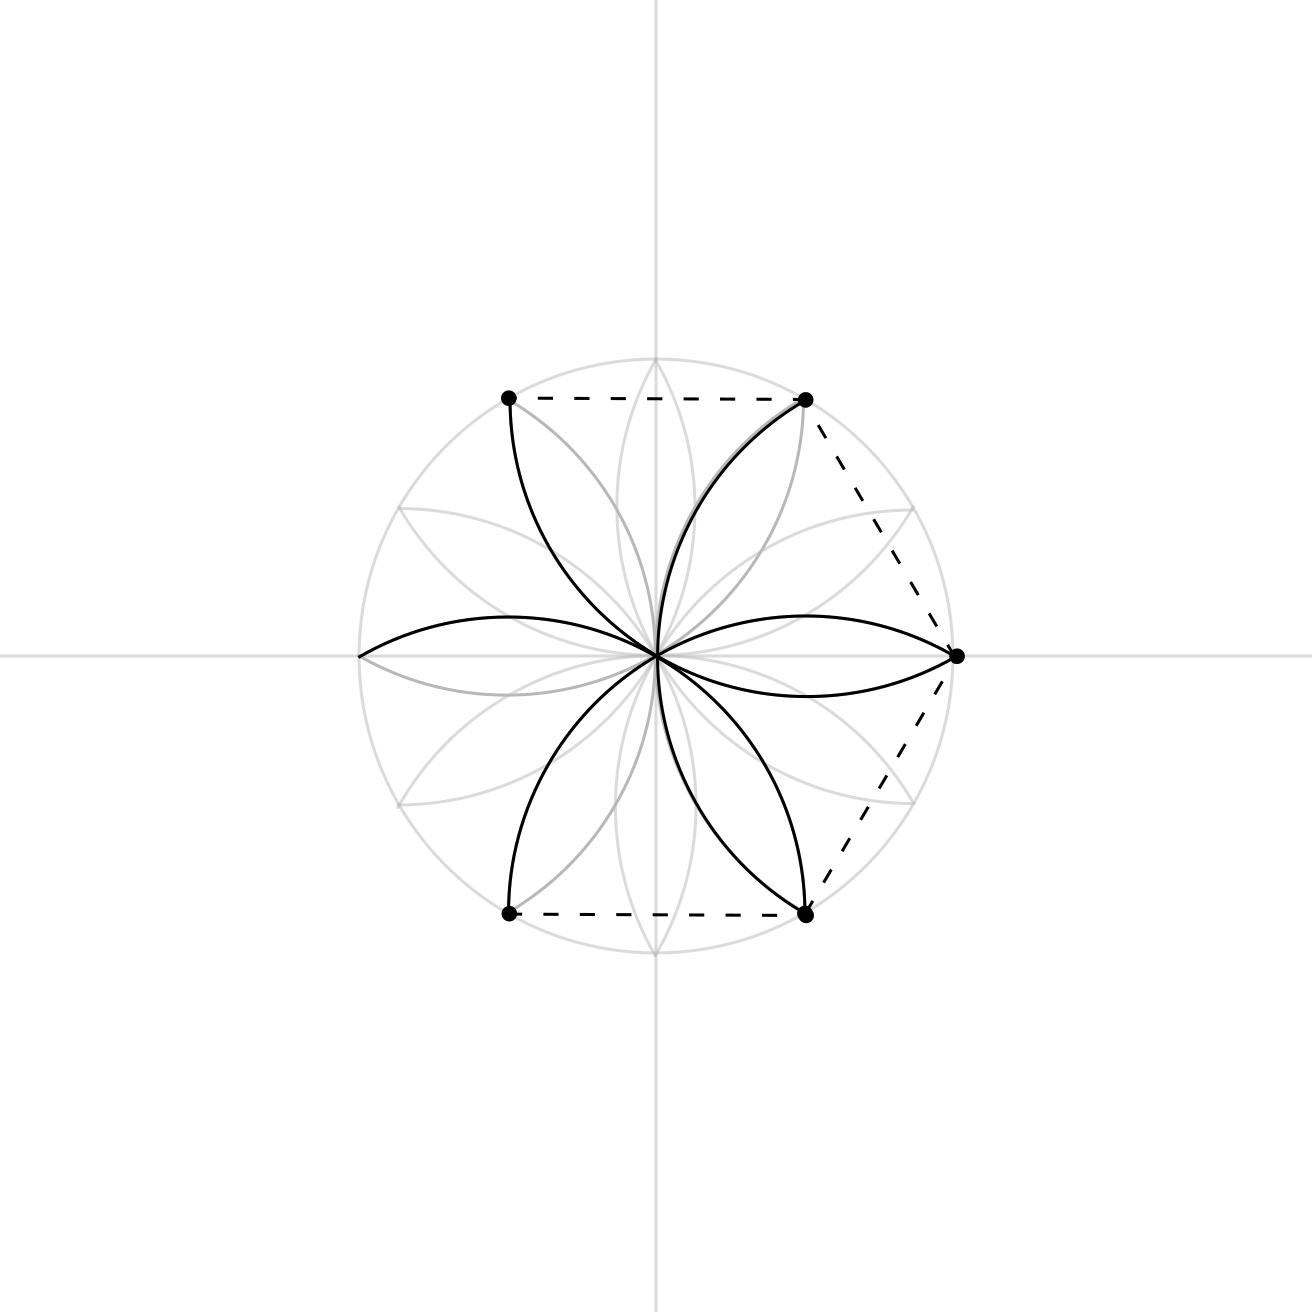
“And voilà!” Smudge dusted off his hands. “An even more beautiful baby mandala—small, steady and bursting with possibilities.”
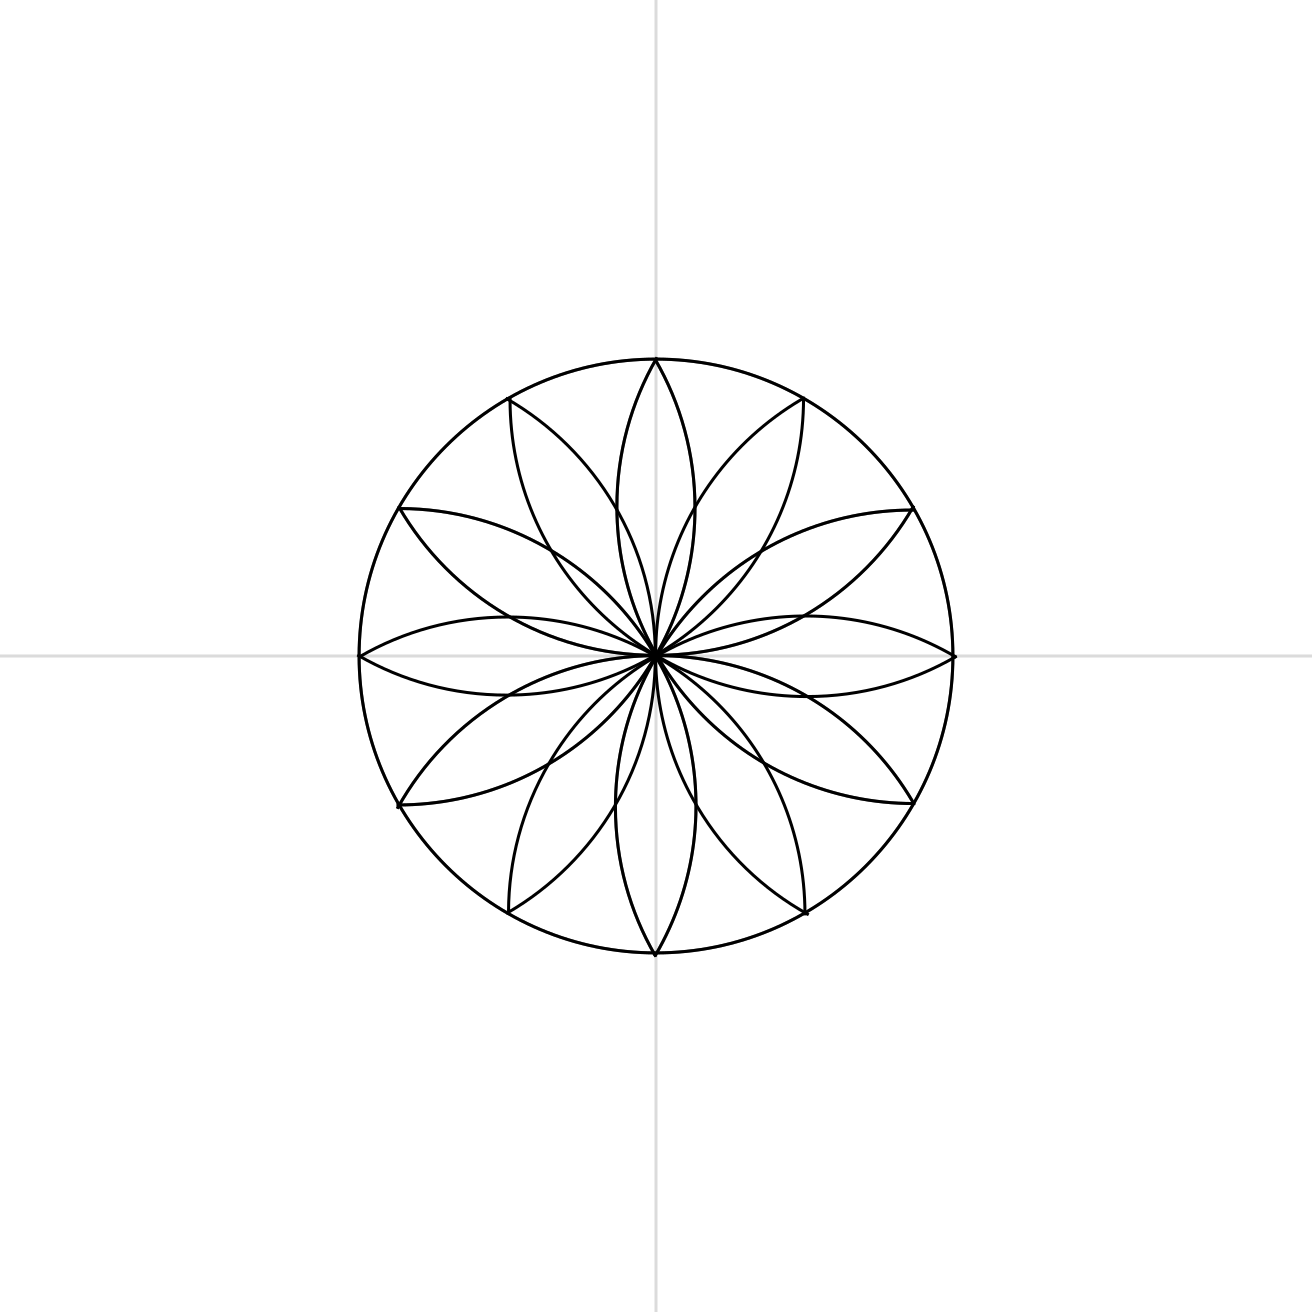
Baby Mandala
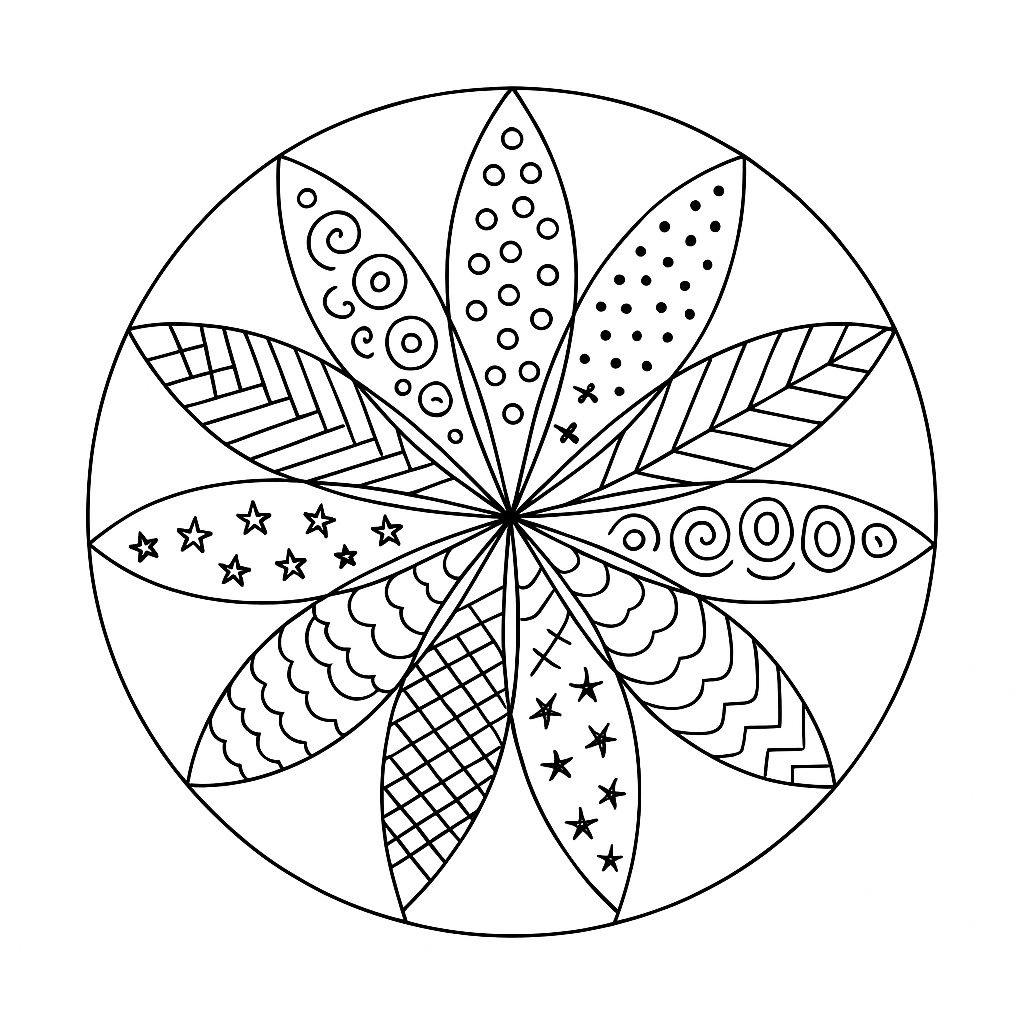
Big mandalas can wait. For now, let’s keep it small and simple—just a baby one to get you started. You’ve watched Smudge; now it’s your turn.
- Follow Smudge’s steps exactly.
- Centre your page with a vertical and horizontal line.
- Use the centre to draw a perfect circle.
- Start with a vertical intersection and draw arcs all the way around.
- Do the same for a horizontal intersection.
- Decorate the petals however you like—dots, spirals, stripes or whatever takes your fancy.
Well, look at that! You’ve made your very first mandala: small but mighty.