

Orin’s Centre Guide
Every proper mandala begins in the same place.
The centre.
Without a centre, the rest of the design has nothing reliable to grow from. Circles drift. Patterns wander. Symmetry becomes a rumour.
Orin does not recommend this.
Fortunately, finding the centre of the page is not difficult. You simply measure carefully, mark lightly, and draw two calm guide lines.
Where those lines cross, your centre appears.
Later, when you begin drawing compass circles, this is the point your compass needle will anchor into. So yes, it matters.
Orin’s Centre Rule
Measure first. Mark lightly. Draw clean guide lines.
Do not guess the centre. The centre is too important to be left to optimism.
Once the page is centred, the rest of the geometry has somewhere sensible to begin.
The Method
The method is straightforward, which is one of the reasons Orin approves of it.
Prepare the page
Start with a firm surface, a flat sheet of paper, and corners that stay where they are put.
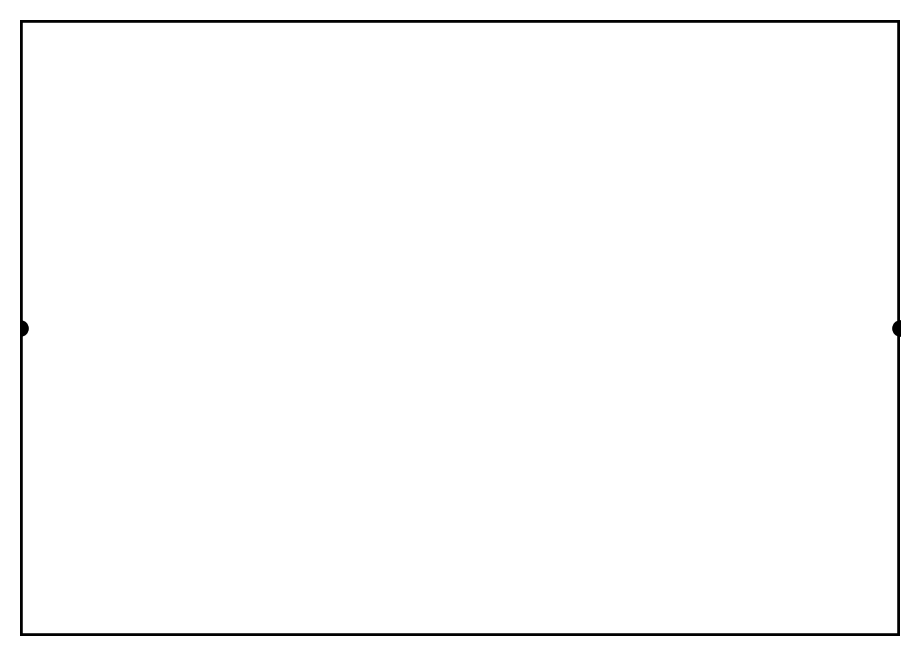
Measure top to bottom
Find the halfway point on the left and right edges of the page and make two small marks.
Measure side to side
Find the halfway point on the top and bottom edges of the page and make two more small marks.
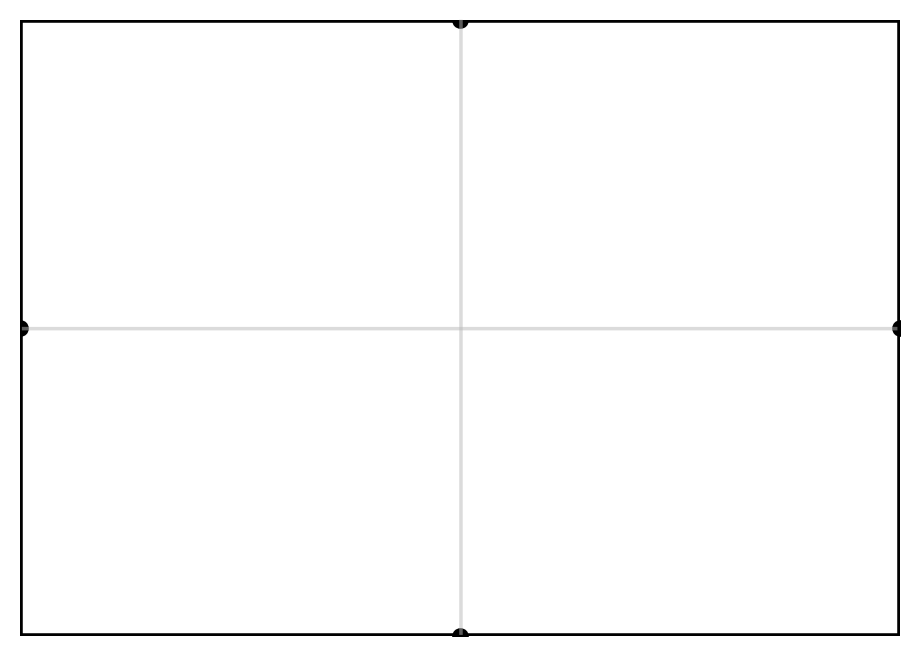
Draw the guide lines
Join the matching marks with a ruler: one horizontal line and one vertical line.
Mark the centre
Where the two lines cross, make a small point. That point is the centre of the page.
Use it later
This centre point will become the anchor for your compass when you begin drawing circles.
Steps
Prepare a New Page
Begin with a properly prepared page.
Use a firm surface, flat paper, and taped corners if needed. If the page slides about while you are measuring, the page is being difficult.
Orin recommends not allowing this.
Find the Middle Top to Bottom
Measure the page from top to bottom.
Find the halfway point and make a tiny mark on the left edge and another on the right edge.
Keep the marks small. These are guides, not declarations.
Find the Middle Side to Side
Now measure the page from side to side.
Find the halfway point on the top edge and the bottom edge, then make a tiny mark at each.
If the marks do not seem to agree with one another, check the measuring. The ruler is rarely at fault.

Draw the Guide Lines
Use your ruler and a light pencil line to join the left and right marks.
This gives you the horizontal line.
Then join the top and bottom marks to create the vertical line.
Where the two lines cross, the centre reveals itself in a most satisfactory manner.
Mark the Centre
Make a tiny dot where the horizontal and vertical lines meet.
That point is the centre of your page.
Later, when you begin compass work, this is where the compass needle will anchor. Hold this point steady, and your circles will have somewhere reliable to begin.
Remember
Measure. Mark. Draw. Centre.
A mandala grows from the middle outward.
If the middle is sound, the rest has a much better chance of behaving.
Quality Control
If your centre does not seem quite right, do not worry. Check the measurements and try again.
Check the surface
Was the page flat and steady while you measured?
Check the halfway marks
Did you measure carefully and place the marks exactly at the halfway points?
Check the ruler lines
Did your ruler pass cleanly through the matching marks before you drew the lines?
Check the crossing point
Did the horizontal and vertical lines meet exactly where expected?
Check the dot
Did you place a small centre point where the lines cross, ready for later compass work?