
Welcome
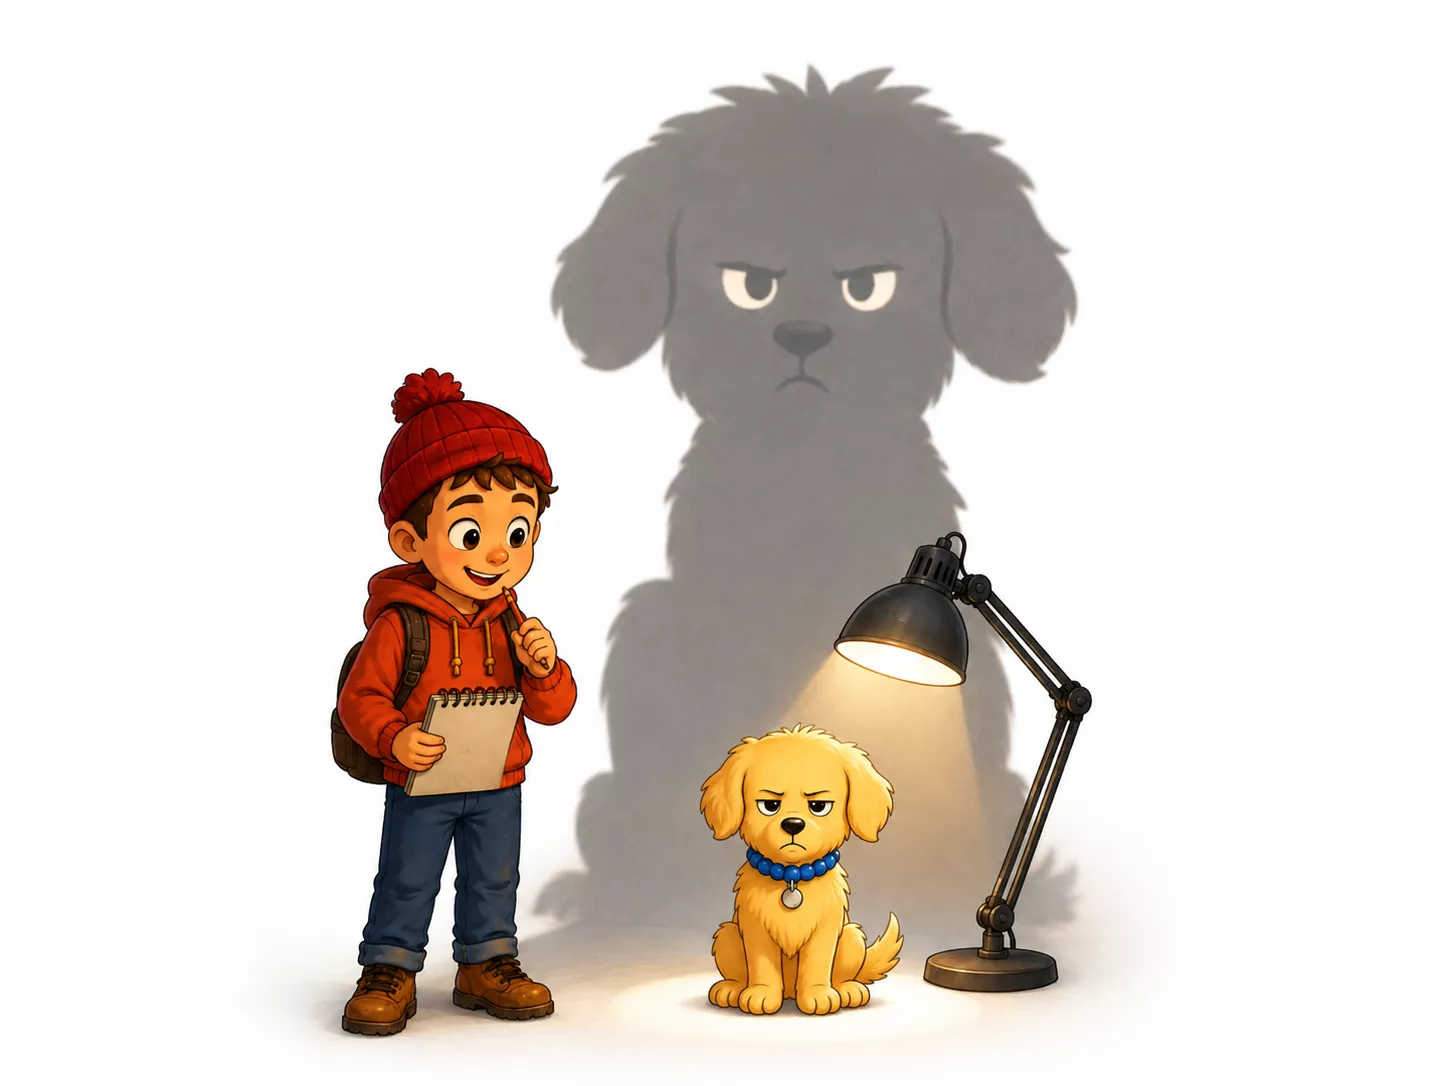
Oh. Hello there.
Smudge here. You’ve found the Shading Room.
Excellent.
Step inside and choose a comfortable spot. Biscuit is sitting directly underneath the lamp. He insists this is his best look. The evidence remains inconclusive.
There are nine shading techniques to explore. Select a technique from the grid to open it and have a go.
There’s no special order. Just choose one, sharpen your pencil, and begin.
The Shading Room
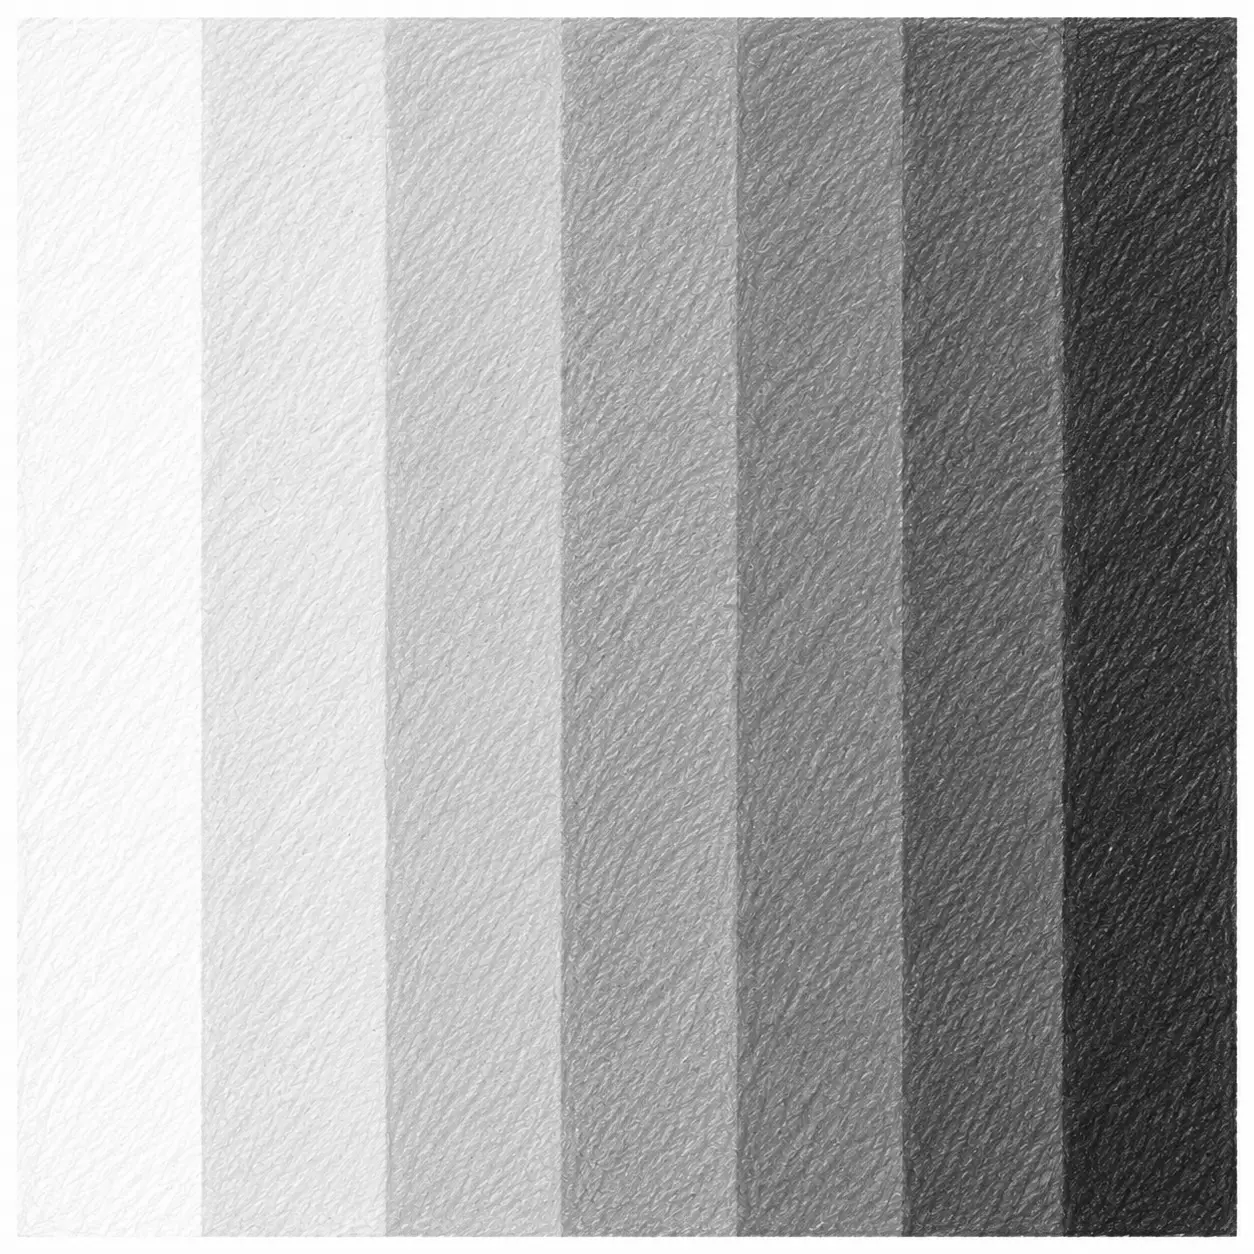
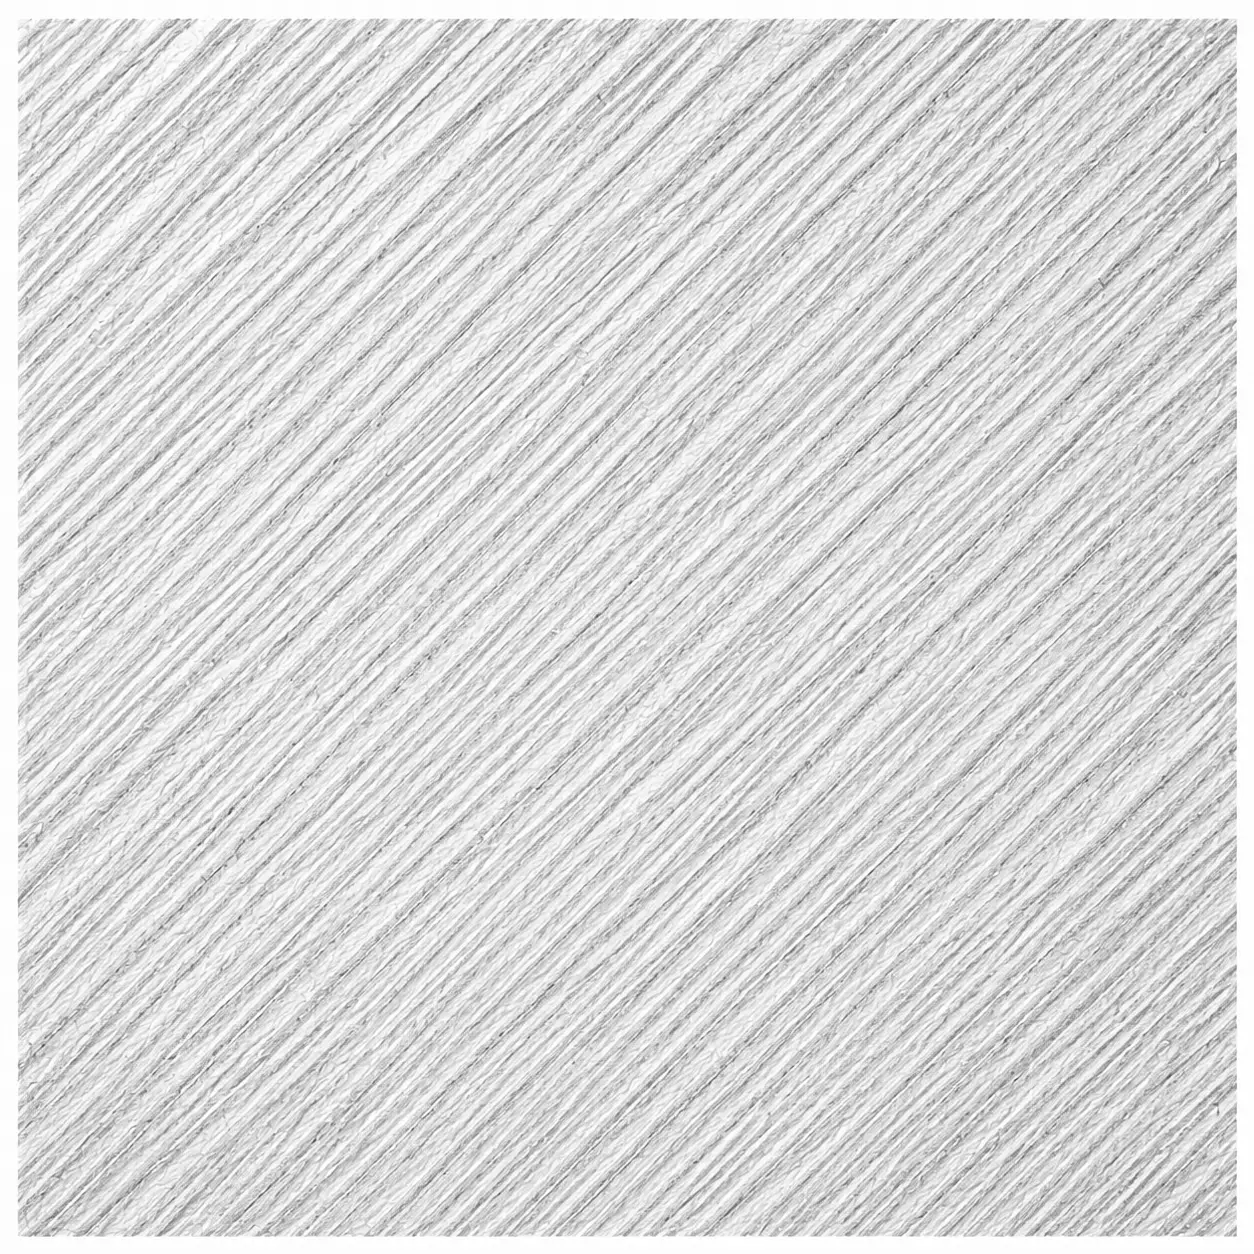
You can also open the Shading Toolkit if you want something to practise on.
And if you get lost, come back here to the Shading Library. I’ll probably still be here.
Biscuit definitely will.

Light to Dark
The Technique
Light to Dark shading is one of the most useful drawing skills you can learn. By gradually changing from light areas to dark areas, you can make flat shapes begin to look solid and three-dimensional.
Artists often practise this technique because it helps develop control, observation, and the ability to create smooth transitions between different shades.
Used For
Drawings, paintings, shadows, clouds, landscapes, portraits, and nearly any object affected by light.

You Can Try
Create a smooth gradient, a stepped scale, very soft transitions, or dramatic jumps between light and dark. Experiment with different amounts of pencil pressure.

Your Turn
Observe the example, practise creating your own light-to-dark gradient, then experiment with different shades in the Shading Toolkit.
Hatching
The Technique
Hatching uses groups of parallel lines to create light and dark areas. The closer the lines are together, the darker the shading appears.
It is one of the oldest and most widely used drawing techniques. With only a pencil and a few simple lines, artists can create form, texture, and depth.
Used For
Sketches, illustrations, comics, architecture drawings, nature studies, and adding texture to almost any subject.
You Can Try
Use vertical lines, diagonal lines, curved lines, widely spaced lines, or tightly packed lines. Change the spacing to create different shades.
Your Turn
Observe the example, practise drawing groups of parallel lines, then experiment with different line spacing in the Shading Toolkit.
Cross-Hatching
The Technique
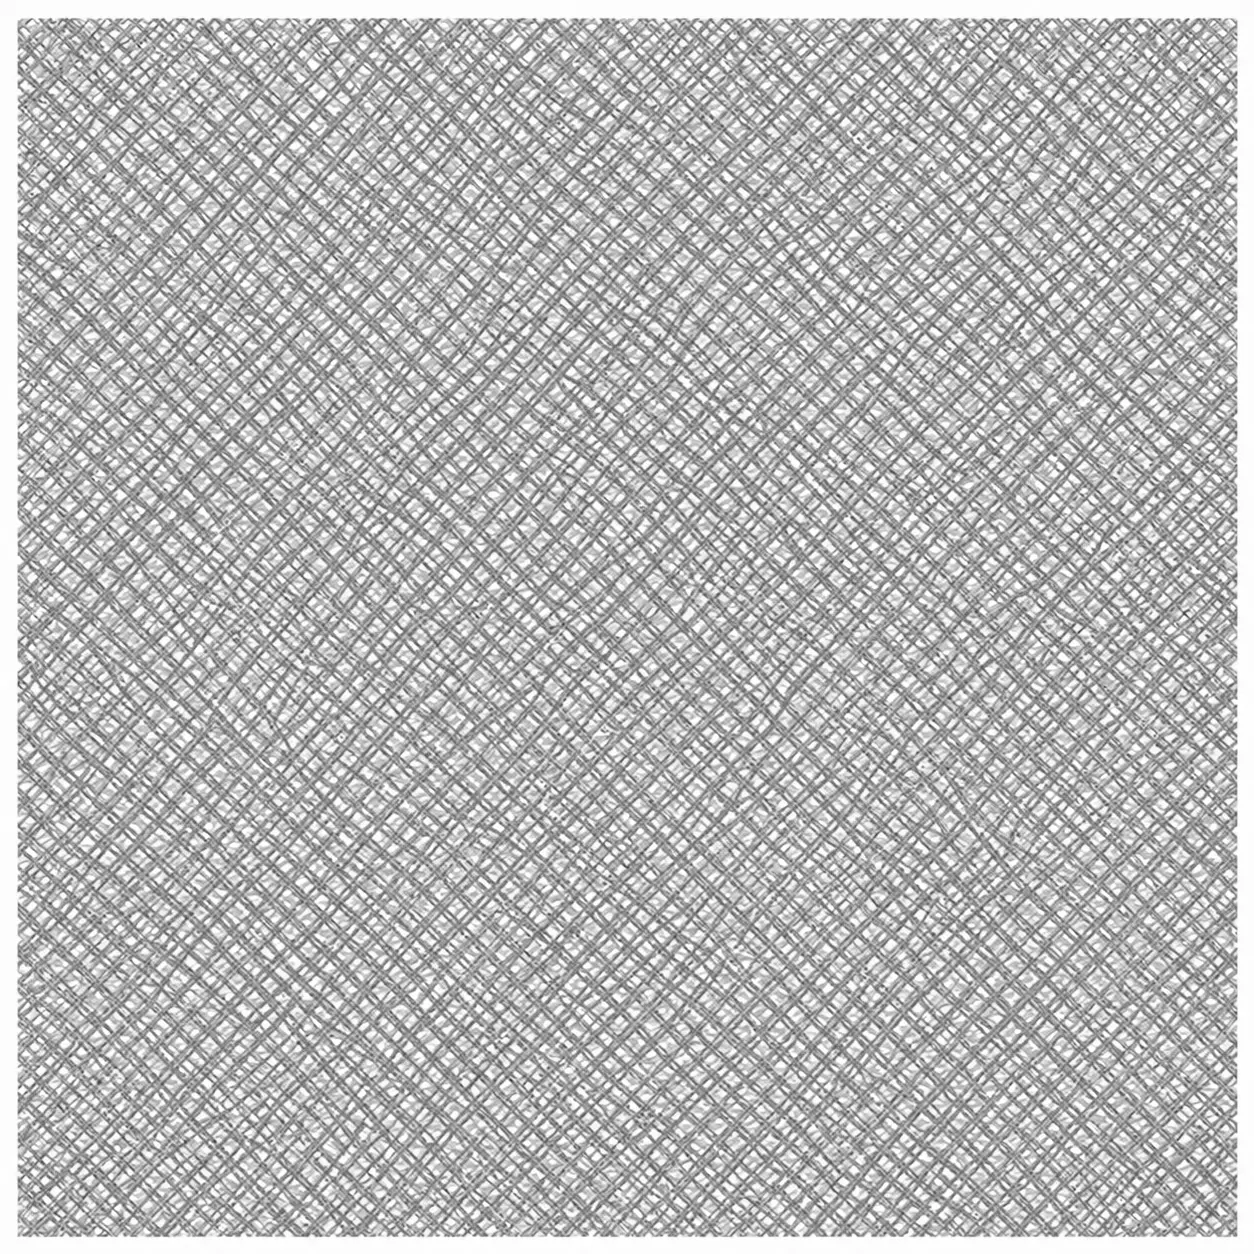
Cross-hatching is made by drawing one set of lines, then adding another set of lines across them. The crossing lines build up darker areas and stronger texture.
This technique is useful when you want shading to feel bold, energetic, or full of visible pencil marks.
Used For
Sketches, comics, old book illustrations, dramatic shadows, textured drawings, and areas where you want strong contrast.
You Can Try
Cross your lines at different angles, add more layers, leave wide gaps, or pack the lines closer together to make darker areas.
Your Turn
Observe the example, practise crossing sets of lines, then experiment with different angles and spacing in the Shading Toolkit.
Stippling
The Technique
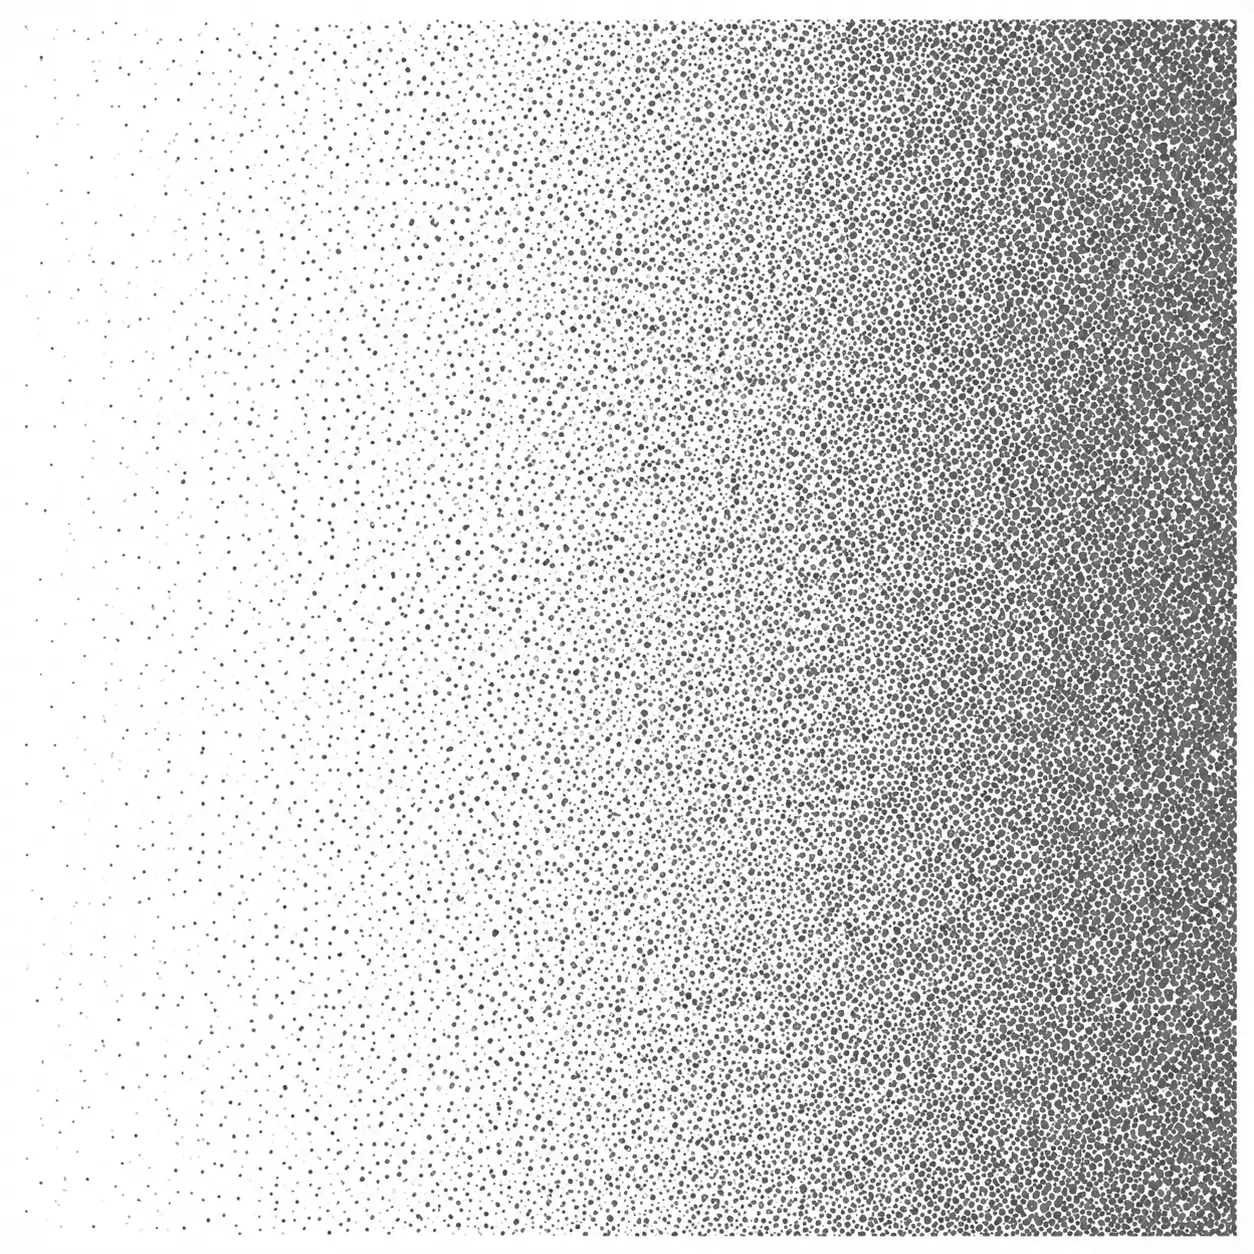
Stippling creates shading using dots instead of lines. Areas with only a few dots appear lighter, while areas with many dots appear darker.
It takes patience, but it allows artists to build smooth shading and interesting textures using nothing more than carefully placed marks.
Used For
Nature drawings, scientific illustrations, pen-and-ink artwork, textures, shadows, and detailed drawings that need careful control.
You Can Try
Use larger dots, smaller dots, scattered dots, dense clusters, or gradual transitions from light areas to dark areas.
Your Turn
Observe the example, practise building light and dark areas with dots, then experiment with different dot sizes and spacing in the Shading Toolkit.
Scribble Shading
The Technique
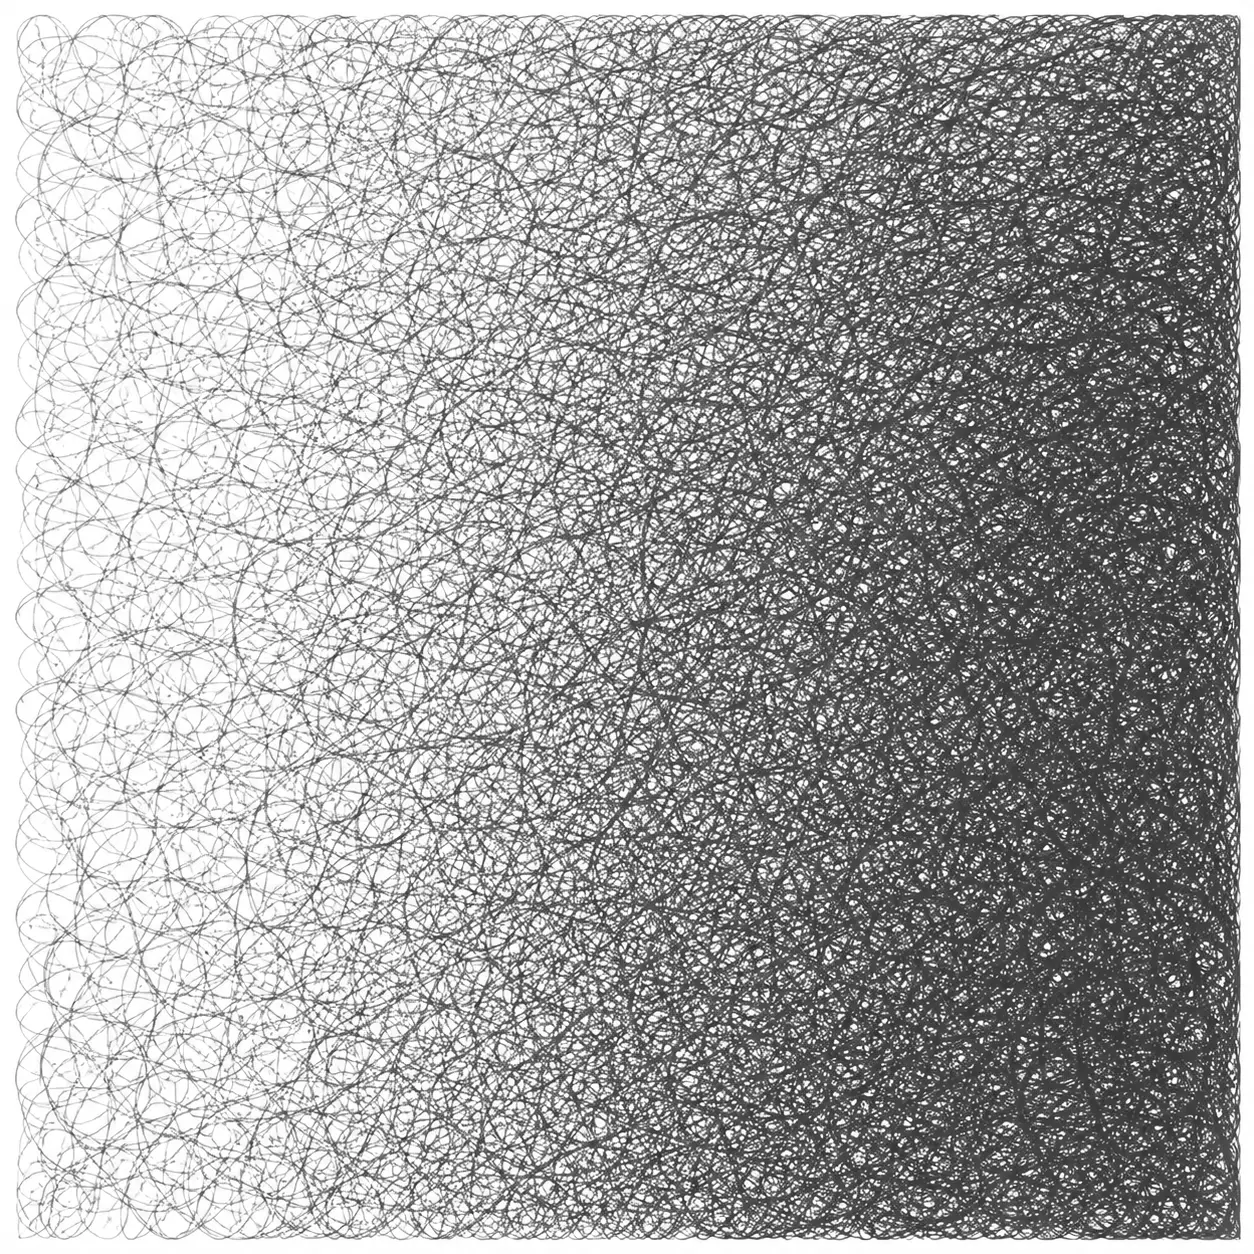
Scribble shading uses loose, overlapping marks to create light and dark areas. Instead of drawing neat lines or carefully placed dots, the shading is built from energetic pencil movements.
It is fast, expressive, and surprisingly effective. Many artists use scribble shading when they want a drawing to feel lively, textured, or full of movement.
Used For
Sketchbooks, quick studies, nature drawings, textured surfaces, expressive artwork, and adding energy to a drawing.
You Can Try
Create tight scribbles, loose scribbles, circular scribbles, or overlapping layers. Add more marks to make darker areas and fewer marks to create lighter areas.
Your Turn
Observe the example, practise building light and dark areas with scribbles, then experiment with different mark sizes and densities in the Shading Toolkit.
Blended Shading
The Technique
Blended shading creates smooth transitions between light and dark areas. Instead of seeing individual marks, the different shades gradually flow into one another.
This technique is often used when artists want drawings to feel realistic, soft, or carefully modelled by light.
Used For
Portraits, realistic drawings, animals, still life studies, smooth surfaces, and any subject where soft shading is important.
You Can Try
Create gentle gradients, dramatic transitions, soft shadows, or smooth highlights. Experiment with layering pencil marks to build darker values.
Your Turn
Observe the example, practise creating smooth transitions between light and dark, then experiment with different levels of contrast in the Shading Toolkit.
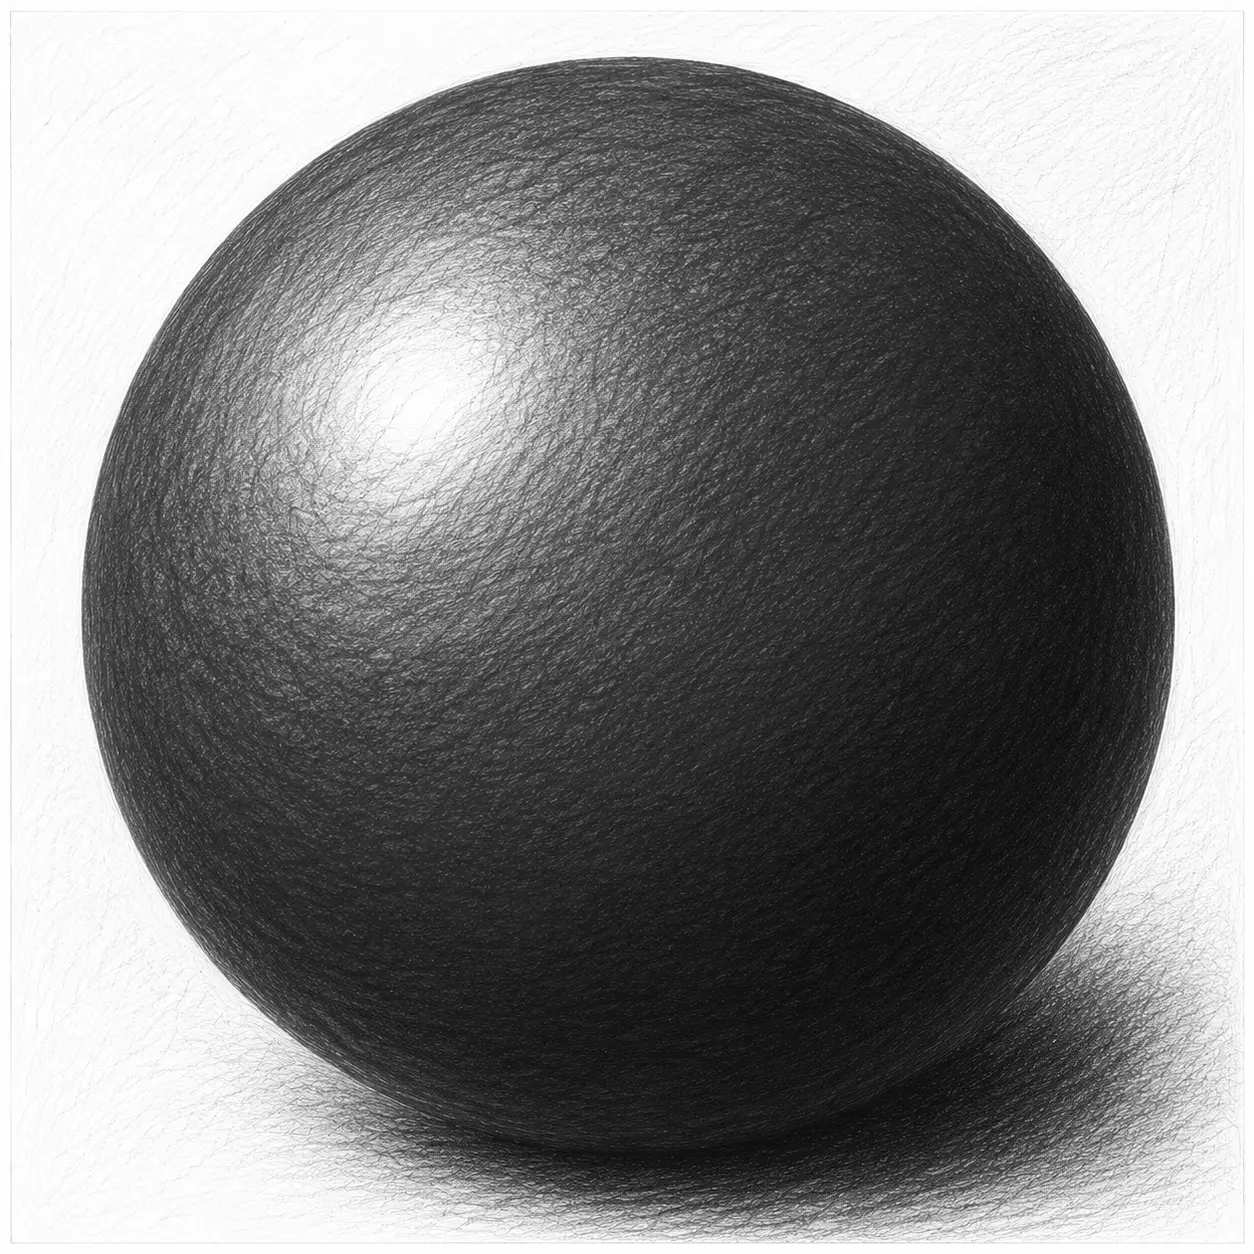
Sphere Shading
The Technique
Sphere shading helps turn a flat circle into something that looks round and solid. By adding light areas, middle tones, and darker shadows, the shape begins to look three-dimensional.
This technique is useful because many things in drawing are rounded: balls, fruit, stones, planets, heads, eyes, and all sorts of mysterious objects Biscuit probably should not be chewing.
Used For
Drawing balls, fruit, planets, stones, rounded objects, character forms, and anything that needs to look curved or solid.
You Can Try
Change the position of the light, make the shadow softer or darker, add a small highlight, or experiment with different shading techniques on the same sphere.
Your Turn
Observe the example, practise turning a circle into a sphere, then experiment with light and shadow in the Shading Toolkit.
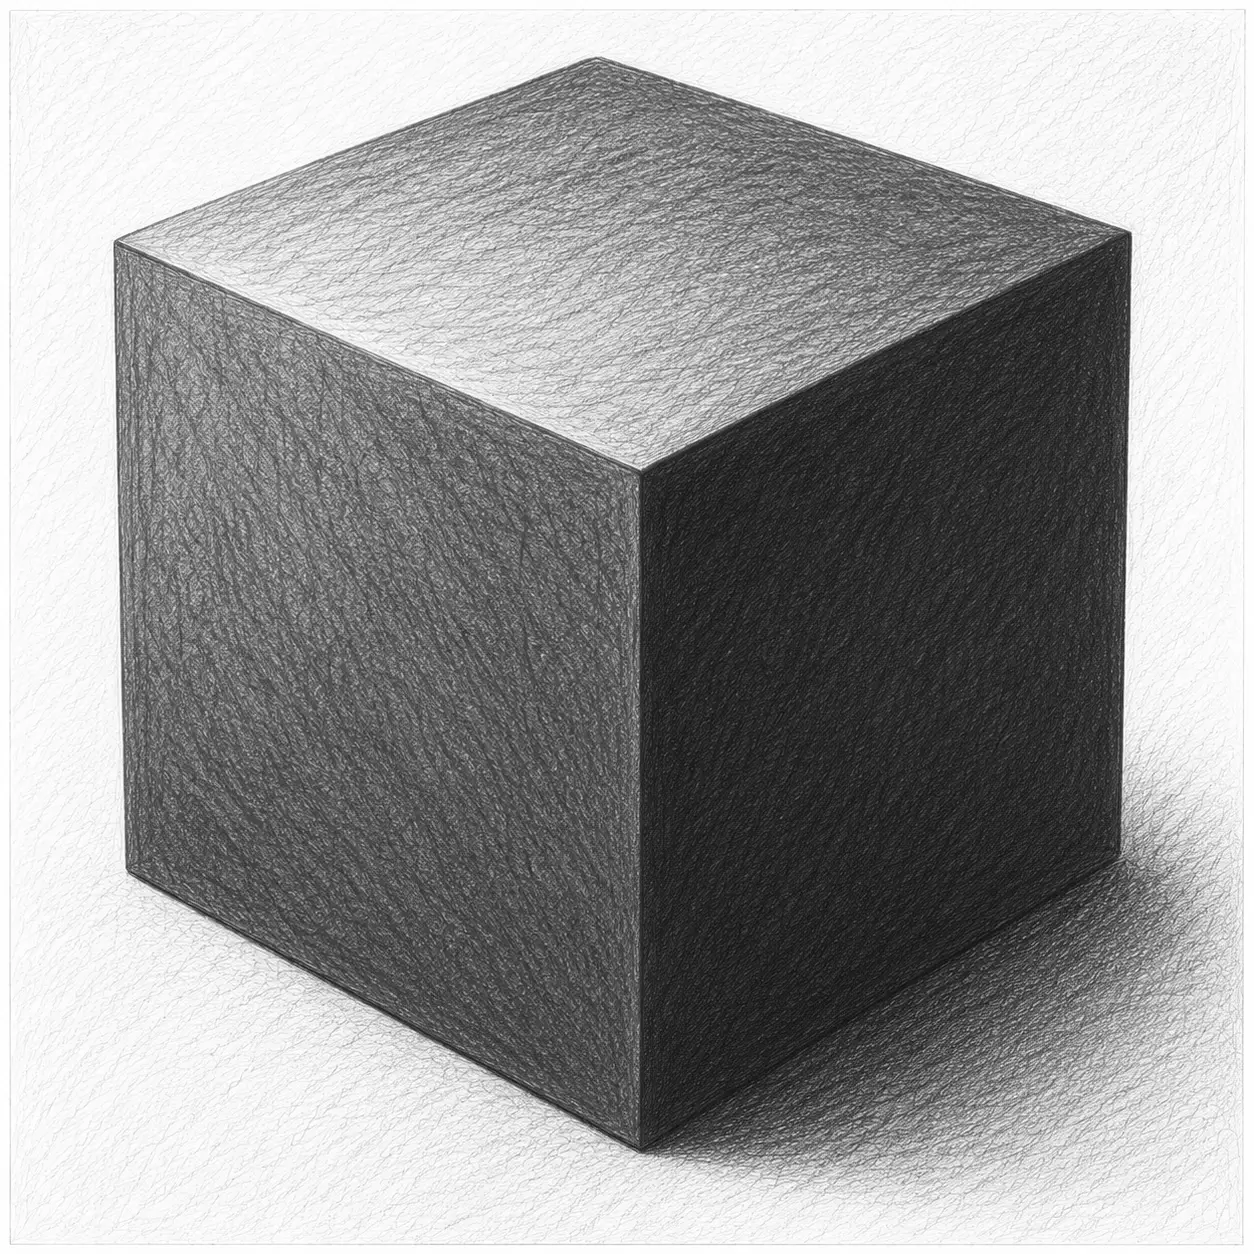
Cube Shading
The Technique
Cube shading helps turn a flat square into a solid block. By giving each face of the cube a different value, artists can show which surfaces are facing the light and which are facing away from it.
Unlike spheres, which change gradually from light to dark, cubes often have clear changes between their different faces. This makes them a great way to practise understanding light and form.
Used For
Buildings, boxes, architecture, vehicles, machines, furniture, and any object built from flat surfaces.
You Can Try
Move the light source, change the contrast between the faces, use different shading techniques, or experiment with cubes viewed from different angles.
Your Turn
Observe the example, practise shading the different faces of a cube, then experiment with light and shadow in the Shading Toolkit.
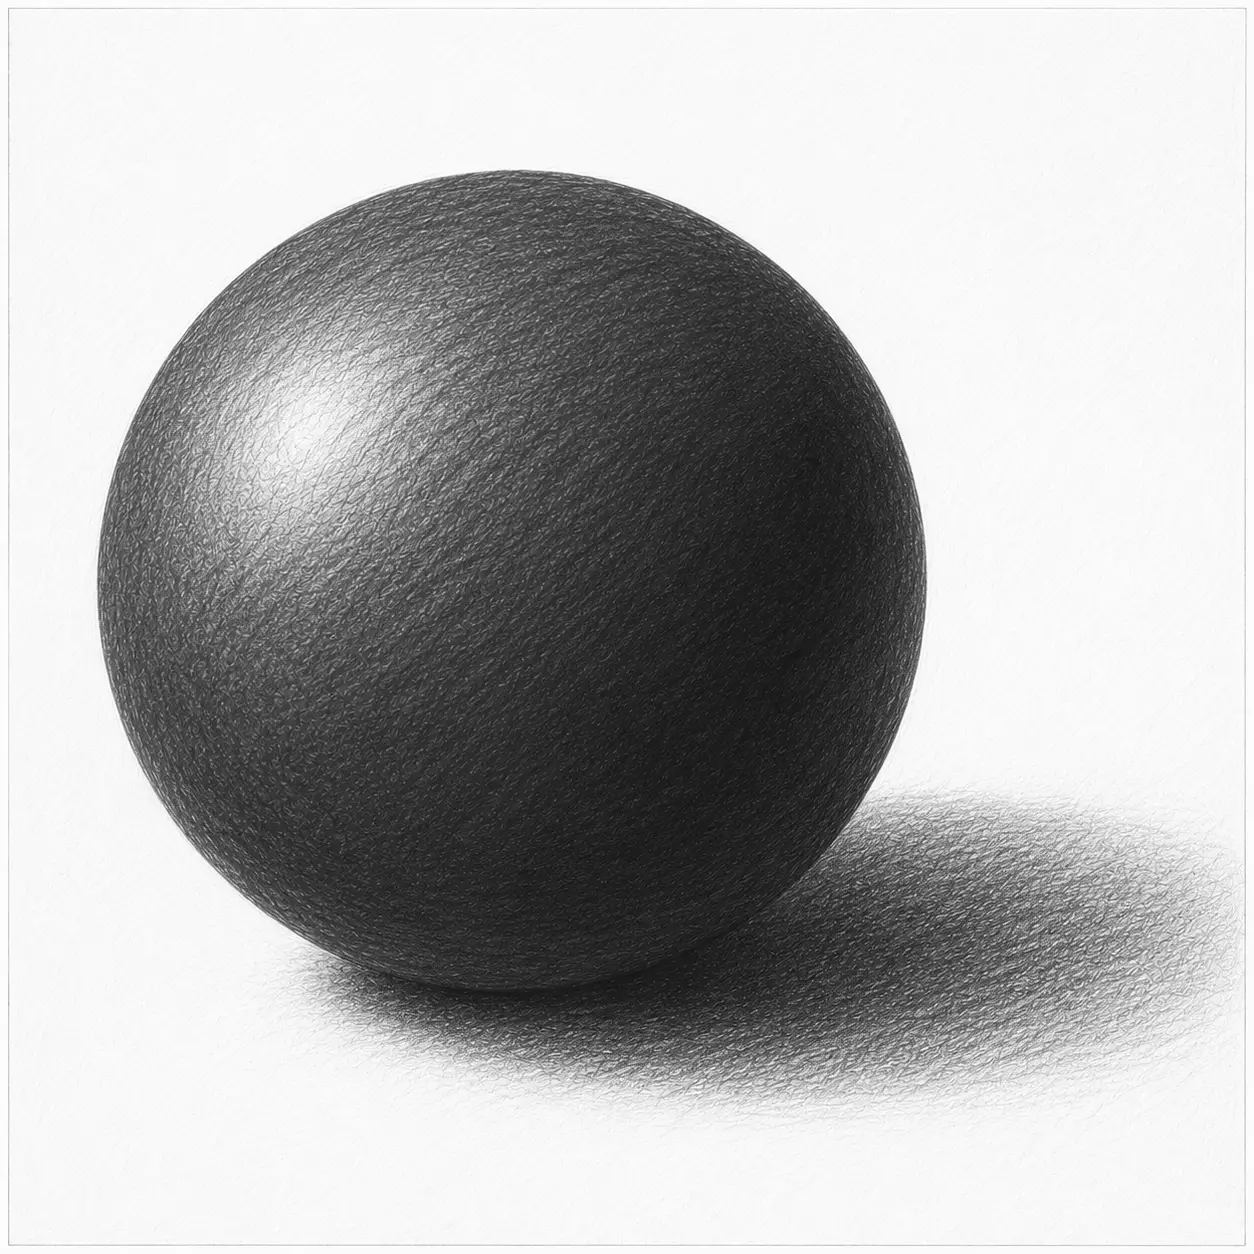
Cast Shadows
The Technique
Cast shadows are the shadows that objects make when they block the light. They help show where an object is sitting, how strong the light is, and which direction the light is coming from.
This technique is useful because shadows can make drawings feel more solid and believable. Even a simple shape can look grounded when it has a shadow beneath or beside it.
Used For
Objects, still life drawings, buildings, characters, animals, landscapes, and anything that needs to look like it belongs in a real space.
You Can Try
Move the shadow closer or farther away, make it softer or darker, change the direction of the light, or experiment with shadows from different shapes.
Your Turn
Observe the example, practise adding cast shadows to simple shapes, then experiment with light direction in the Shading Toolkit.