

The Tools

Before you begin drawing circles, lines, grids, mandalas, flowers, stars, maps, symbols, or anything else highly important, you'll need to know a few simple tools.
Not many. This is not an expedition to the moon... yet.
This part of the Workshop helps you use your tools carefully, prepare your page, draw cleaner lines, make better circles, and find a page centre.
Orin would like to make that very clear.
Tool Library
Start with the basic tool list, then move through page setup, rulers, circles, and finding the canvas centre.
The Tools

Take Care of Them
These are your drawing companions. Keep them close, keep them tidy, and they will help you make accurate, beautiful things.
Scatter them carelessly around the room, and they will vanish into strange places. Behind cushions. Under chairs. Inside bags. Possibly into another dimension.
Orin has not proved the last one scientifically, but the evidence is troubling.
What You’ll Need
The Pencil
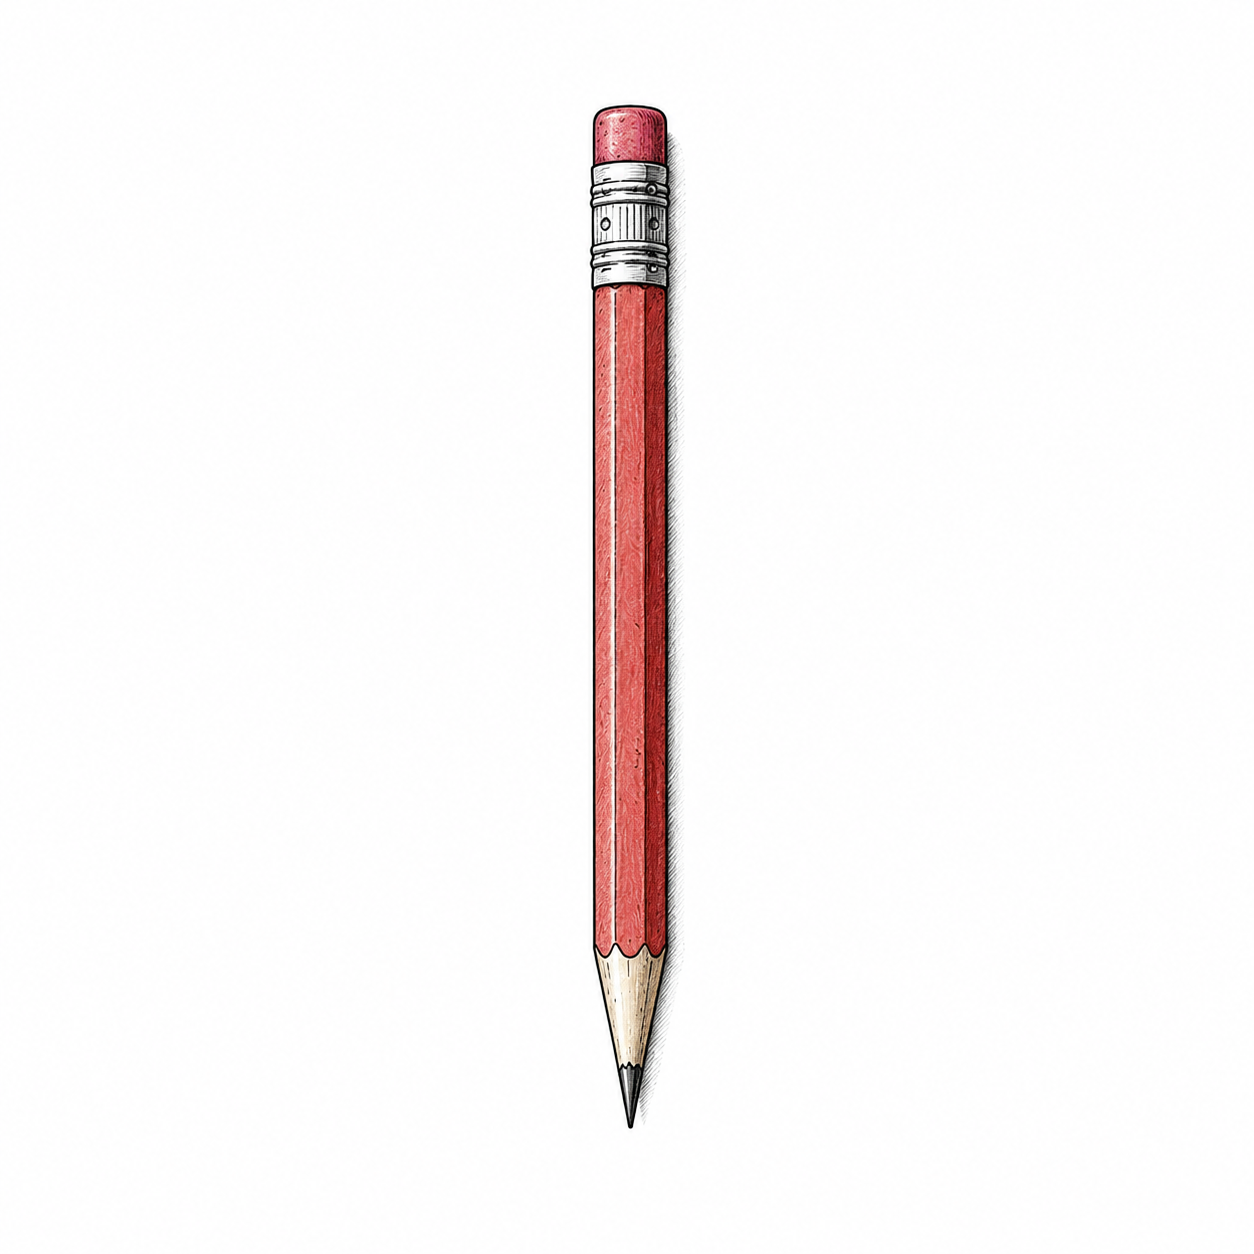
First, the humble pencil.
Do not be fooled by its ordinary appearance. A pencil is a quietly excellent instrument. It makes lines, marks centres, tests ideas, and begins almost everything worth drawing.
Use it lightly at first. A soft, careful line is easier to adjust than a dark, determined trench carved into the page. Orin is not naming names, but certain people do press as if they are trying to engrave the table.
The Eraser
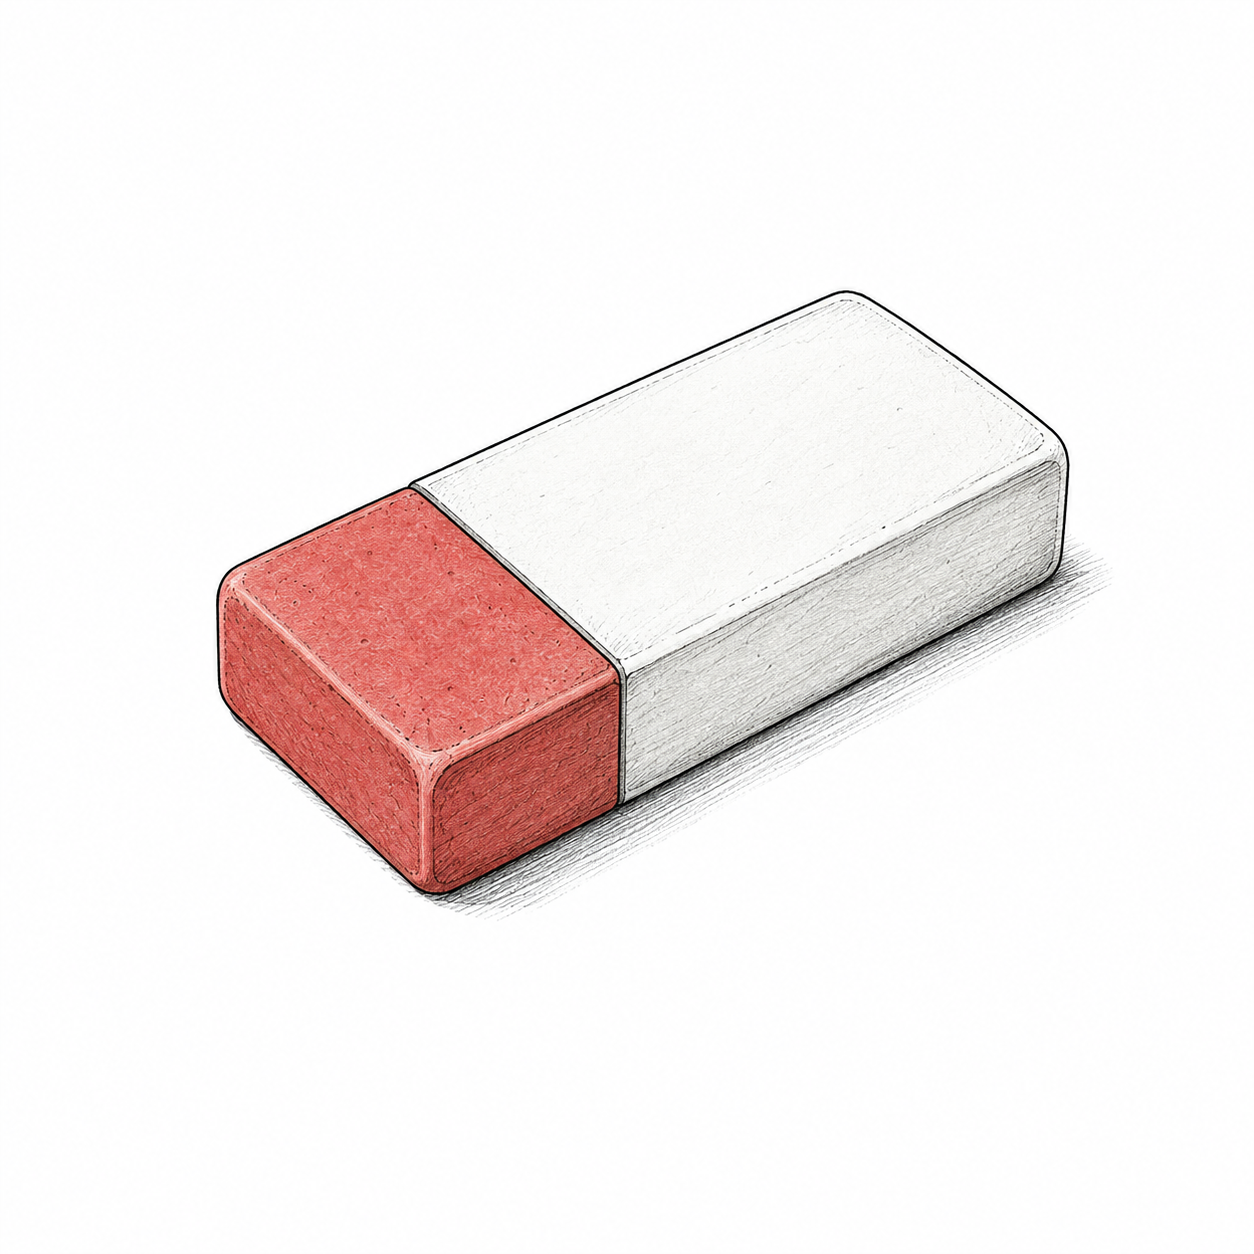
Next, the eraser.
This is not a tool of failure. Quite the opposite. It is a tool of refinement.
A line goes astray. A circle wobbles. A centre point turns out to be not quite central, which is deeply regrettable but survivable. The eraser allows you to correct, improve, and try again without making a grand tragedy of the matter.
That said, one should not doodle heroic portraits on it during lessons. Especially not portraits involving capes. Or underpants. Or both.
The Ruler
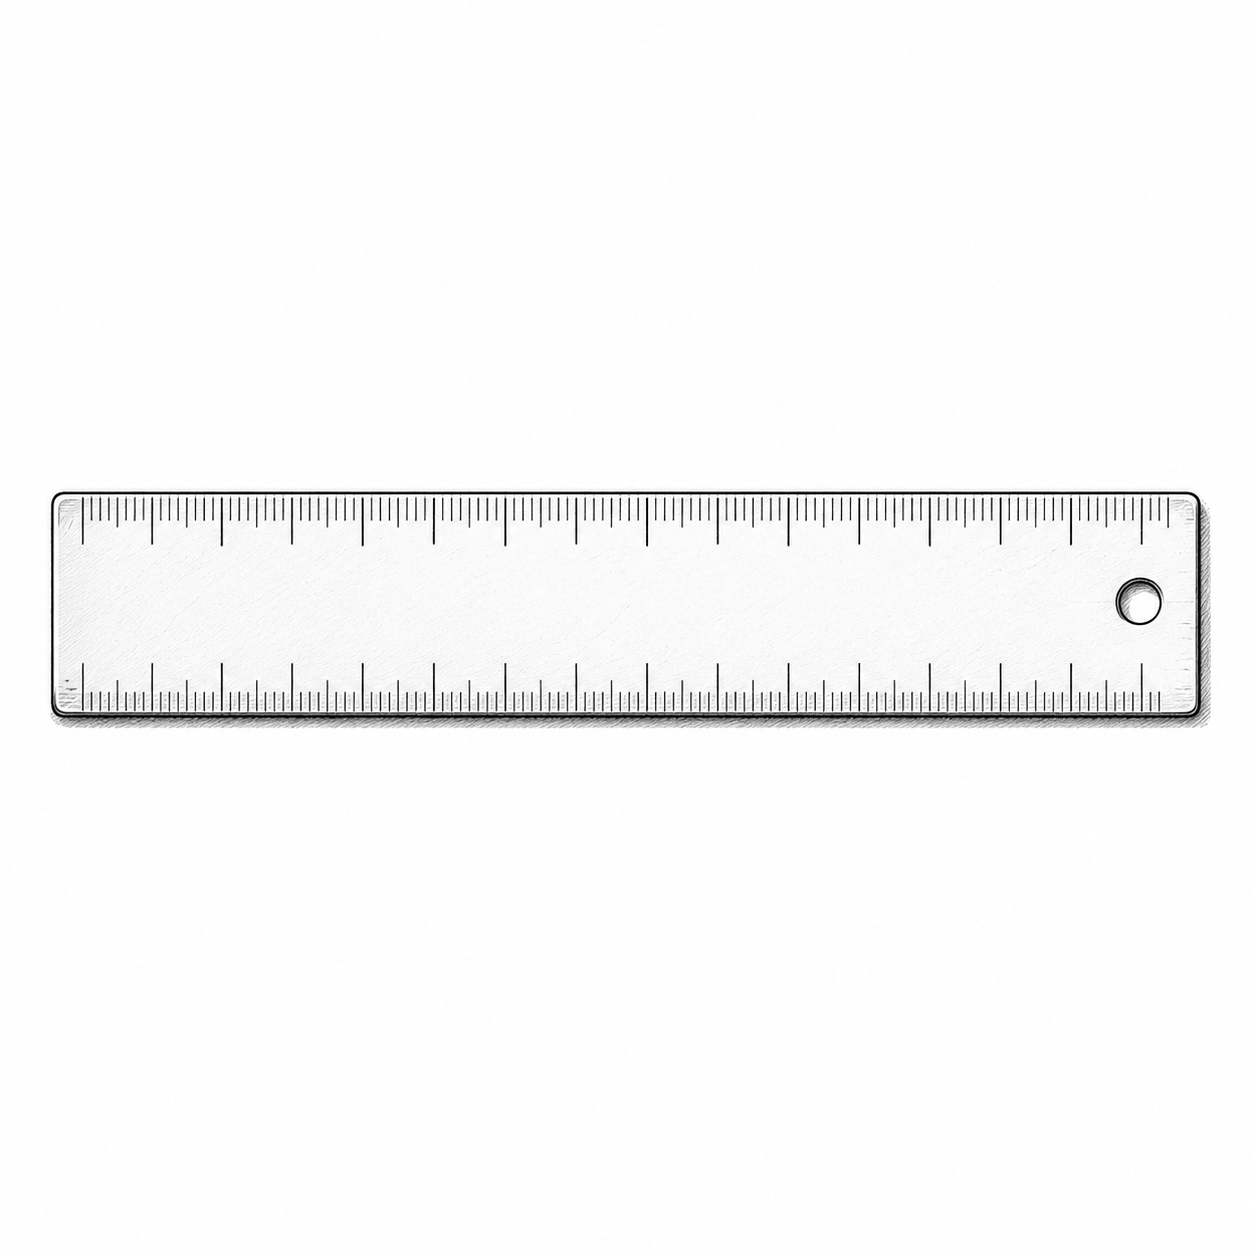
Then comes the ruler.
Straight lines, neat divisions, careful edges, measured spaces. The ruler is not flashy, but it is dependable, and dependability is an underrated quality in both people and stationery.
Hold it firmly. Line it up properly. Keep your pencil close to the edge as you draw. A ruler is very helpful, but only if you do not let it drift away halfway through the line like a tiny plastic boat.
The Compass
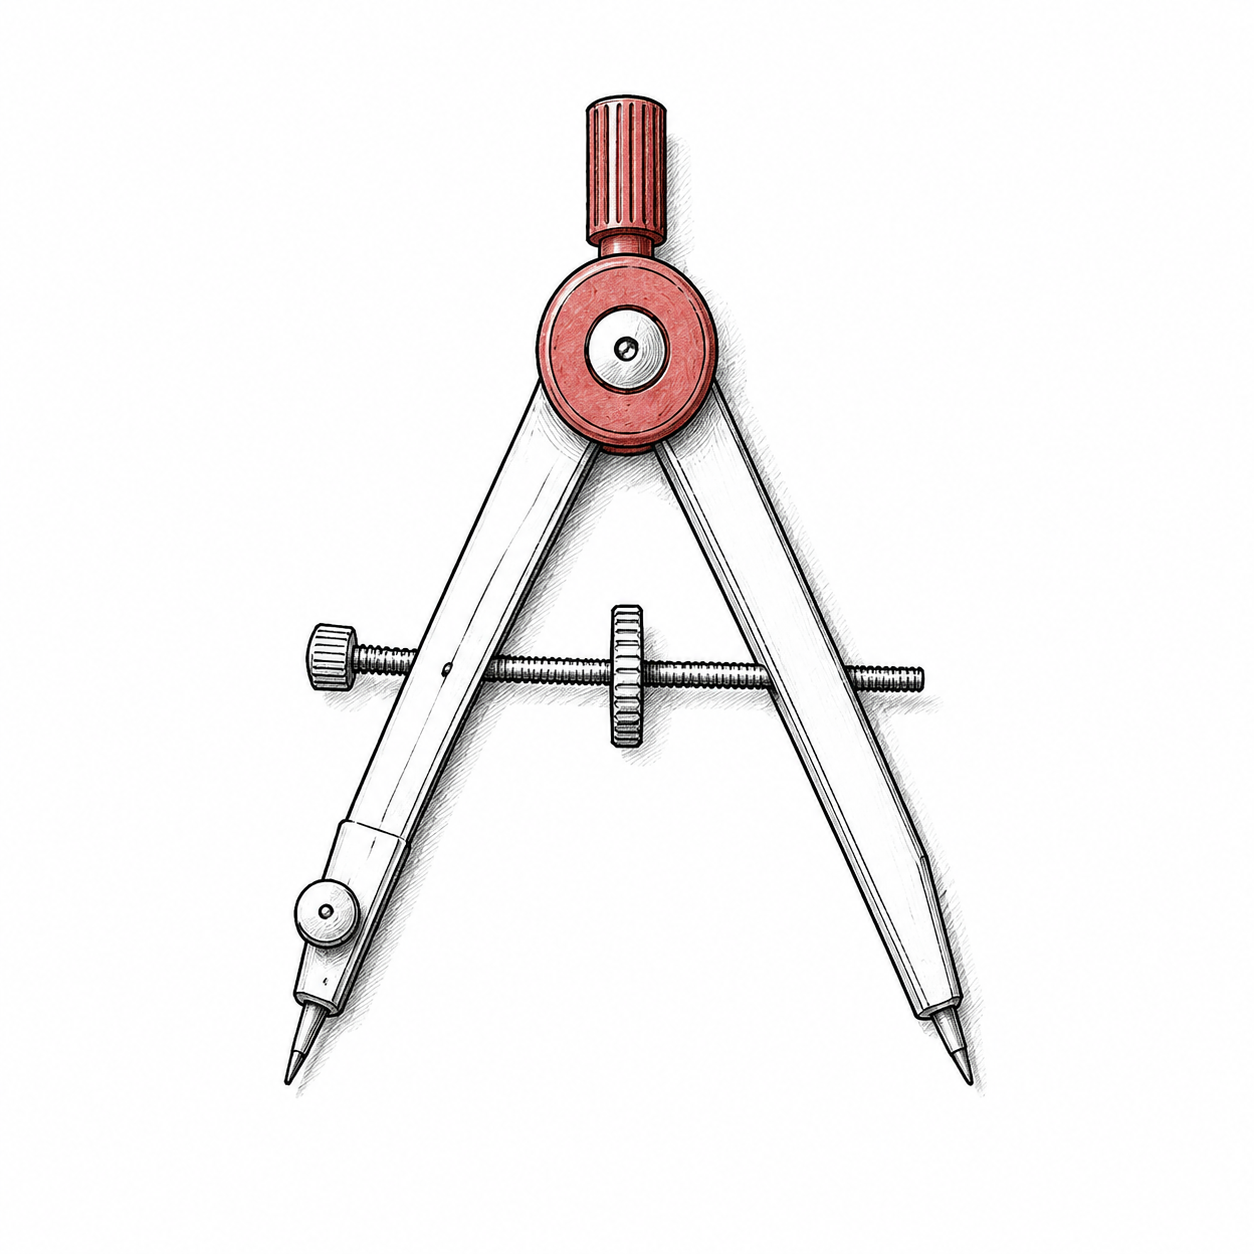
Now, the compass.
A truly marvellous device. It draws circles — small circles, large circles, repeating circles, overlapping circles, and, with sufficient care, circles that do not look like startled potatoes.
Place the point where the centre belongs. Keep it steady. Turn the compass gently and let the pencil do its work. Do not rush. A circle is not improved by panic.
Orin would also like to add that the compass is not a weapon, a bird beak, a tiny pair of legs, or something to tap repeatedly while someone else is concentrating.
The Pencil Sharpener
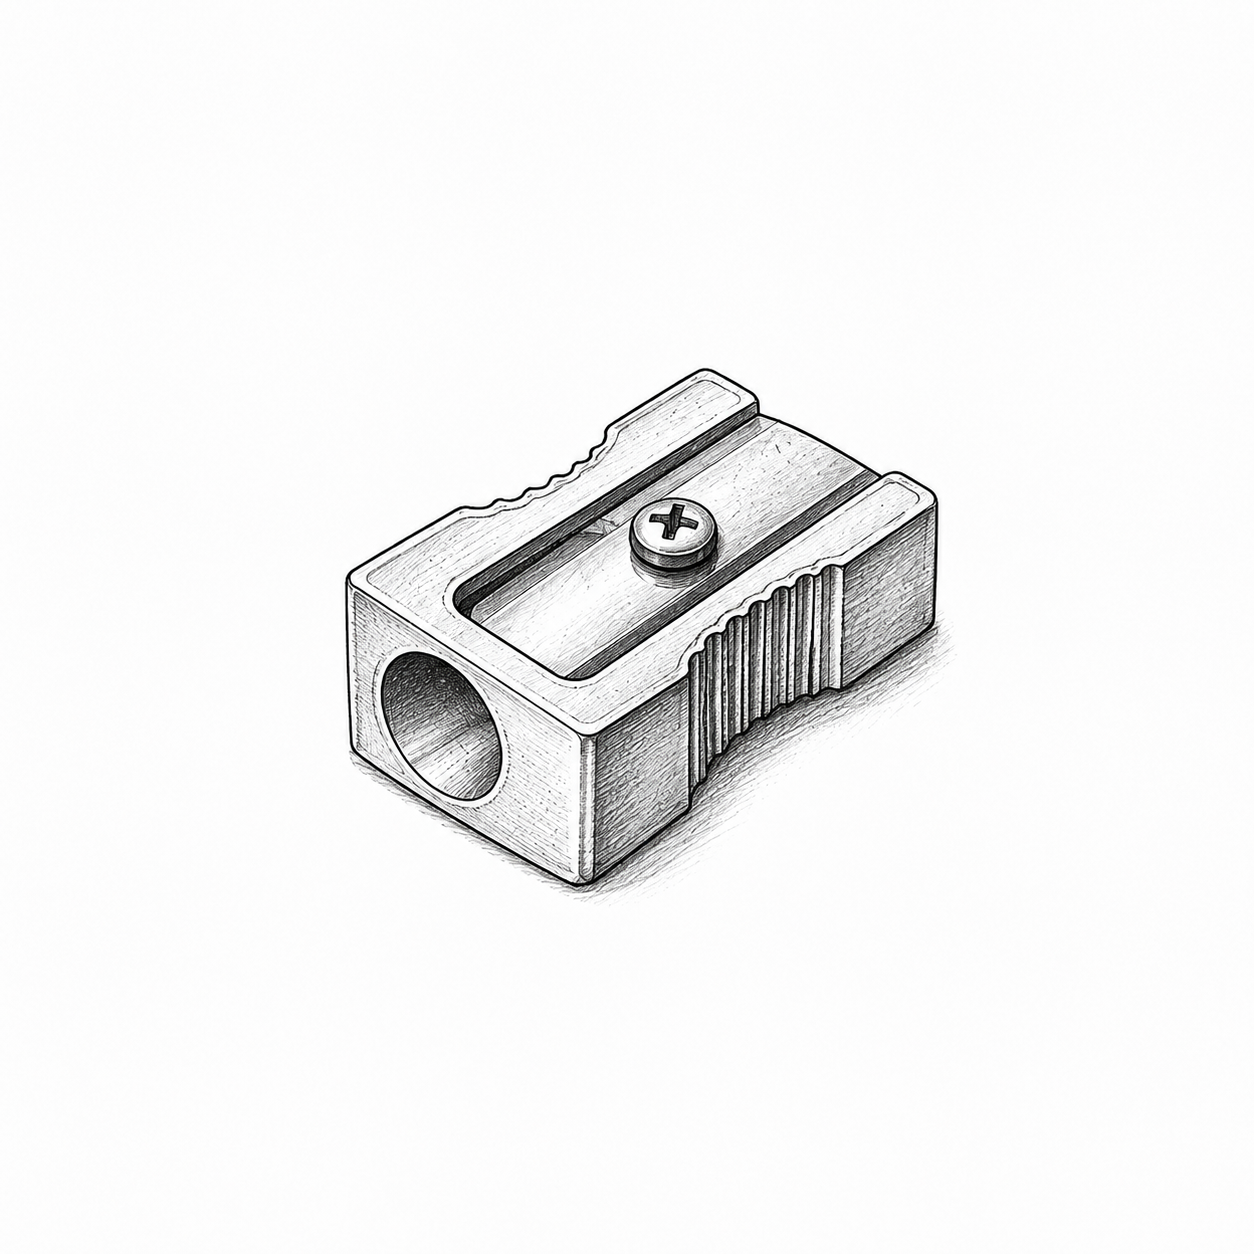
The pencil sharpener may be small, but its duty is significant.
A blunt pencil makes thick, fuzzy lines. A sharp pencil makes clean, confident ones. Geometry likes clean lines. Orin likes them too.
Keep your pencil sharp enough to be accurate, but not so sharp that the tip snaps the moment you begin. There is a balance to these things. There usually is.
The Tape
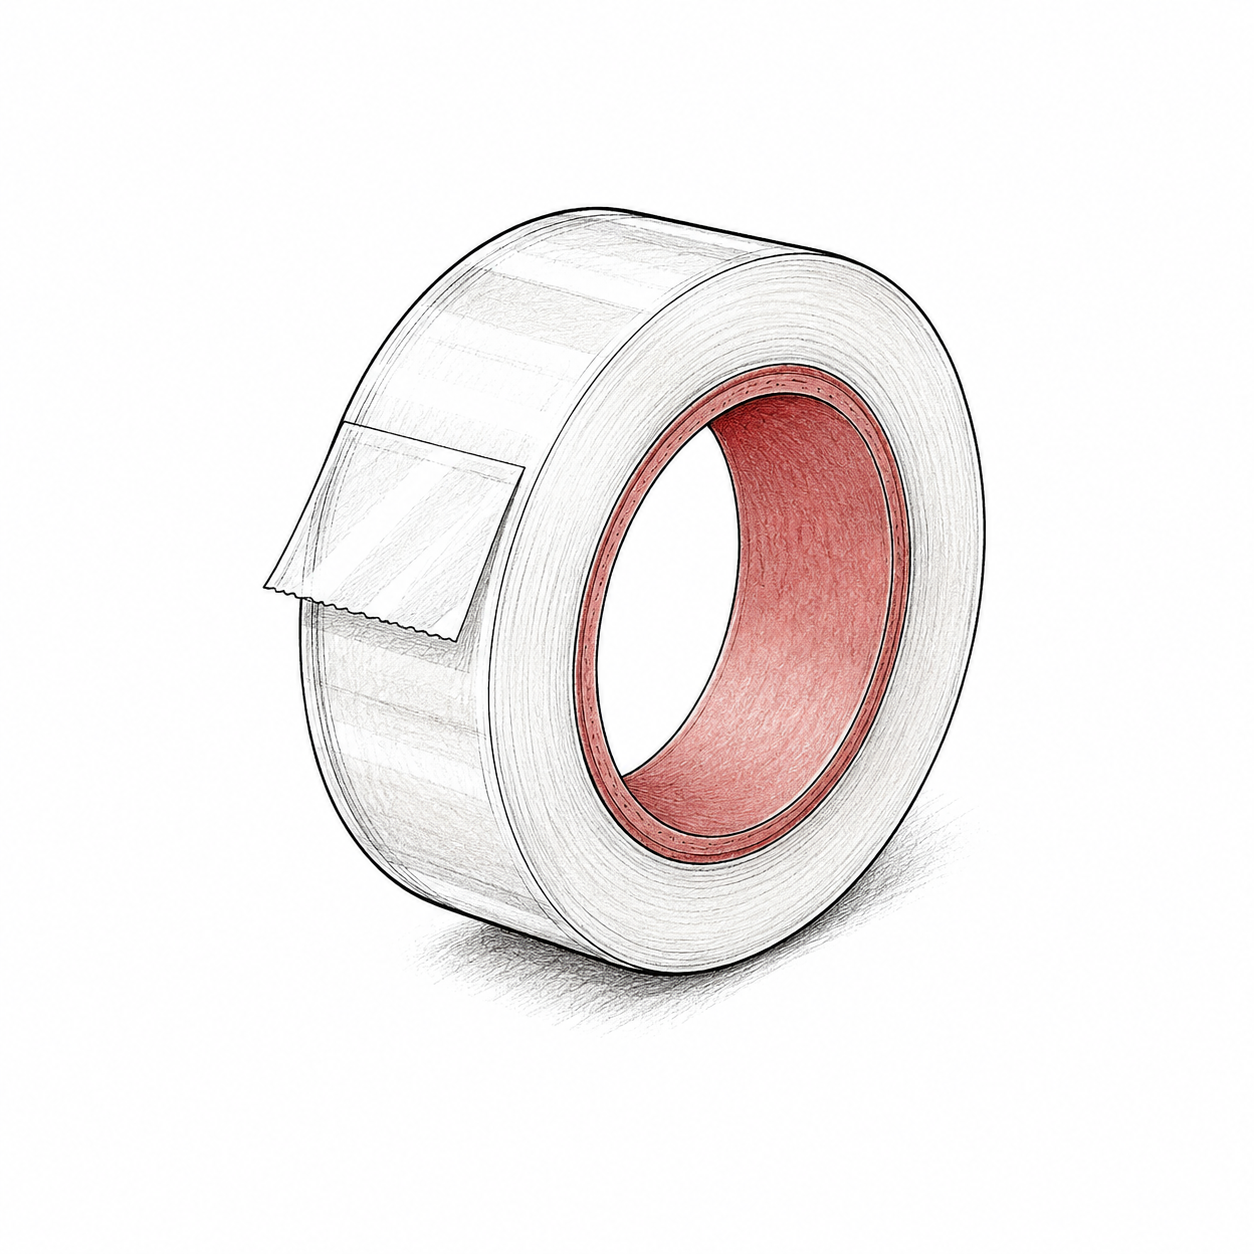
Then, tape.
Tape keeps your paper still. This is more important than it sounds. A page that slides about while you are drawing a mandala is not being creative. It is being unhelpful.
Use small pieces at the corners of the page if you need to keep everything steady. Your drawing should be the thing that grows and moves — not the paper itself.
Coloured Crayons
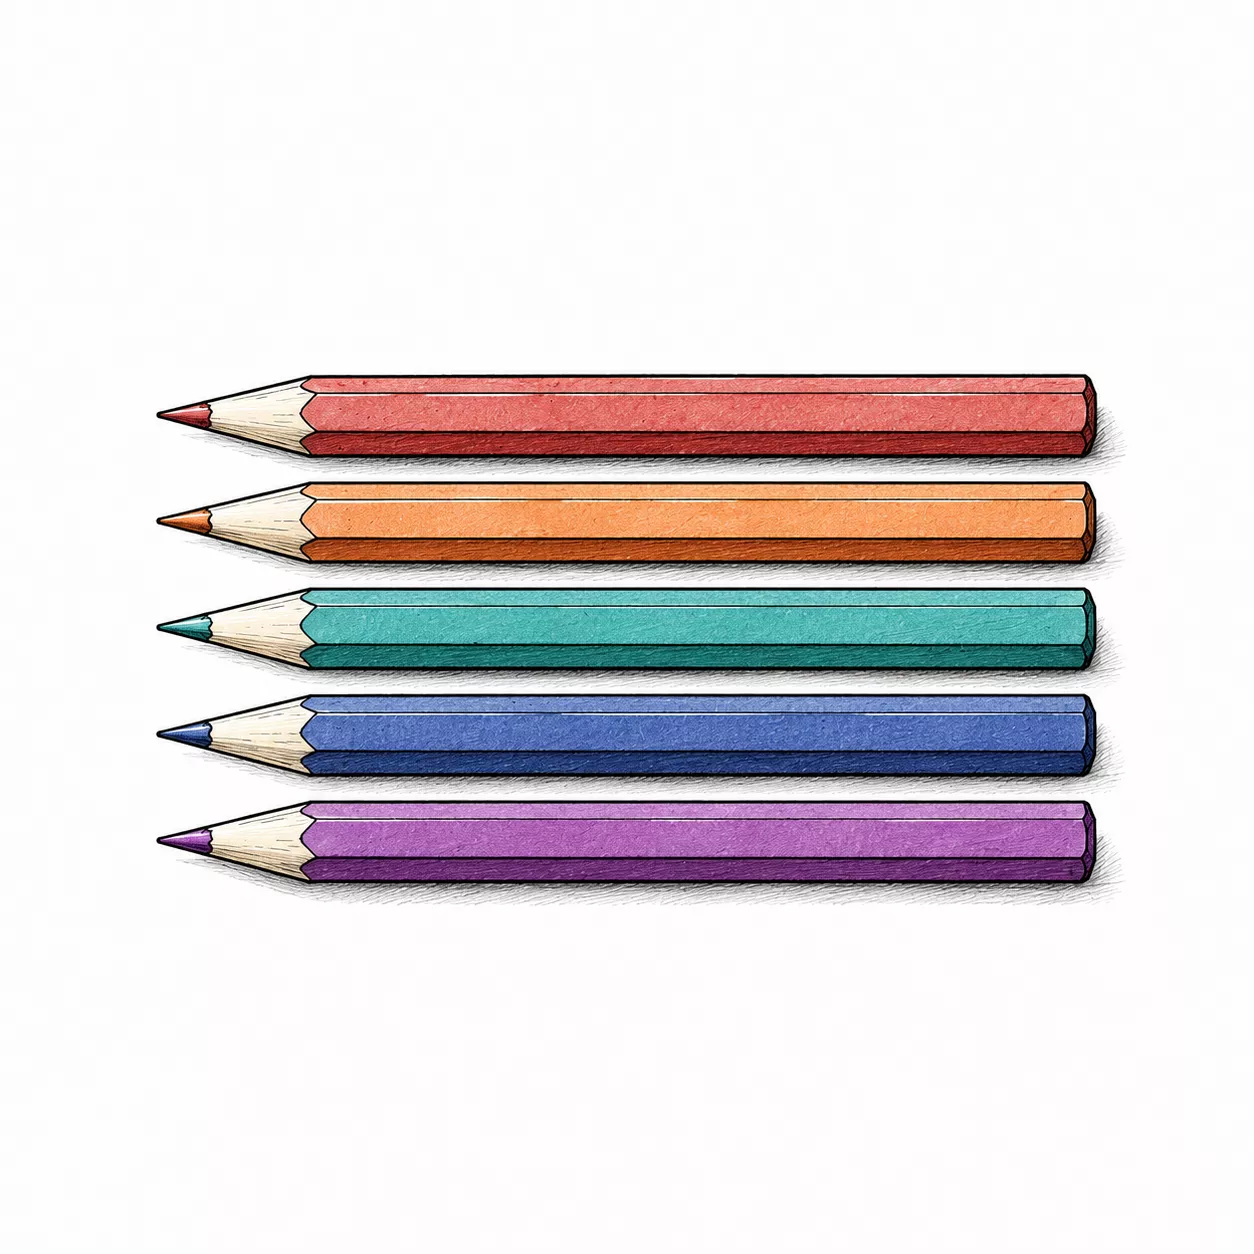
And finally, coloured crayons.
These arrive after the careful work has begun. Lines first. Colour second. That is not because colour is less important. It is because colour behaves much better when it has somewhere proper to go.
Use crayons to bring warmth, contrast, pattern, and life to your designs. A circle may be accurate in pencil, but colour can help it feel complete.
Orin recommends choosing colours with care. Zia recommends using whichever one looks most exciting. Both approaches have produced interesting results, although only one of them has covered the table in purple.
Where Next?
Prepare Your Page
Before you draw your first circle, there's one small matter to address.
Your page must be ready.
This may sound obvious. It is not. A loose sheet of paper has more ambition than people realise. It curls. It slides. It drifts. It waits until your compass is perfectly placed, then makes a break for freedom.
Orin has seen it happen. He was not impressed.
A good drawing begins before the pencil touches the page. You need the right surface, suitable paper, and just enough tape to keep everything exactly where it belongs.
Setup Rules
Choose a firm surface. Set down your paper. Tape the corners. Check that nothing slides, wobbles, buckles, curls, or behaves like it has other plans.
Then, and only then, you are ready for circles.
Set Up Properly
The Surface
First, choose a proper surface.
Paper needs a firm stage. Too soft, and your pencil digs in. Too hard, and your compass can slip.
A firm desk is ideal. A cutting mat, sturdy board, or strong piece of cardboard can also work well. If you're using a glass table, place something slightly softer on top so your tools have enough grip.
The aim is simple: firm enough to support your tools, gentle enough to let them move smoothly.
The Paper
Thick, smooth paper is lovely. It holds colour well, feels pleasant under the pencil, and generally behaves admirably.
Ordinary paper is perfectly acceptable for practice. Geometry does not demand expensive materials before it cooperates.
Place the sheet flat on your surface. Smooth it gently. If it curls up immediately, don't argue with it. Tape exists for precisely this reason.
Tape
A small piece of tape at each corner keeps your paper still while you draw. This is especially helpful when using a compass, because circles do not enjoy moving targets.
Press the tape down gently. You are not sealing an ancient treasure vault. You are simply persuading the page to remain where it was put.
Once the paper is taped, give it a tiny test. If it stays still, excellent. If it slides, adjust it now, not halfway through a circle.
The Ready Page
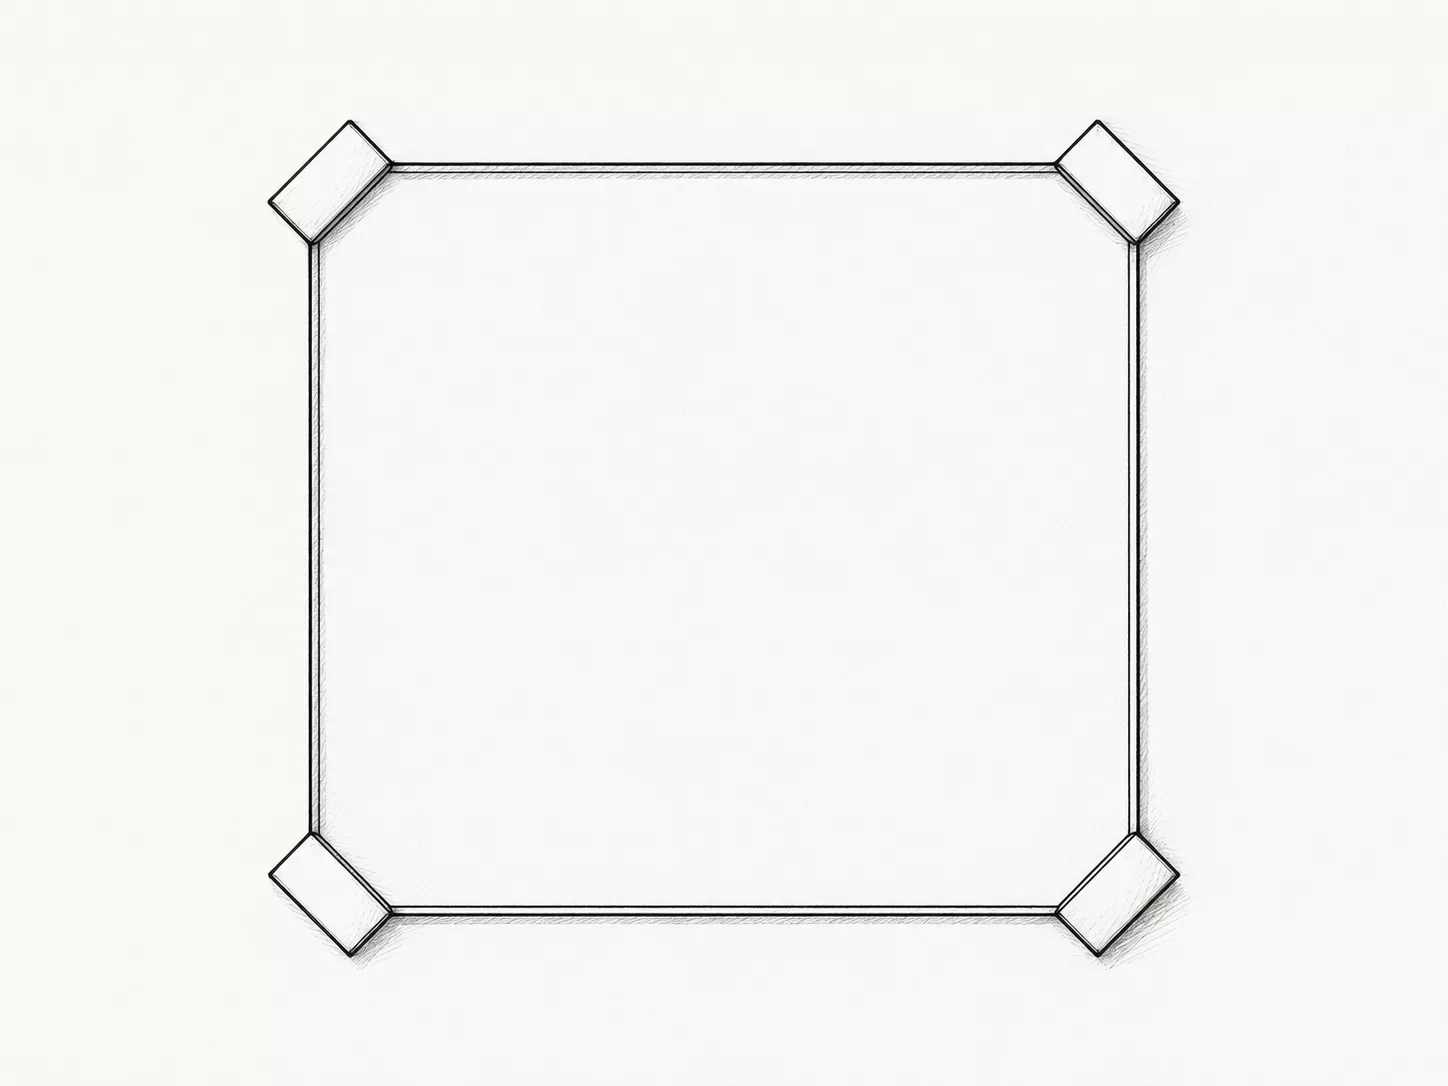
At this point, your page should be flat, steady, and waiting.
Surface chosen. Paper placed. Corners held. Nothing sliding about dramatically.
And once the page is prepared, the first real act of geometry can begin: the circle.
Where Next?
Orin’s Ruler Lock
Drawing a straight line sounds simple.
Place ruler. Draw line. Done.
Unfortunately, this is how lines begin in one place, wobble through the middle, and up somewhere silly.
Orin finds this unacceptable.
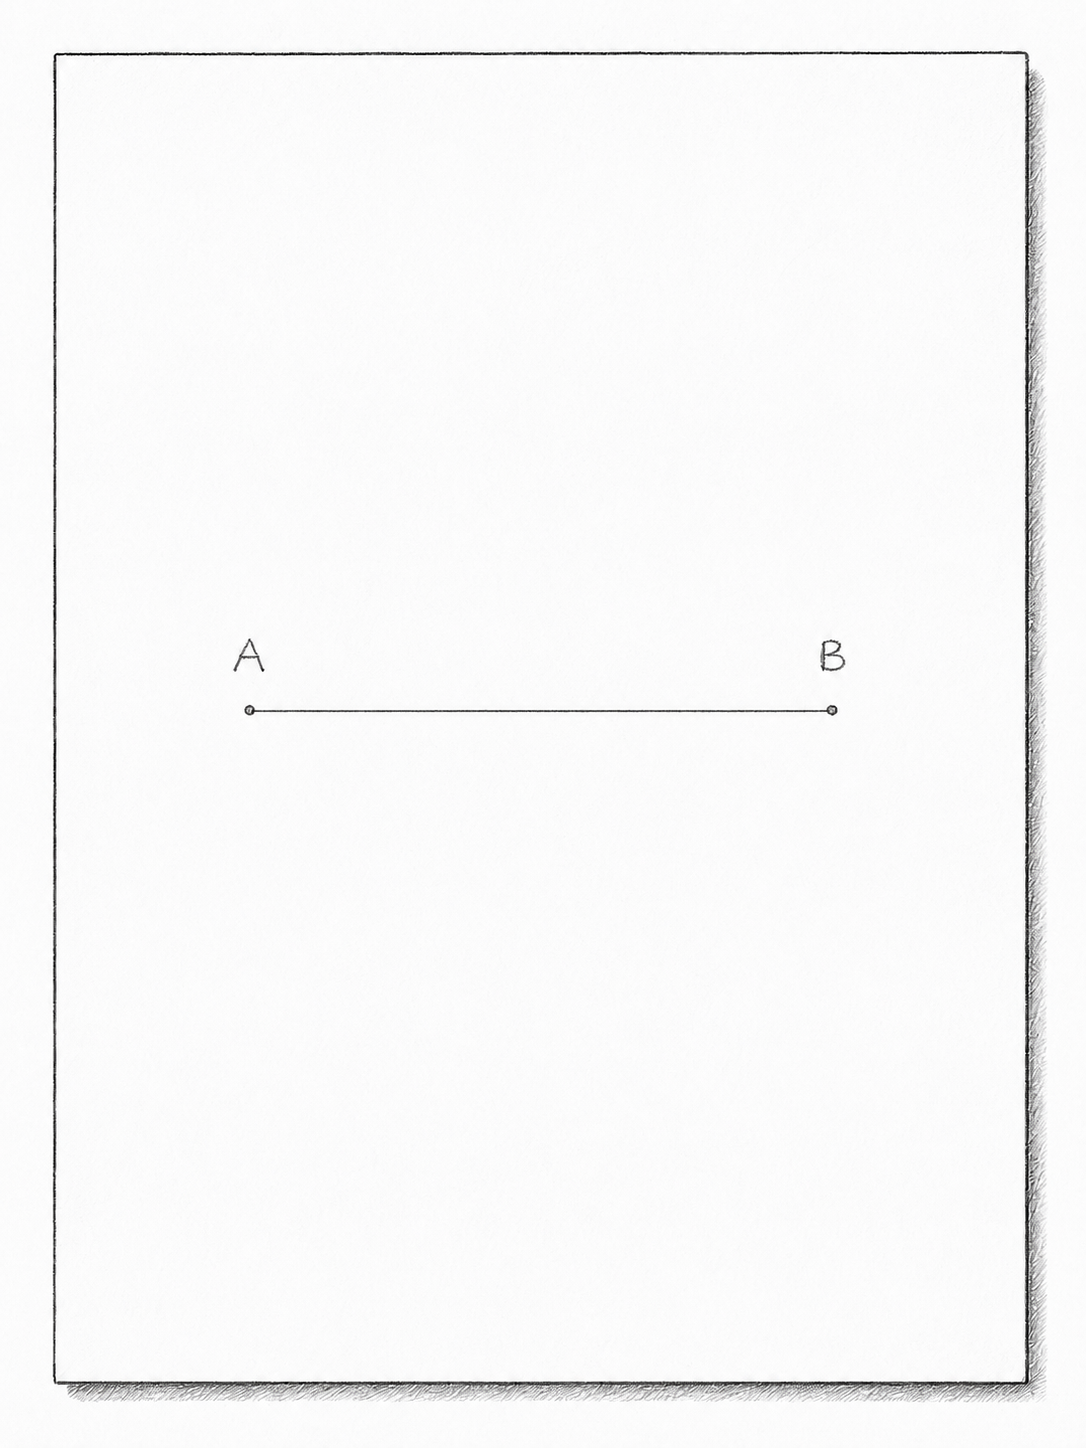
The Ruler Lock is a simple method for drawing a clean line between two points. Not almost between them. Not near them. Exactly between them.
Orin’s Ruler Rule
A ruler is not just placed on the page and hoped for.
First, anchor the pencil. Then align the ruler. Then test the path. Then draw.
Hope is pleasant. Accuracy is better.
Steps
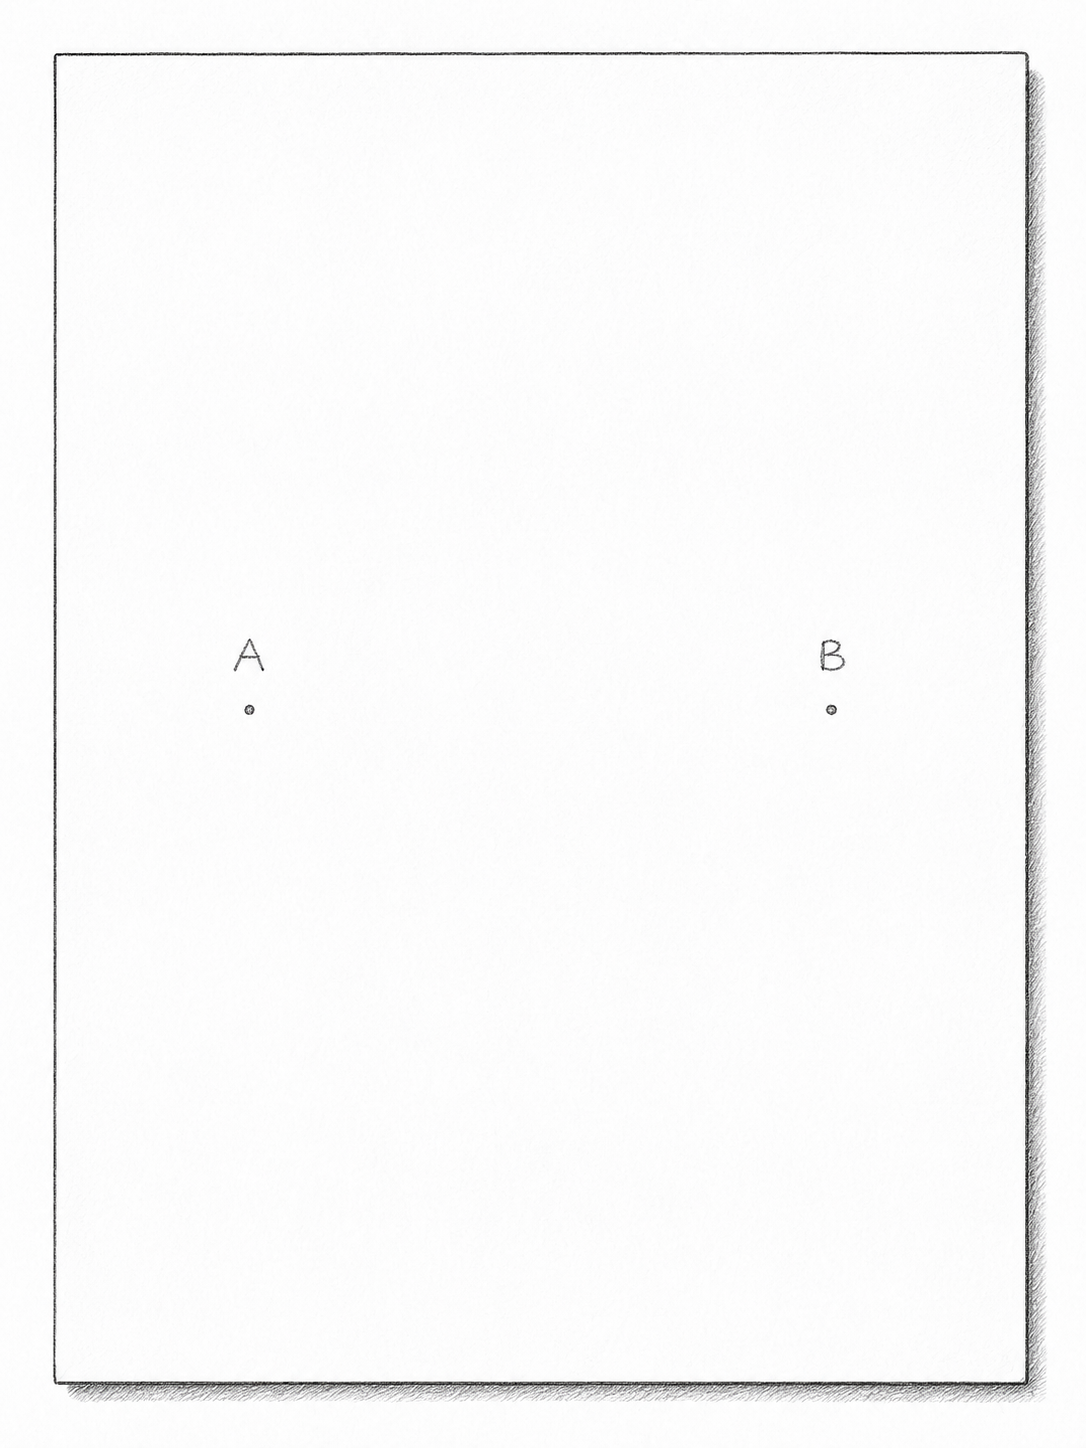
Identify Your Points
Clearly locate the two points you want to use to draw your straight line.
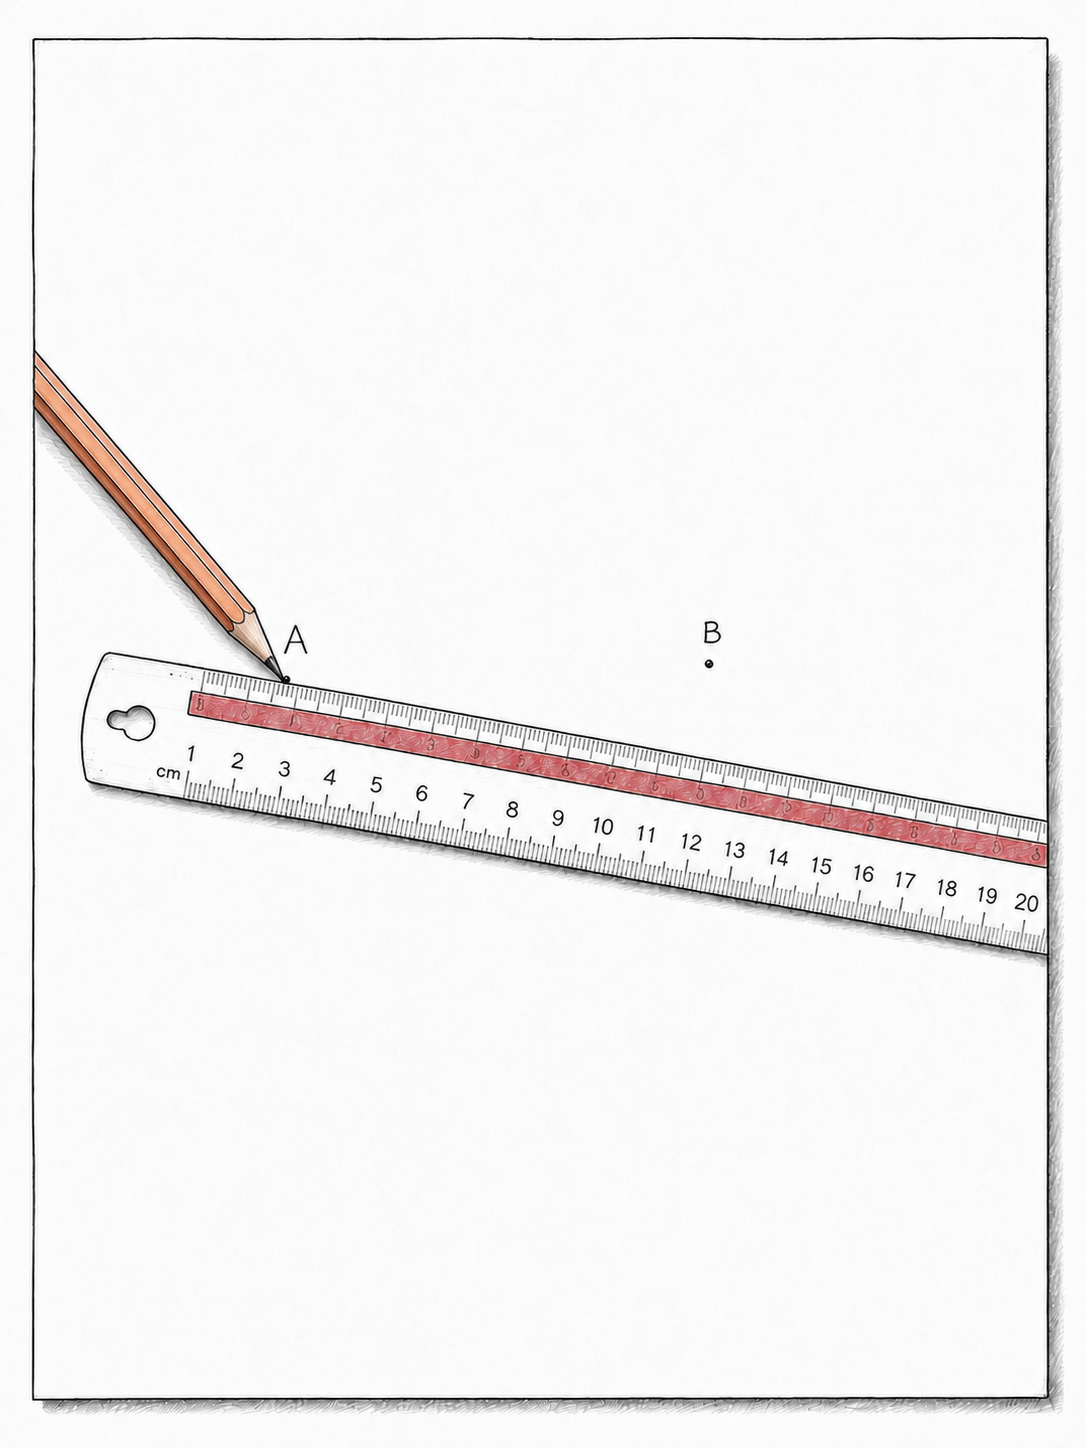
Anchor the Ruler
Place the pencil point exactly on the first point. Press the ruler firmly against the pencil point. This anchors the start of the line.
Do not draw yet. Just hold the pencil there.
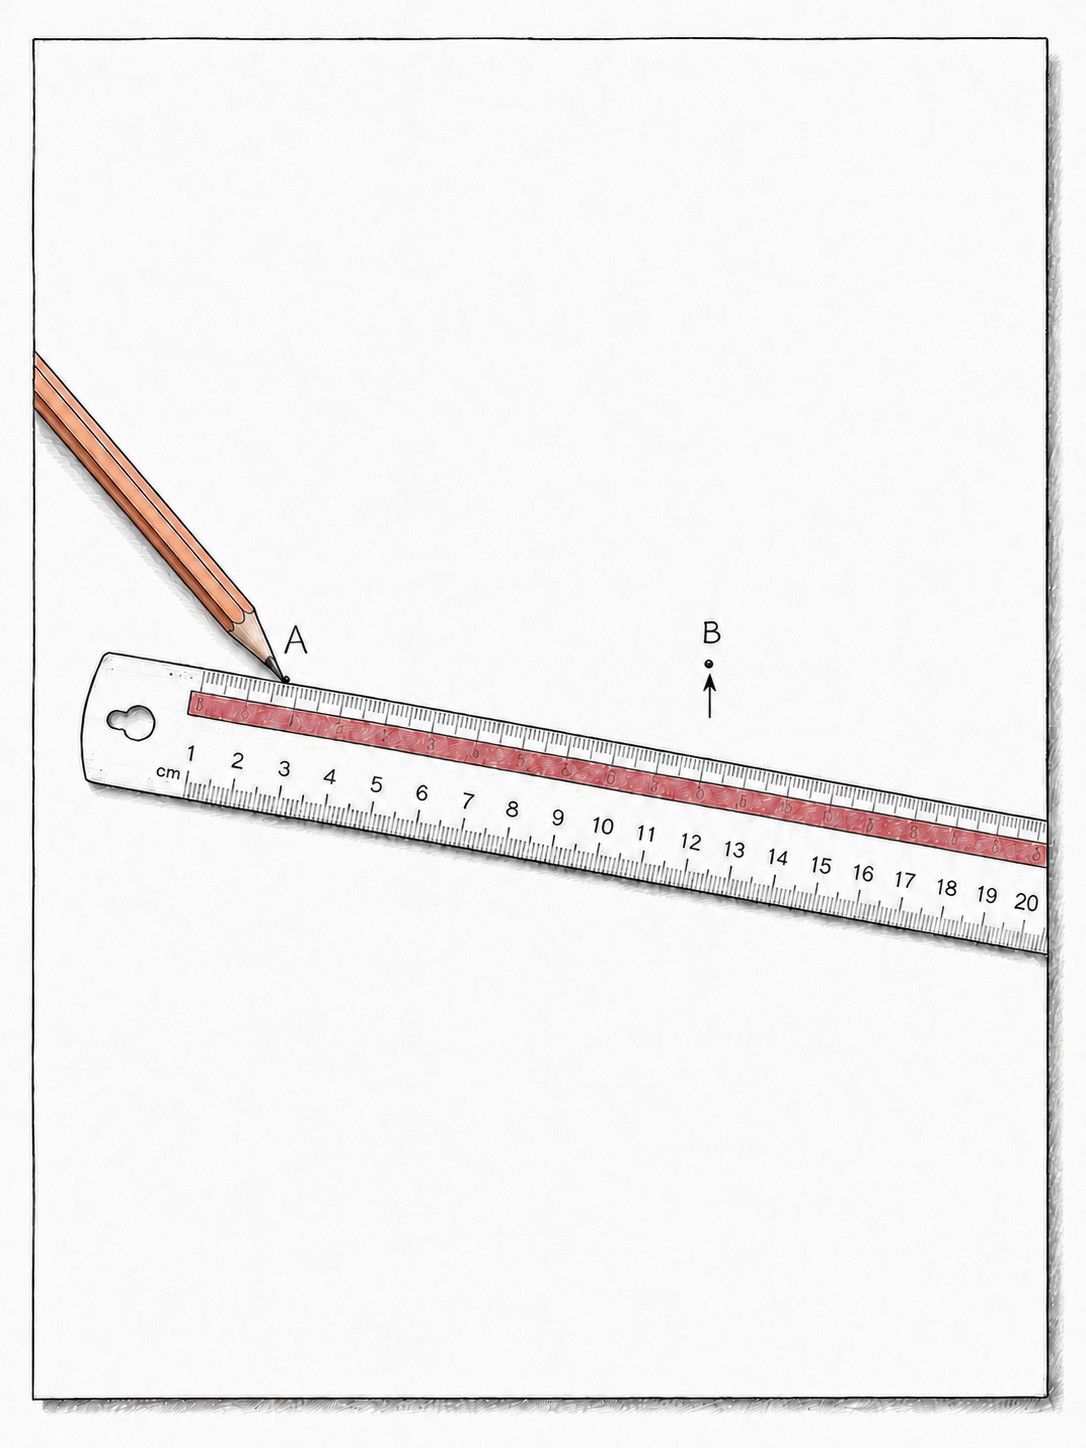
Position the Ruler
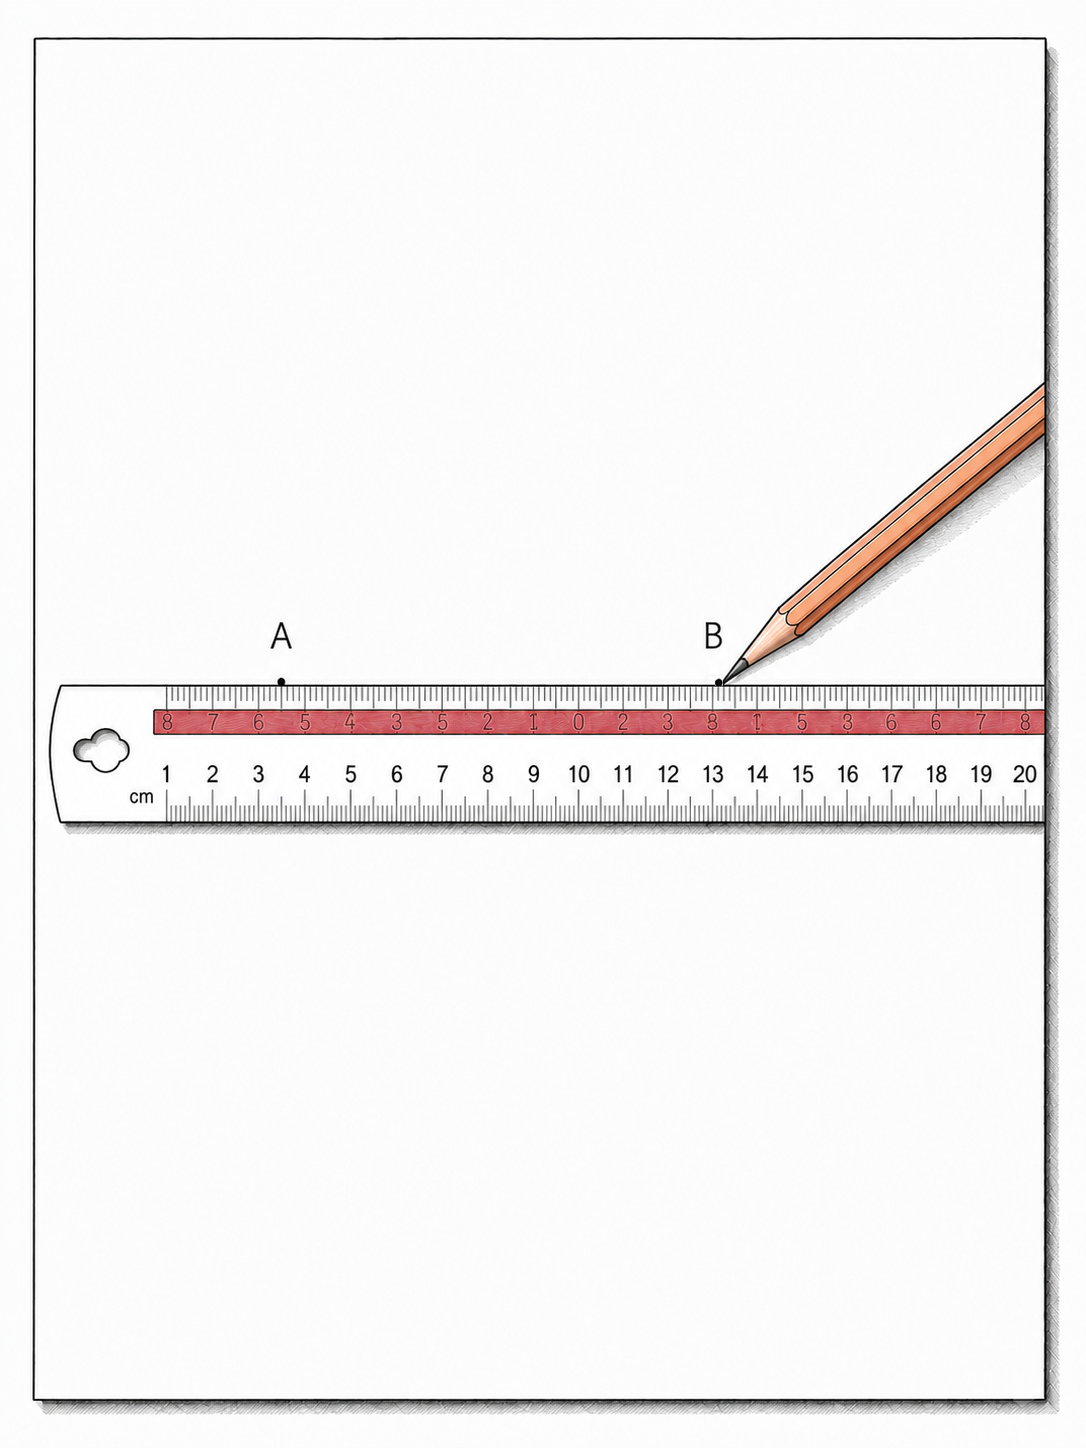
With one point anchored, pivot the ruler and line its edge up with the second point.
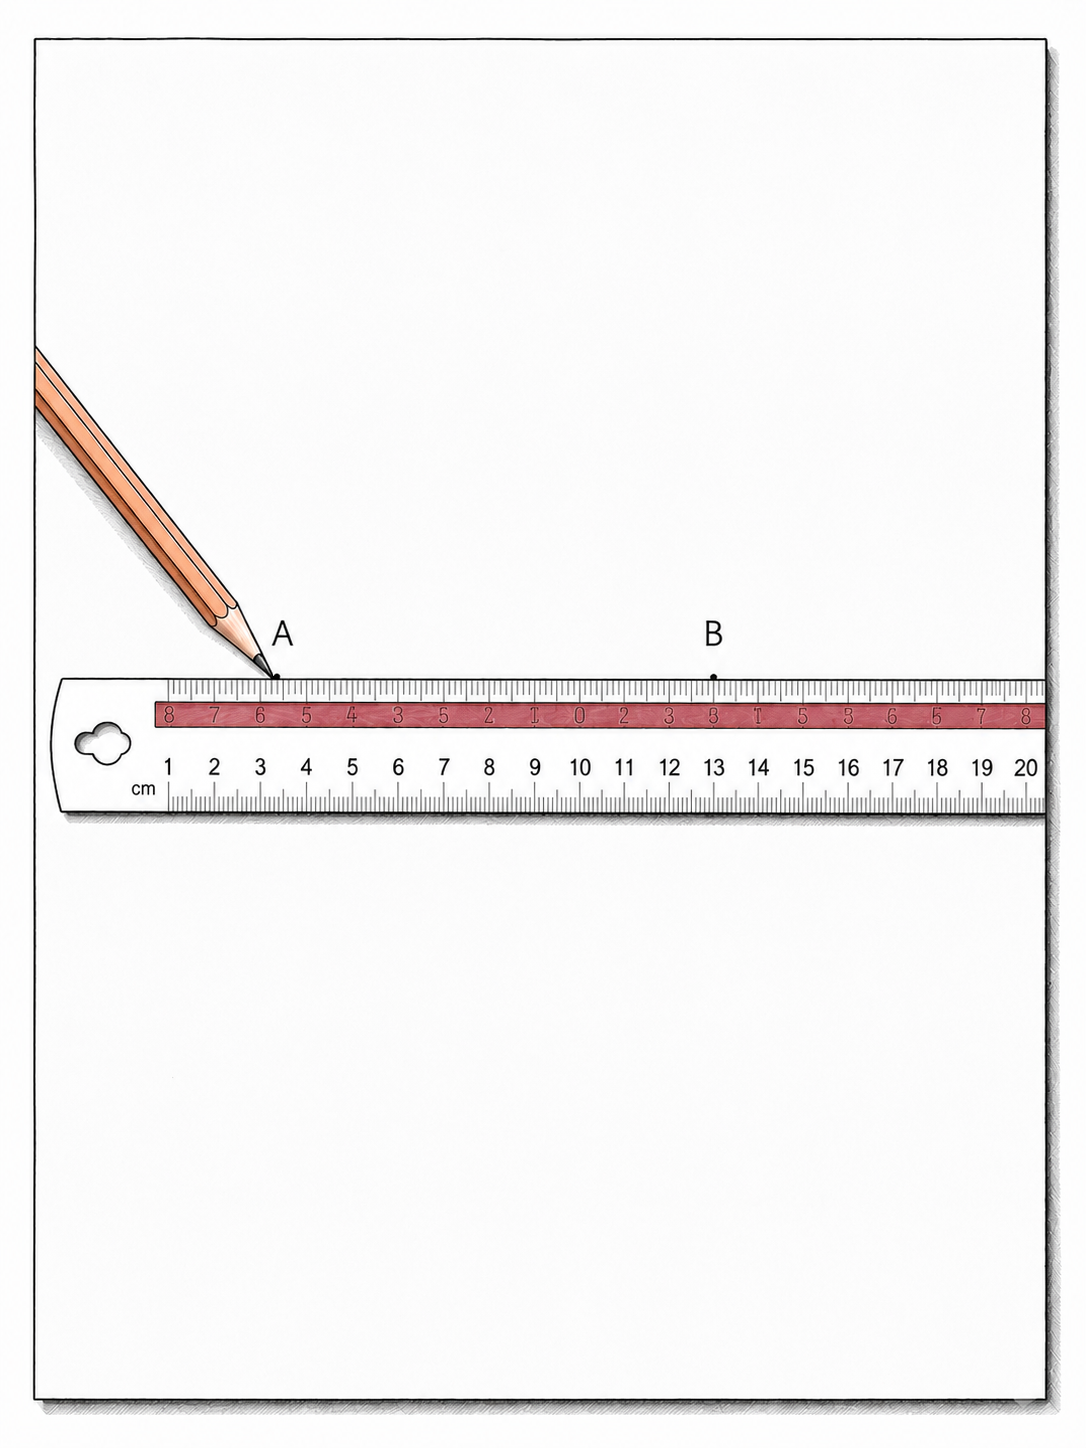
Test Before You Draw
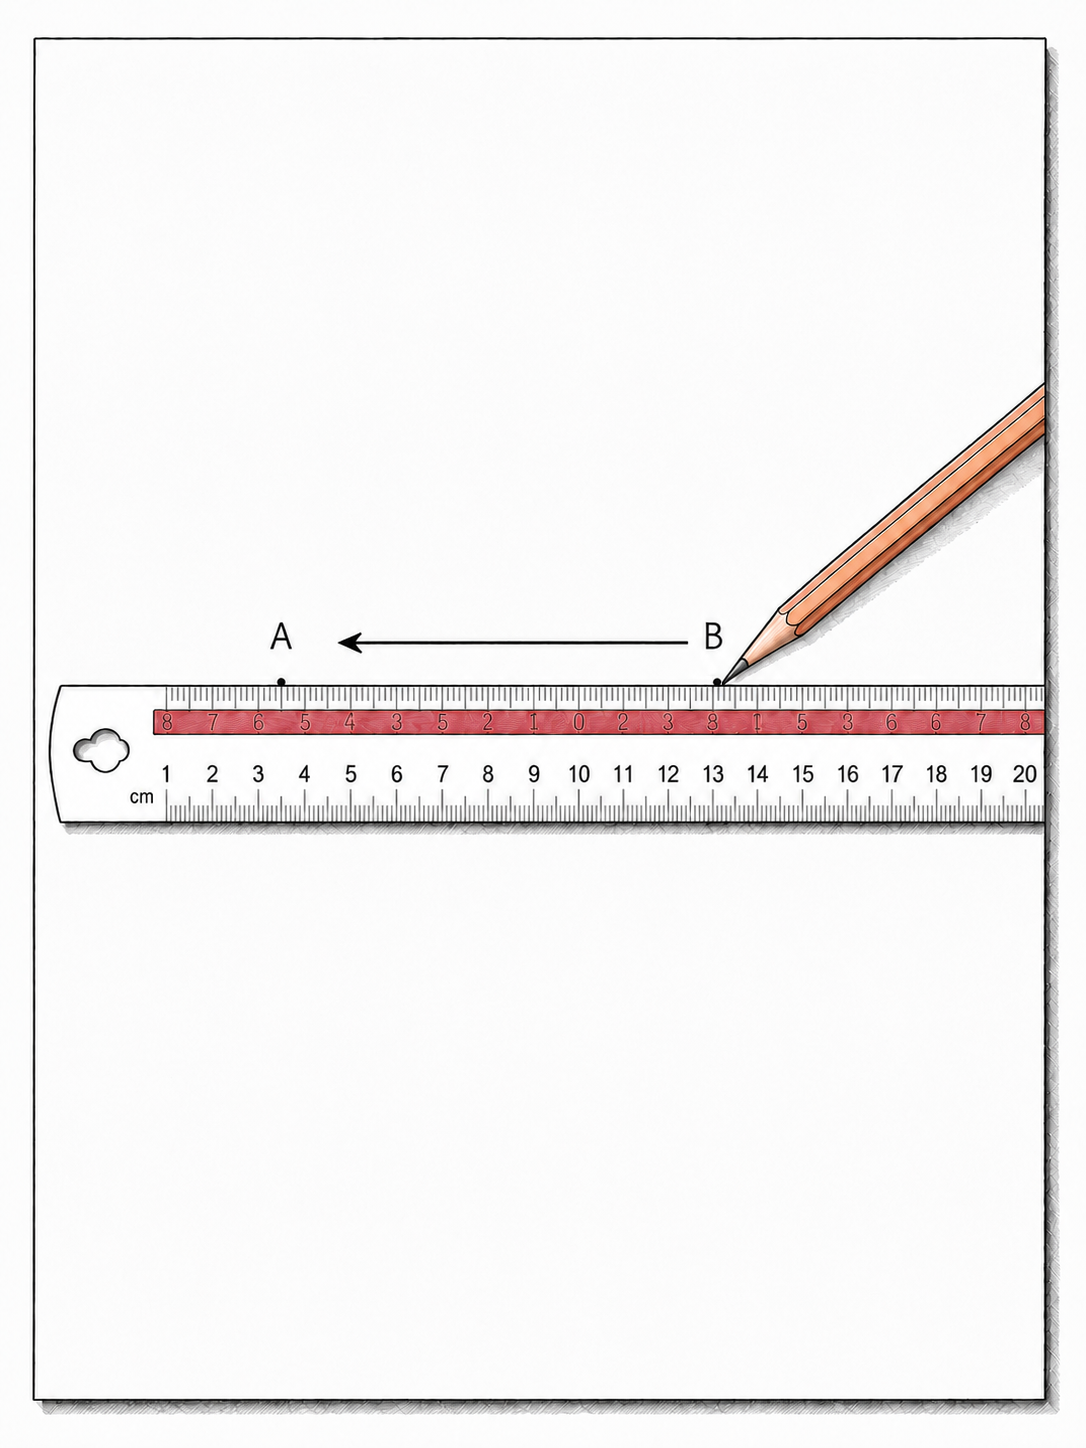
Without pressing hard, move your pencil along the ruler edge from A towards B.
Check that the pencil arrives exactly at the point.
Draw the Line
If you're happy, hold the ruler firmly still. Now draw the line.
Lightly. Carefully. Calmly.
Remember
Anchor first. Align second. Test third. Draw last.
Zia tried it once and nodded.
“That really works!”
Practise It
Draw more pairs of points across the page.
Some can be close together. Some can be far apart. Each time, use the same method:
Anchor. Align. Test. Draw.
After a while, your hand will begin to remember the movement.
Orin approves of this.
Quietly, of course.
Where Next?
The Circle
Once your page is prepared, the first real act of geometry can begin.
The circle.
Simple to look at. Slightly less simple to draw well. A compass can make a beautiful circle, but only if you use it properly.
Orin once attempted a perfect demonstration and produced something that looked rather like a squashed potato. He would like it recorded that this was intentional.
Mostly.
The important point is this: if your compass technique goes wrong, the circle goes wrong with it. And if the first circle goes wrong, everything built from it becomes suspiciously potato-shaped also.
Orin’s Circle Rule
Do not fight the compass.
Anchor the centre. Keep the pencil sharp. Turn gently from the top. Let the pencil glide around the page.
A good circle is not forced into existence. It is guided.
Compass Technique
Before drawing circles everywhere with great confidence, pause for a moment.
Confidence is excellent. Uncontrolled confidence is how one gets potatoes.

Sharpen the pencil
A blunt pencil makes thick, lumpy lines. A sharp pencil gives you a cleaner circle.

Match the points
The compass point and pencil point should reach the page evenly. If one is much longer, the circle may wobble.

Anchor the centre
Press gently on the needle point, not the pencil. The centre is the anchor, and anchors should not wander about.

Turn from the top
Twist the compass lightly with your fingers, like turning a small key in a lock.

Let the pencil glide
Do not push, drag, scrape, or bully the line into existence. Let the pencil travel smoothly.

Follow the motion
Lean the compass gently as it moves around the circle. Your hand should guide the motion, not wrestle with it.
Circle Practice
Begin with your prepared page.
Set your compass carefully, place the point at the centre, and draw one calm circle. Then draw another. Then another.
Try different sizes
Draw small circles, medium circles, and large circles. Each size teaches your hand something slightly different.
Use the same centre
Try concentric circles: several circles sharing one centre point. Start small and work outward.
Reverse the order
Now try outside-in: begin with a larger circle, then draw smaller circles inside it.
Watch the line
Aim for smooth, unbroken circles. If the line jumps or wobbles, slow down rather than pressing harder.
Repeat calmly
The goal is not one perfect circle and a victory parade. The goal is steady improvement.
Notice progress
Compare your first circle with your later ones. Practice turns wobbles into wonders. Eventually.
The more you practise, the more your hand, compass, and attention begin to work together. Orin considers this a highly satisfactory development.
Circle Art
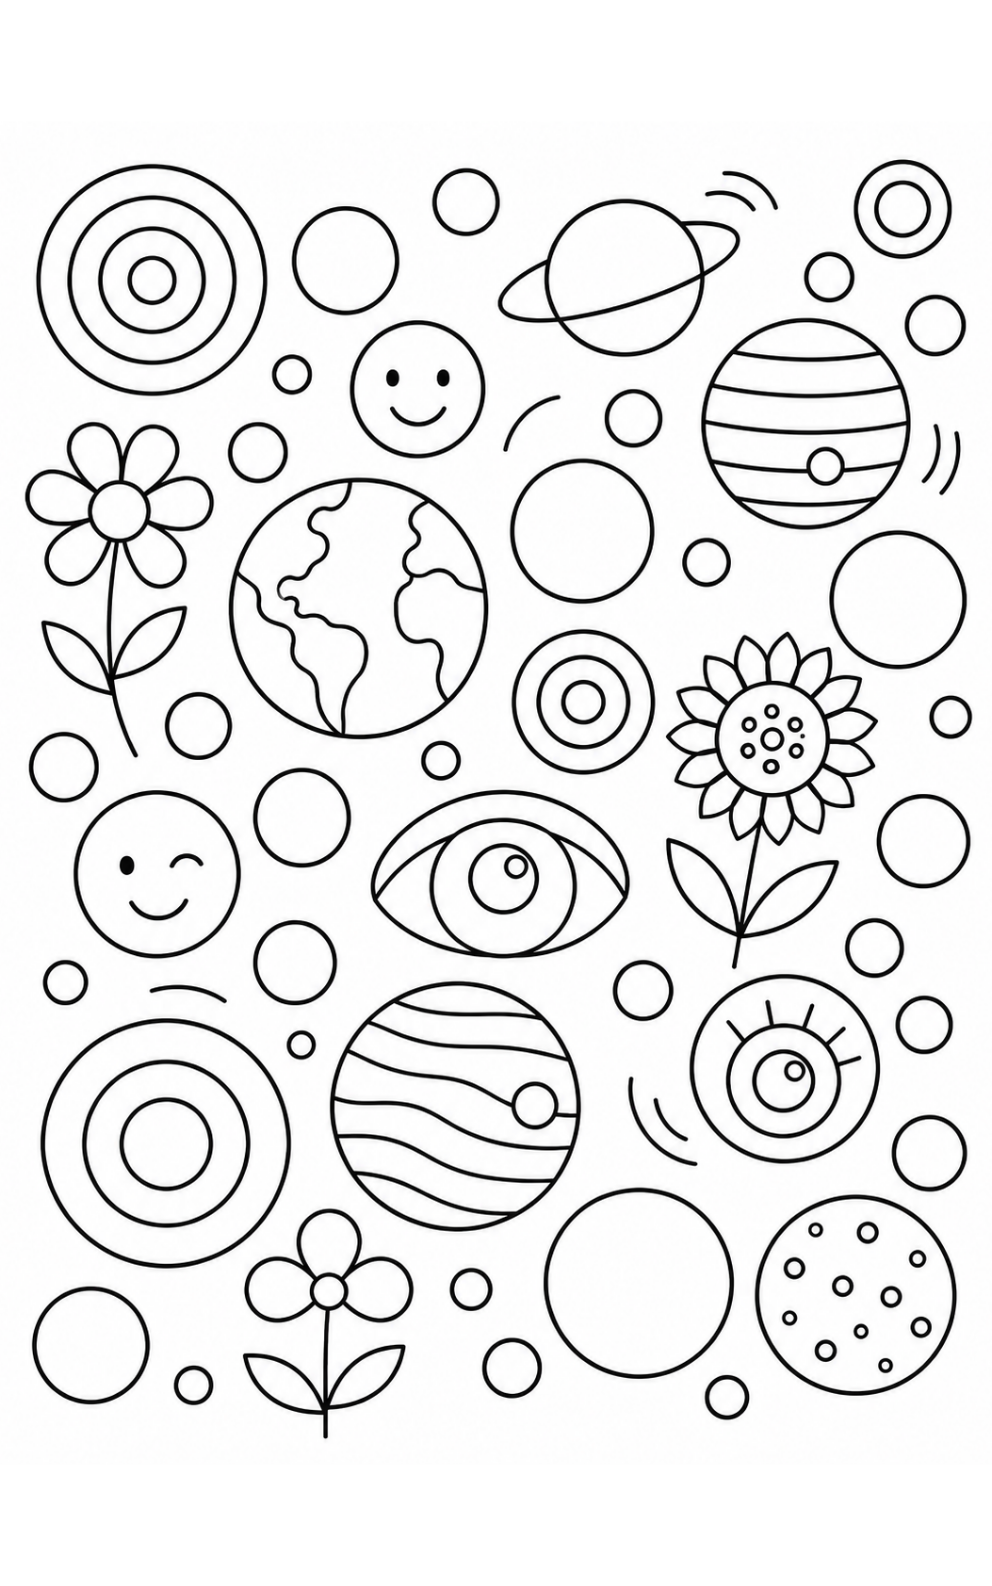
Once you have filled a page with circles, don't throw it away.
Your practice page is not just practice. It's an art piece waiting to be noticed.
Look first
Study your circles before adding anything. Some may already suggest flowers, planets, eyes, bubbles, wheels, suns, or moons.
Choose a few
You do not need to decorate every circle. Pick the ones that seem most interesting and begin there.
Add details
Draw patterns inside the circles, around the circles, or between them. Small details can make a plain circle feel alive.
Connect shapes
Use lines, curves, dots, petals, triangles, or other shapes to connect your circles into one larger design.
Add colour
Use coloured crayons or pencils to bring warmth, contrast, and rhythm to the page.
Finish properly
When the page feels complete, sign and date it. A finished practice page is still finished work.
This is how practice becomes artwork. First the circle behaves. Then imagination joins in.
Where Next?
Orin’s Centre Guide
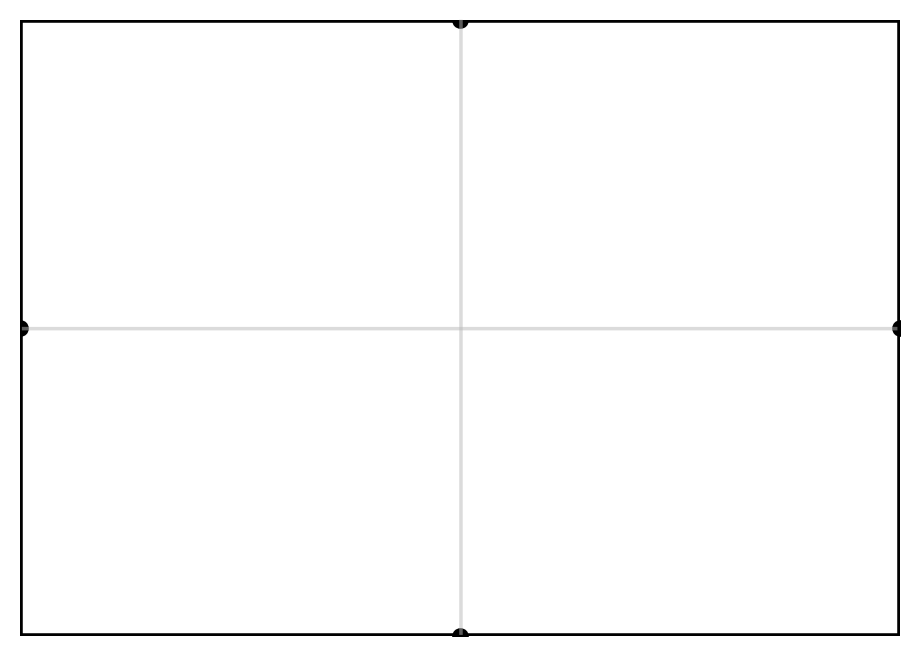
Every proper mandala begins in the same place.
The centre.
Without a centre, the rest of the design has nothing reliable to grow from. Circles drift. Patterns wander. Symmetry becomes a rumour.
Orin does not recommend this.
Fortunately, finding the centre of the page is not difficult. You simply measure carefully, mark lightly, and draw two calm guide lines.
Where those lines cross, your centre appears.
Later, when you begin drawing compass circles, this is the point your compass needle will anchor into. So yes, it matters.
Orin’s Centre Rule
Measure first. Mark lightly. Draw clean guide lines.
Do not guess the centre. The centre is too important to be left to optimism.
Once the page is centred, the rest of the geometry has somewhere sensible to begin.
The Method
The method is straightforward, which is one of the reasons Orin approves of it.
Prepare the page
Start with a firm surface, a flat sheet of paper, and corners that stay where they are put.
Measure top to bottom
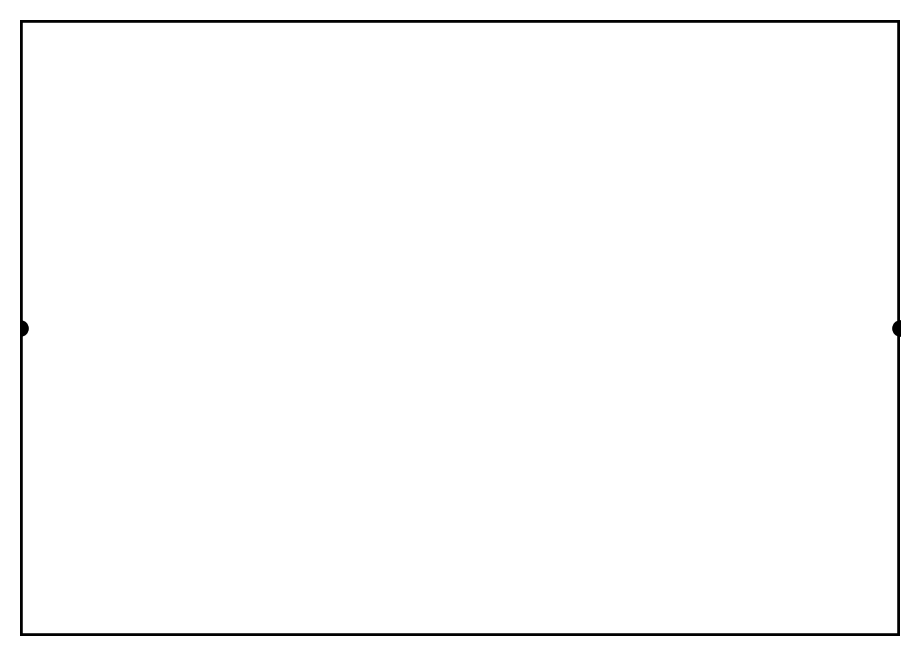
Find the halfway point on the left and right edges of the page and make two small marks.
Measure side to side
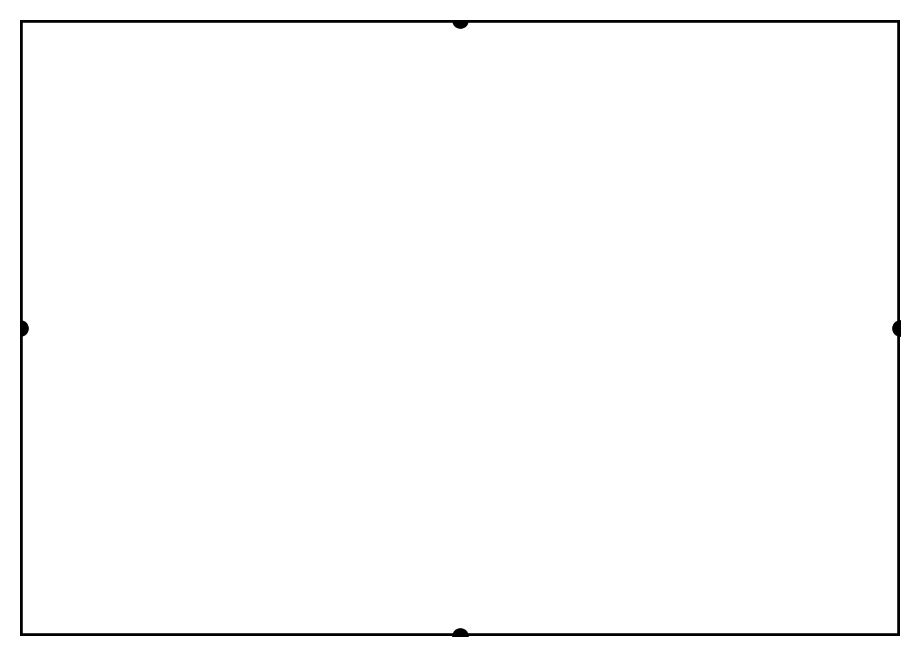
Find the halfway point on the top and bottom edges of the page and make two more small marks.
Draw the guide lines
Join the matching marks with a ruler: one horizontal line and one vertical line.
Mark the centre
Where the two lines cross, make a small point. That point is the centre of the page.
Use it later
This centre point will become the anchor for your compass when you begin drawing circles.
Steps
Prepare a New Page
Begin with a properly prepared page.
Use a firm surface, flat paper, and taped corners if needed. If the page slides about while you are measuring, the page is being difficult.
Orin recommends not allowing this.
Find the Middle Top to Bottom
Measure the page from top to bottom.
Find the halfway point and make a tiny mark on the left edge and another on the right edge.
Keep the marks small. These are guides, not declarations.
Find the Middle Side to Side
Now measure the page from side to side.
Find the halfway point on the top edge and the bottom edge, then make a tiny mark at each.
If the marks do not seem to agree with one another, check the measuring. The ruler is rarely at fault.
Draw the Guide Lines
Use your ruler and a light pencil line to join the left and right marks.
This gives you the horizontal line.
Then join the top and bottom marks to create the vertical line.
Where the two lines cross, the centre reveals itself in a most satisfactory manner.
Mark the Centre
Make a tiny dot where the horizontal and vertical lines meet.
That point is the centre of your page.
Later, when you begin compass work, this is where the compass needle will anchor. Hold this point steady, and your circles will have somewhere reliable to begin.
Remember
Measure. Mark. Draw. Centre.
A mandala grows from the middle outward.
If the middle is sound, the rest has a much better chance of behaving.
Quality Control
If your centre does not seem quite right, do not worry. Check the measurements and try again.
Check the surface
Was the page flat and steady while you measured?
Check the halfway marks
Did you measure carefully and place the marks exactly at the halfway points?
Check the ruler lines
Did your ruler pass cleanly through the matching marks before you drew the lines?
Check the crossing point
Did the horizontal and vertical lines meet exactly where expected?
Check the dot
Did you place a small centre point where the lines cross, ready for later compass work?