

More Mini Mandala
Task Card
More Mini Mandala
In Mini Mandala, you built a small six-petal mandala from repeated circles. Now you’re going to give it a second layer.
This task adds more sweeping arcs around the first flower. The same simple pattern starts to feel fuller, richer, and more mandala-like.
Smudge says this is where the mandala starts showing off. Biscuit thinks showing off is acceptable if the result is pretty.
Need Help?
Steps
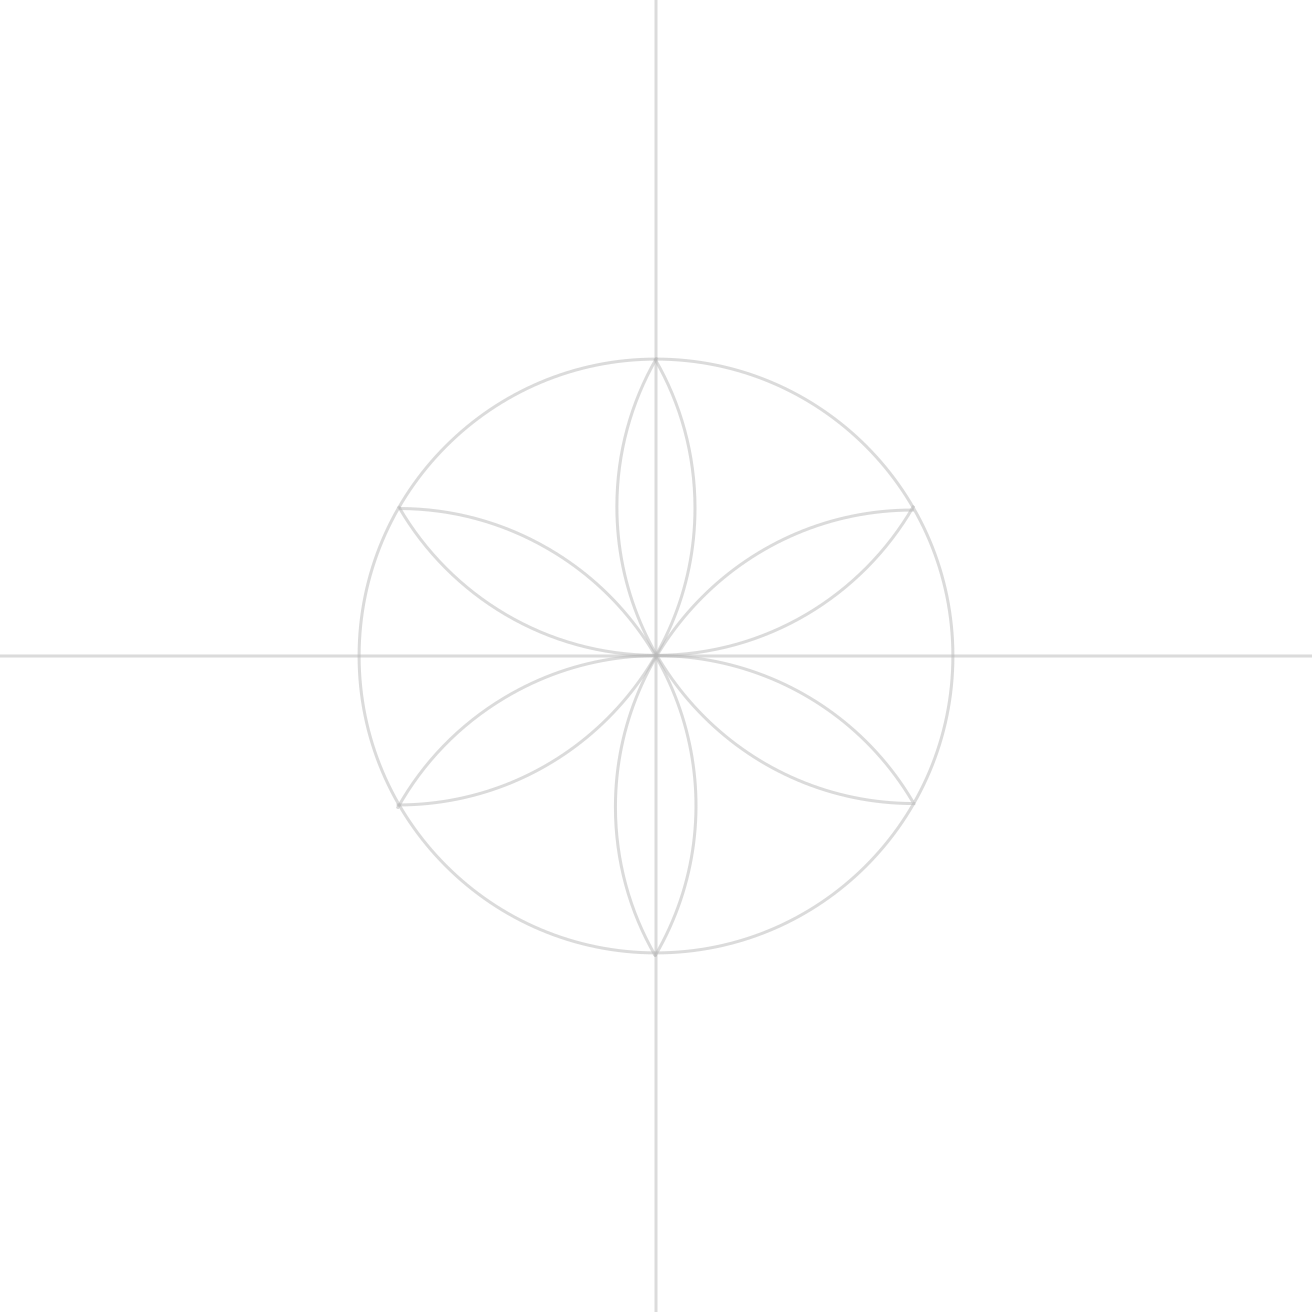
Begin with Mini Mandala
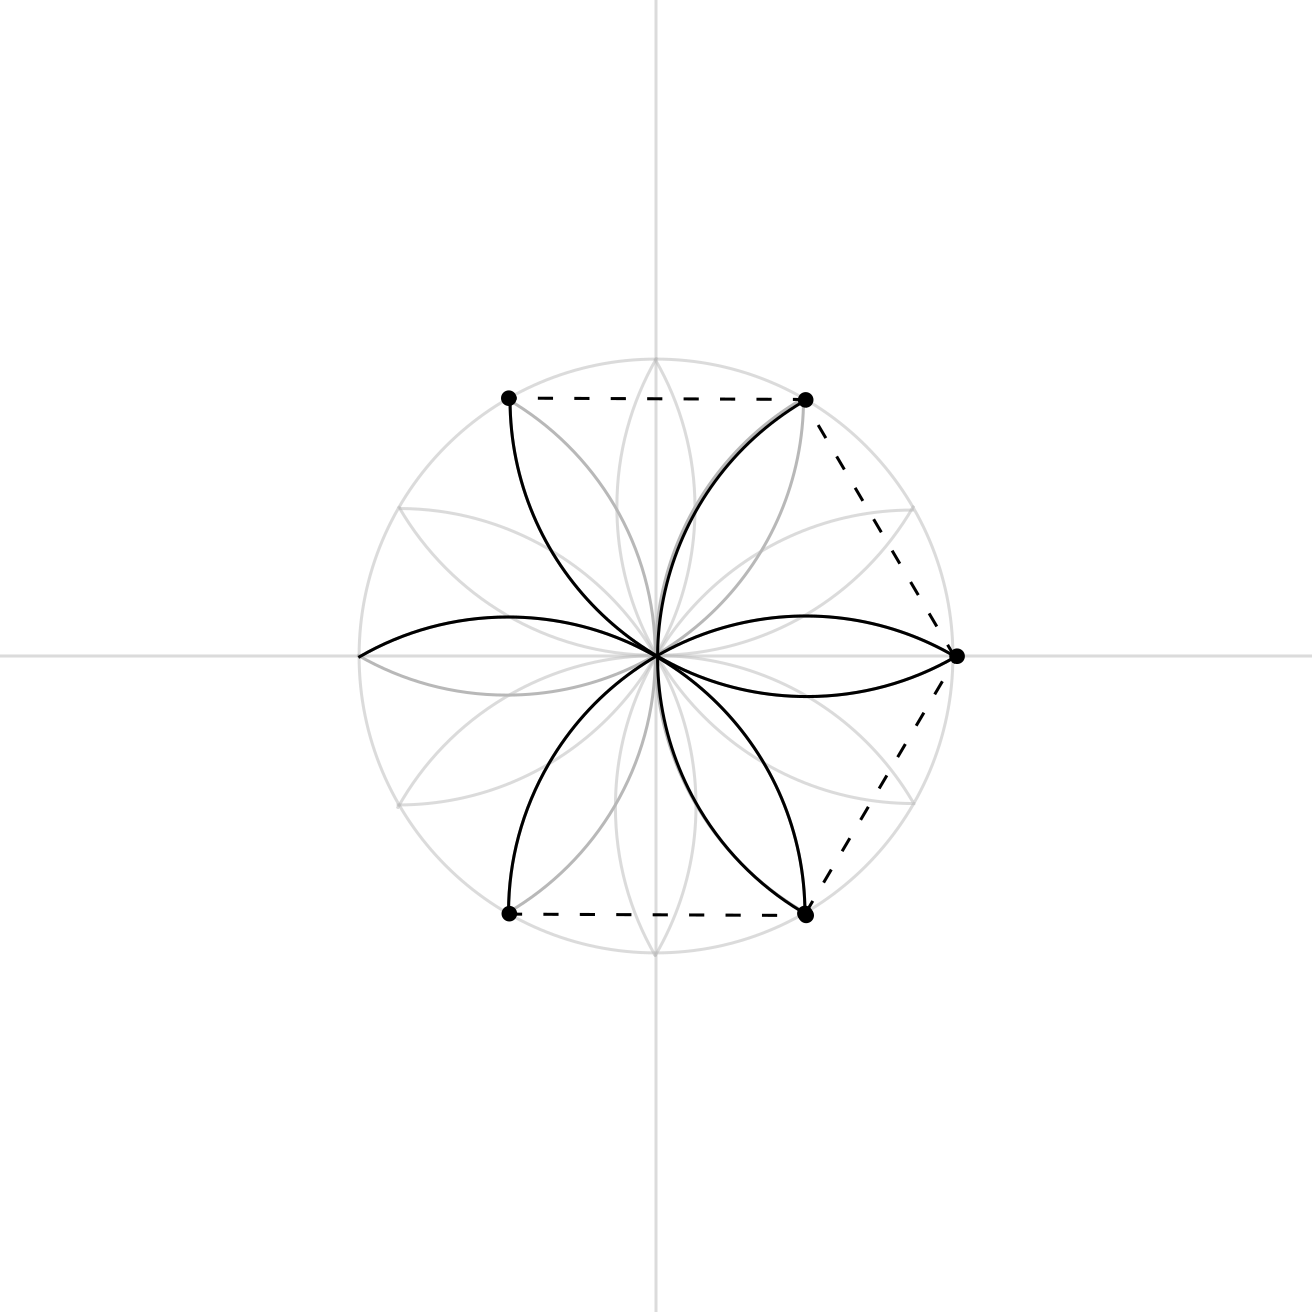
Start with your completed Mini Mandala. You should already have the six-petal flower sitting inside the circle, with the vertical and horizontal guides still visible.
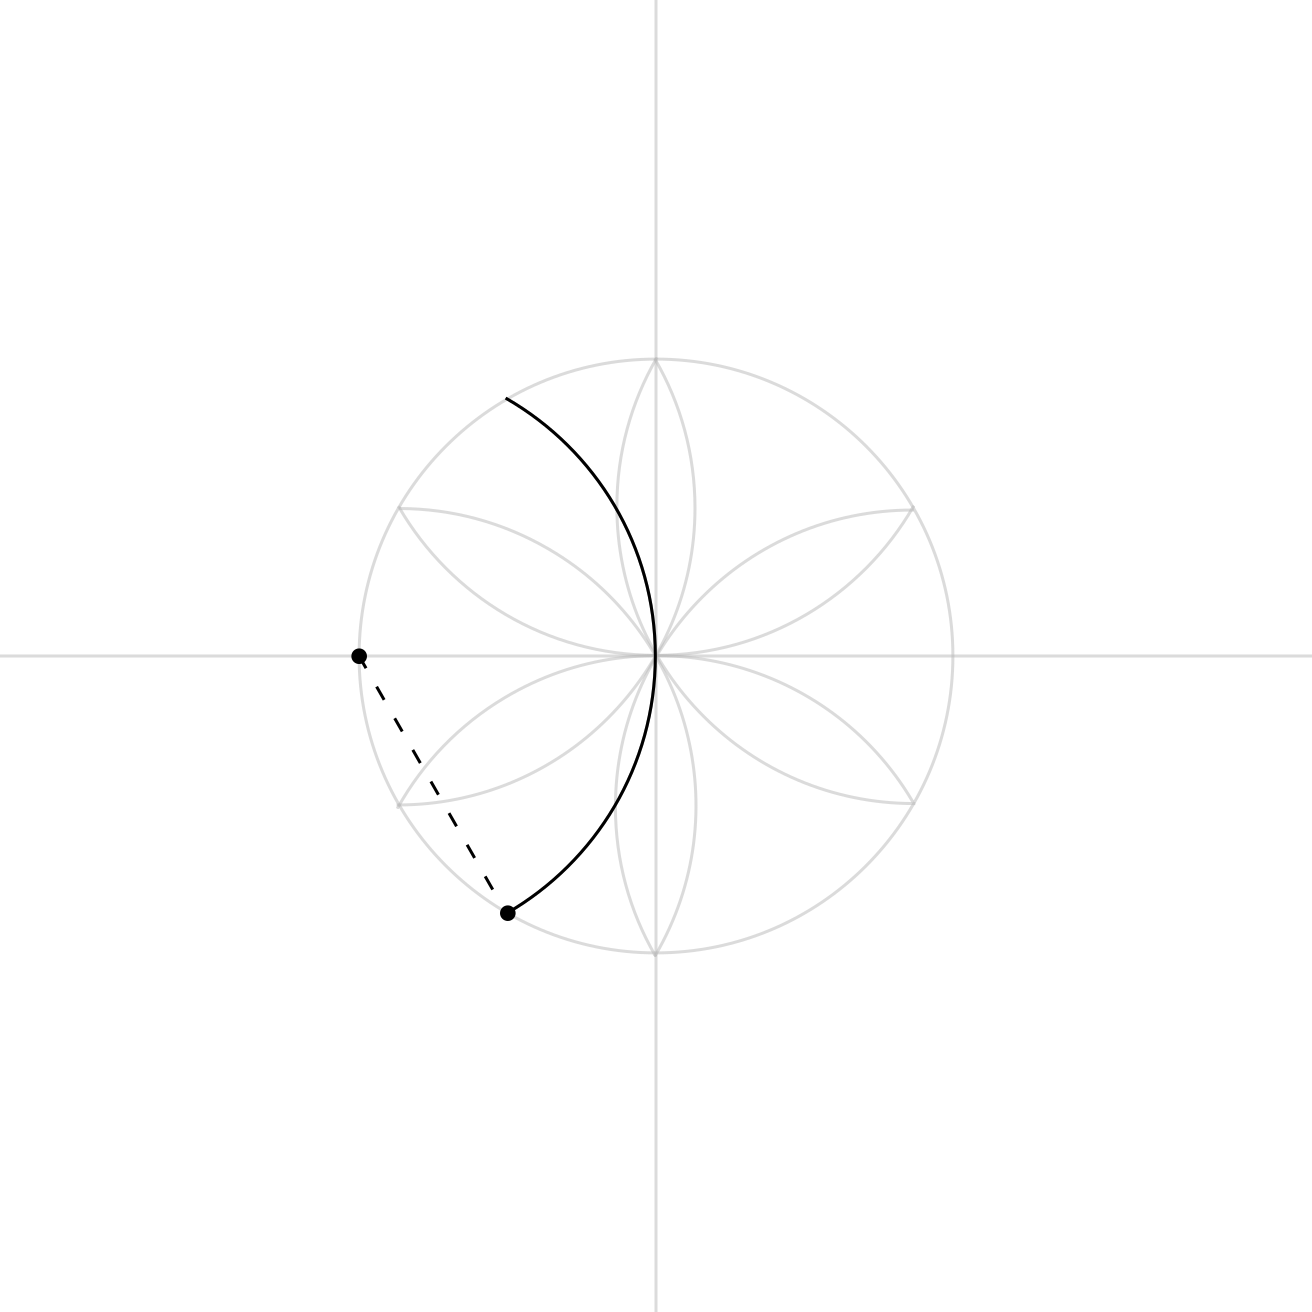
We will do everything again, but this time start on the side (intersection), where the horizontal line meets the circle.
Add the First Arc
Using the correct centre point, draw the first arc.
Add the Next Arc
Move to the next point and draw another arc using the same idea.
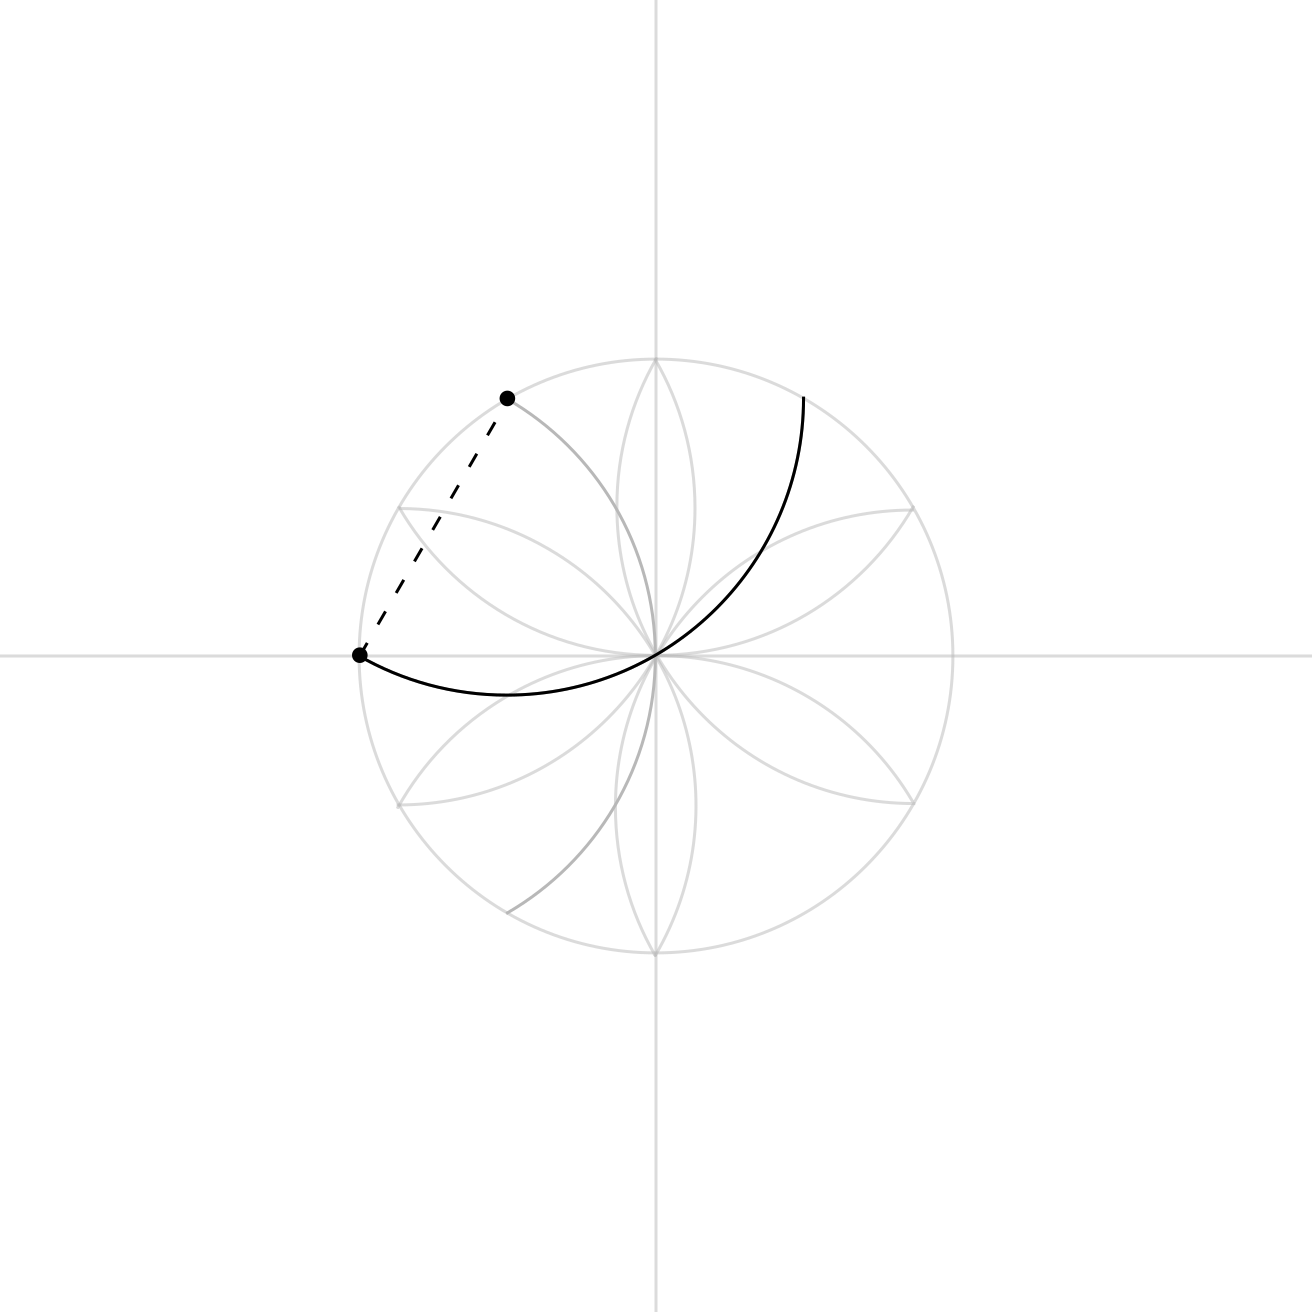
Continue Around the Mandala
Keep moving around the circle, using the touching points to place each new arc. Each new curve adds another part of the second petal layer.
Strengthen the Final Mandala
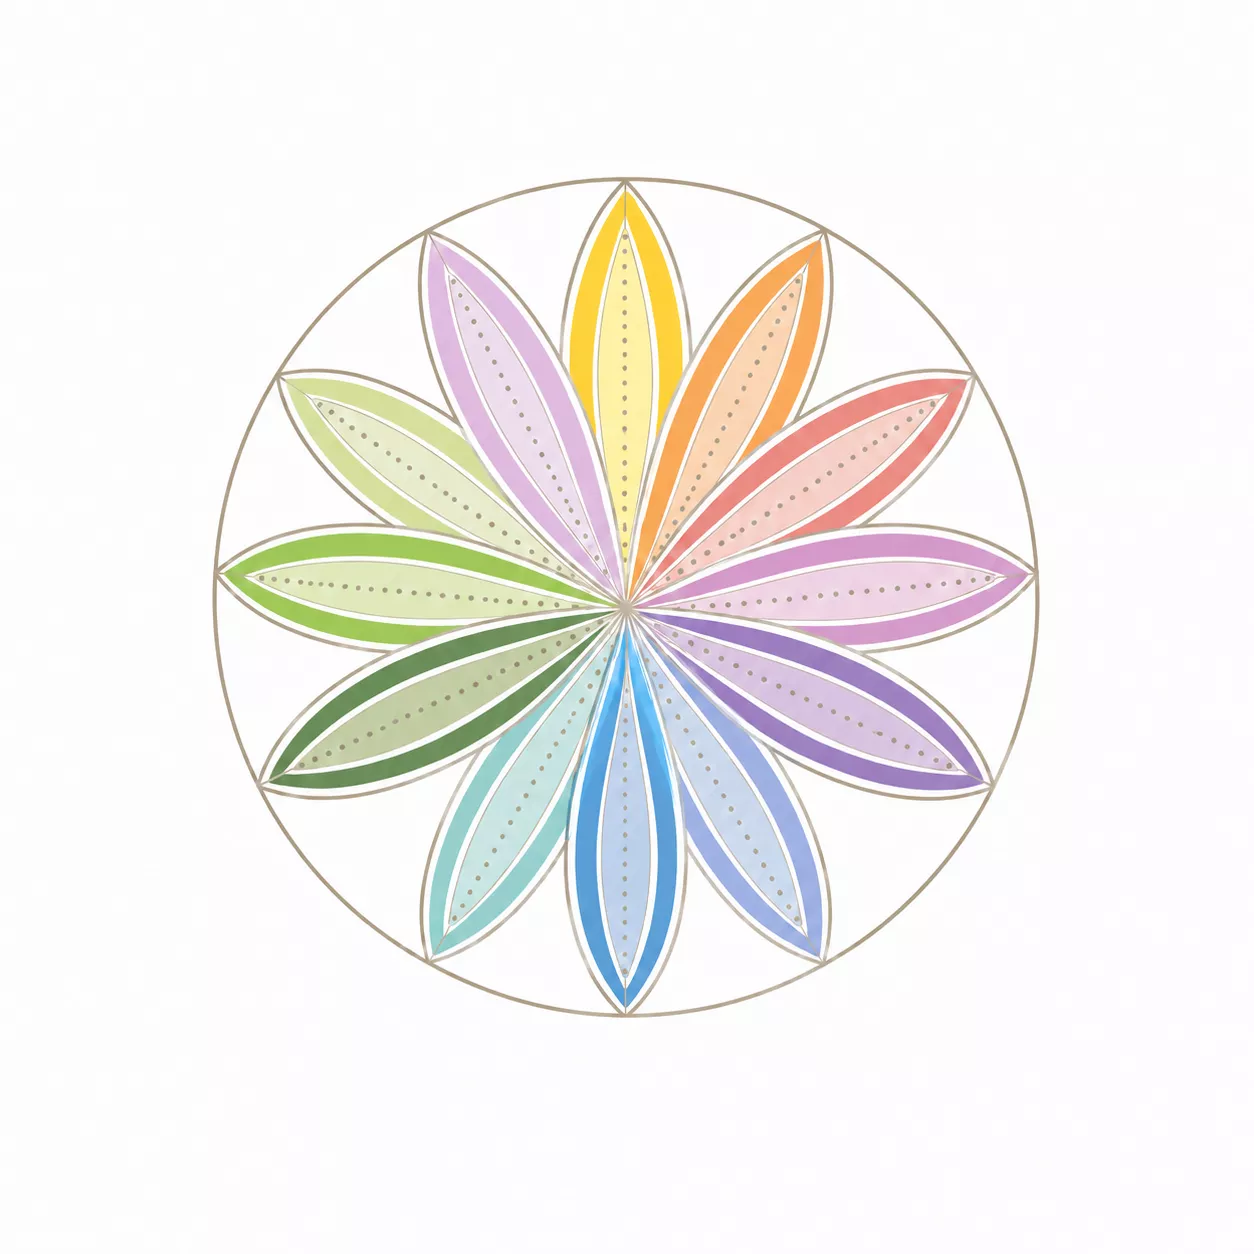
Congratulations. You've turned a simple six-petal mandala into a fuller layered design.
Pause for a moment and look at how much changed without much more effort. Beautiful!
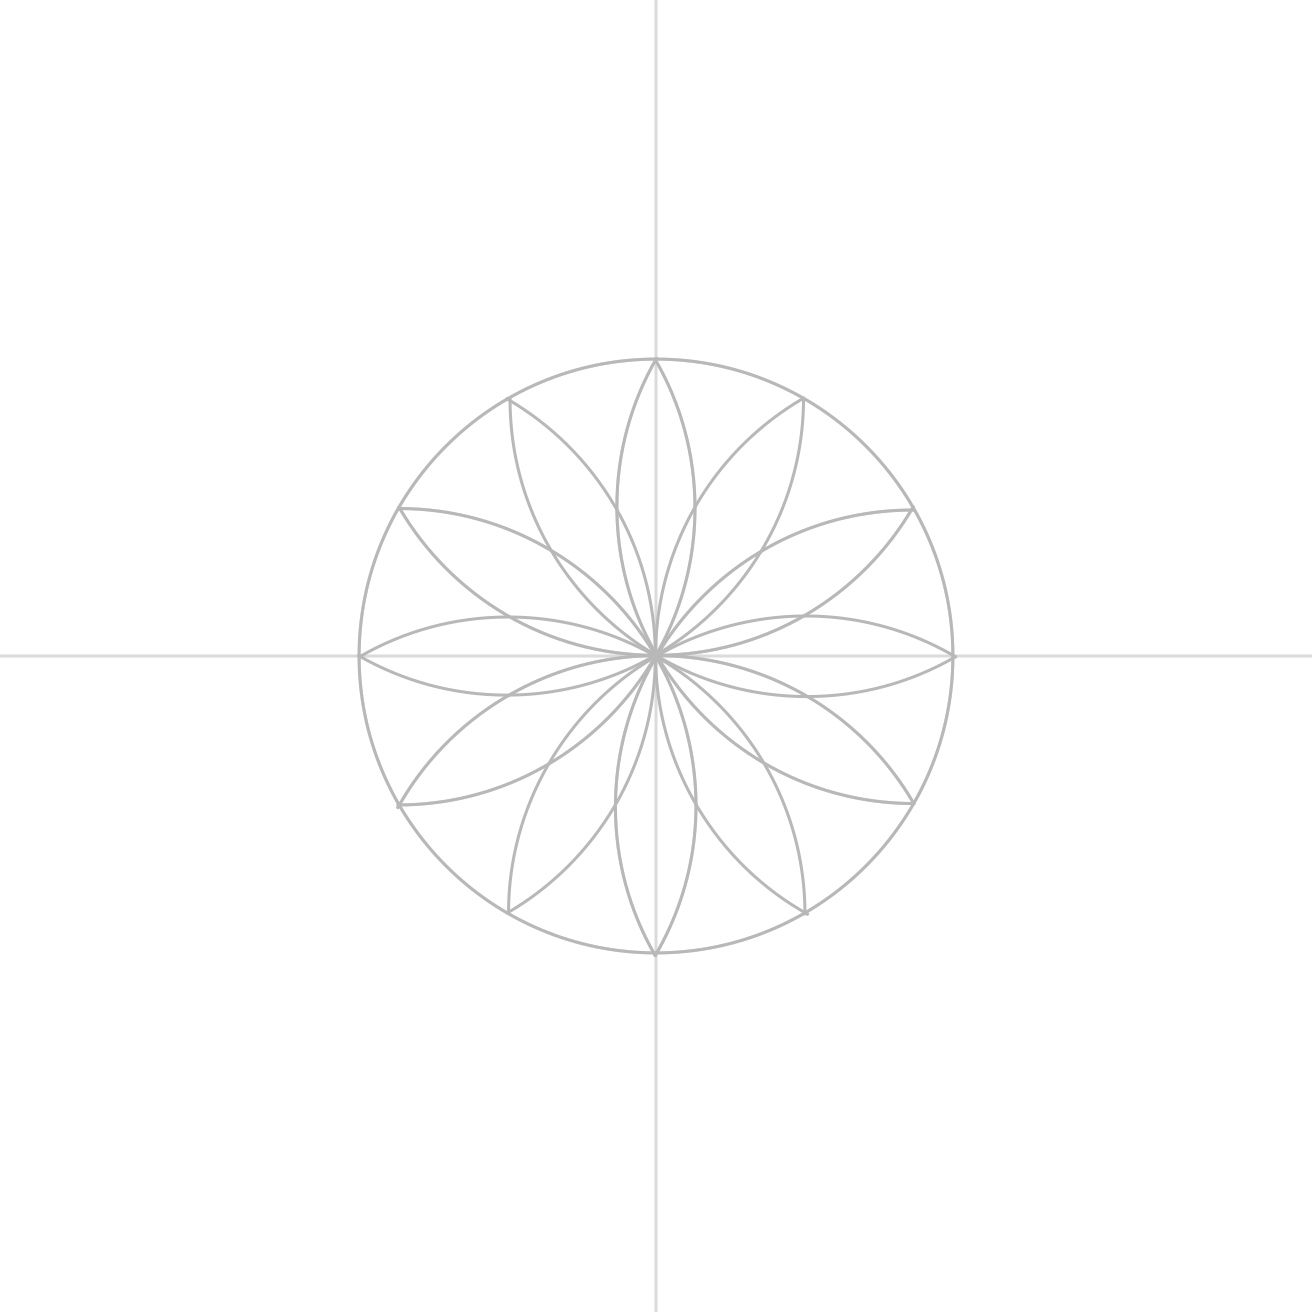
Choose the lines you want to keep and make them clearer. You can leave some construction lines faint, or clean the design up so the finished mandala stands on its own.
Quality Control
If the arcs don't sit neatly around the centre, check that you used the correct points and kept your compass steady while drawing each curve.
If one arc feels wrong, draw it again lightly before strengthening it. Mandalas improve when you slow down and look carefully.
Make It Yours
Colour alternating petals one way then another. Add dots, borders, tiny shapes, or soft shading to show the two layers.
You can keep the mandala calm, make it bright, or let the colours gently argue with each other until they become friends.