

Mini Mandala

Task Card
The Mini Mandala
A mandala can look complicated when it is finished. Lots of petals. Lots of balance. Possibly a suspicious amount of neatness.
But this one begins simply: with two guide lines and a circle.
In this task, you will use the same compass width again and again. Each new circle creates crossings. Those crossings help the next circle appear. Before long, a small mandala begins to grow.
Smudge says this is how circles become flowers. Biscuit is checking whether flowers are edible.
Steps
Start with the Template
Begin with the vertical and horizontal guide lines.

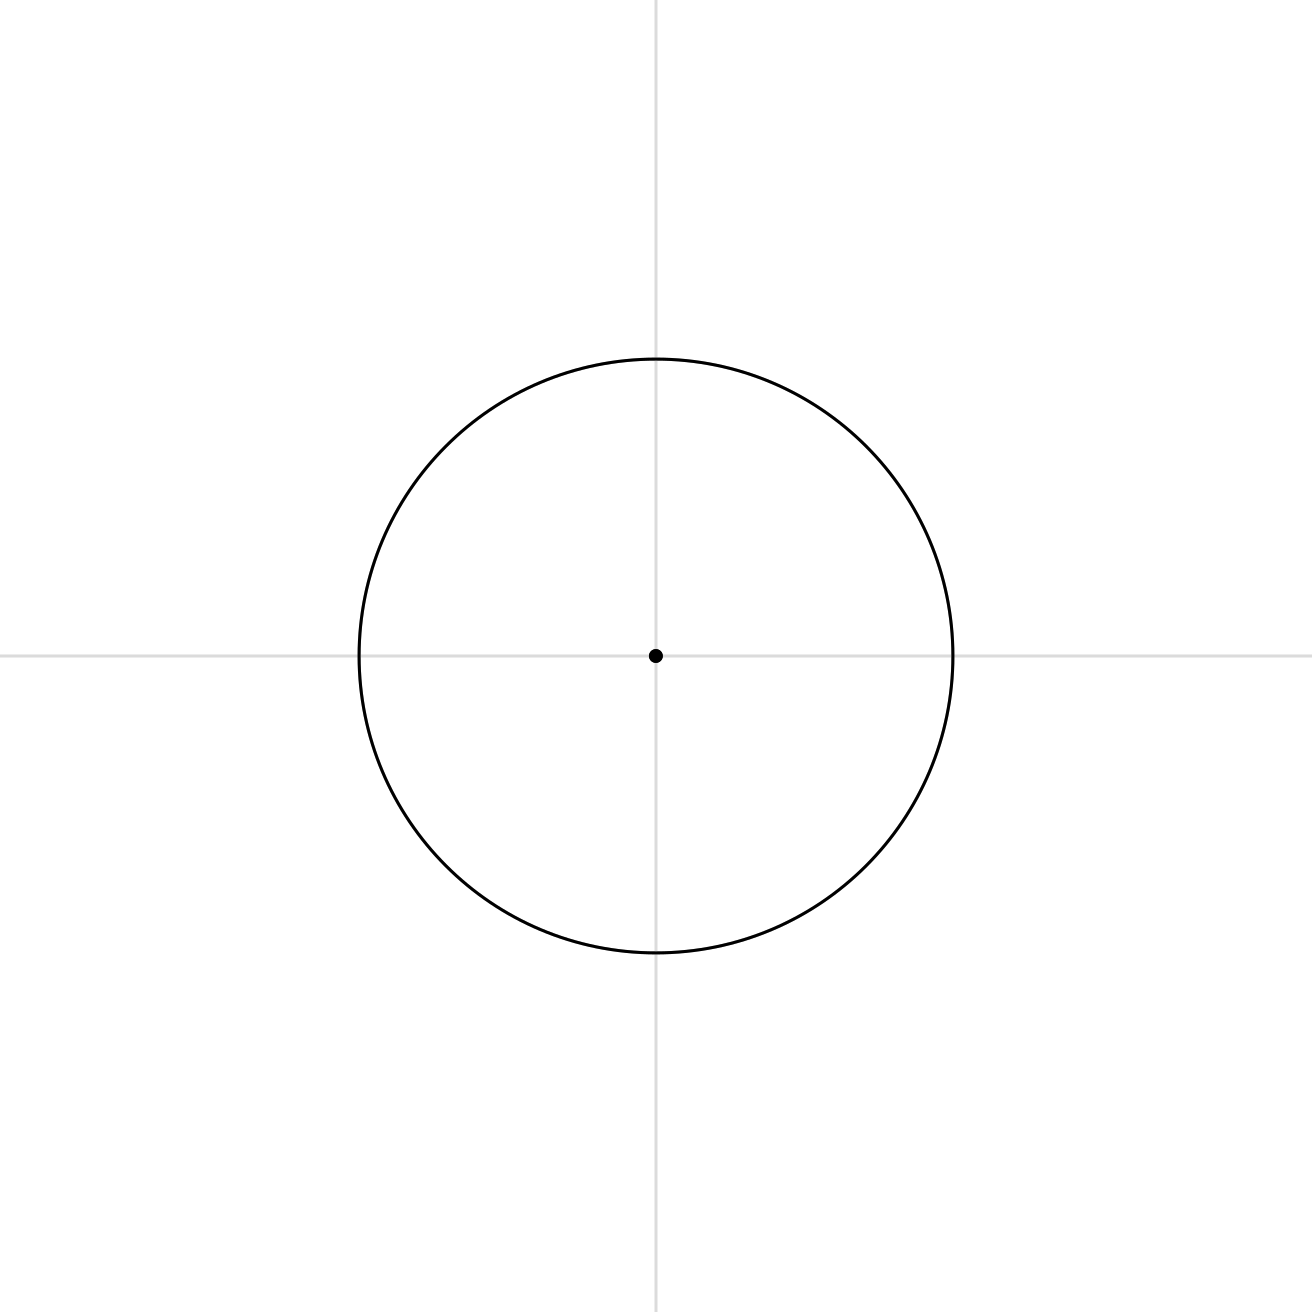
Draw Your First Circle
Find the centre point where the two lines cross.
Place your compass point on the centre and draw your first circle.
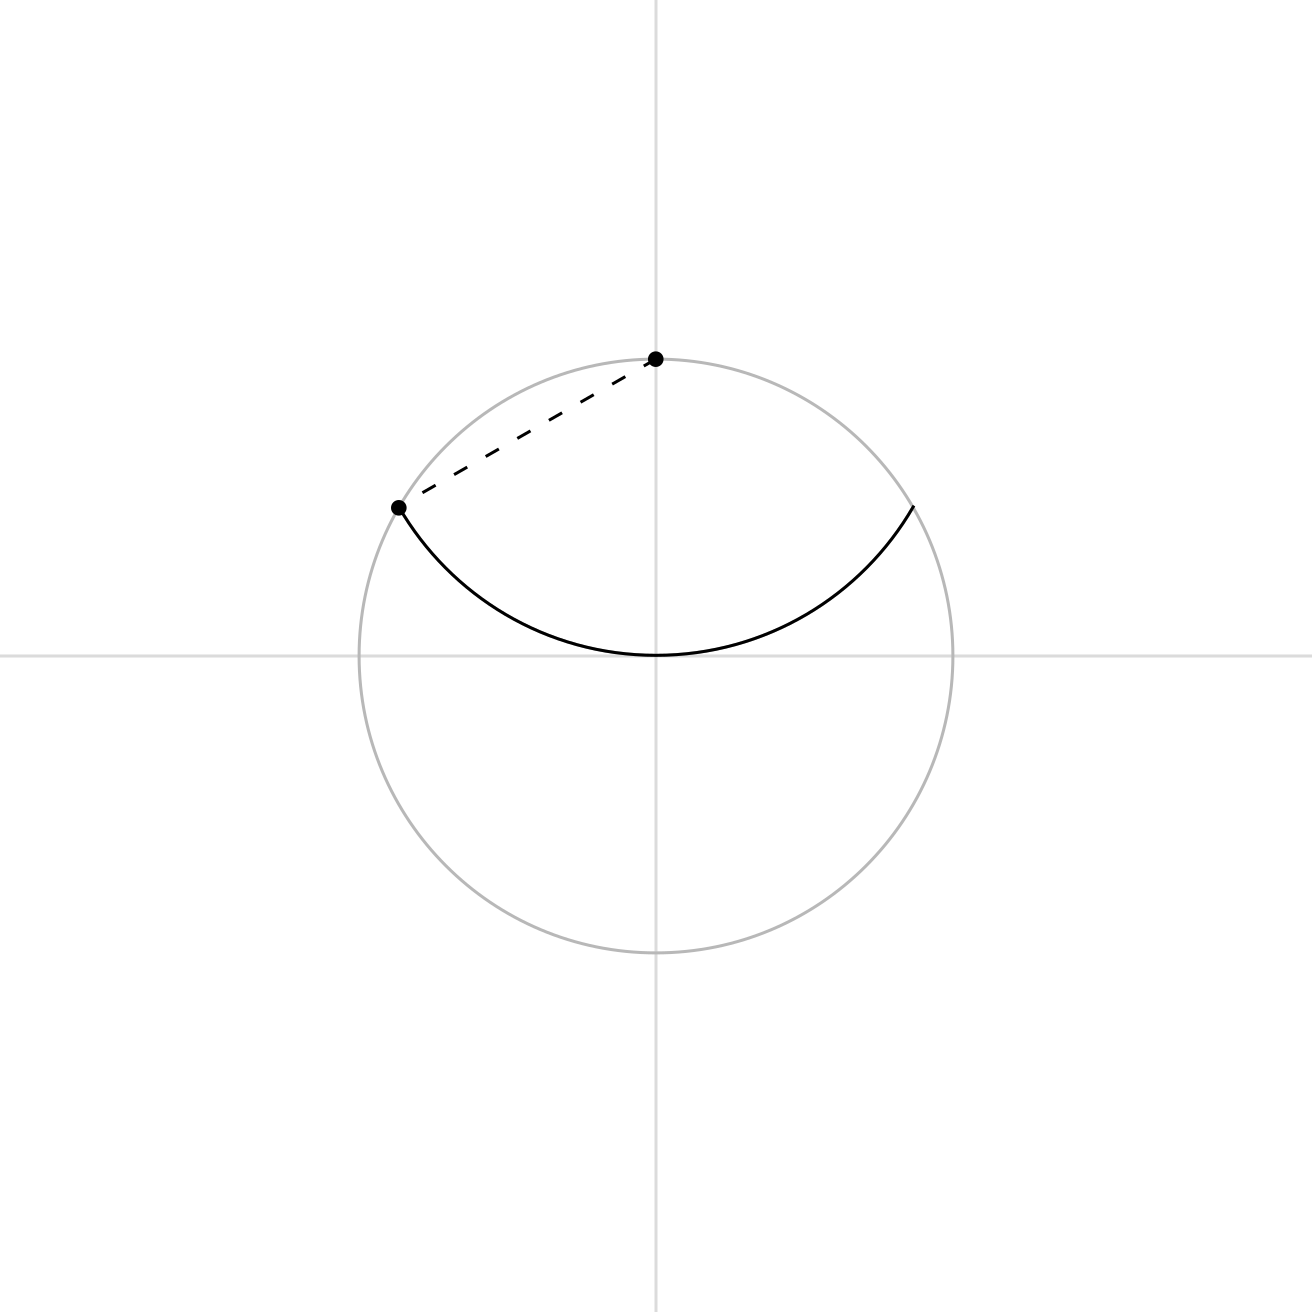
Add the First Petal Circle
Keep the same compass width. Place the compass point on the top, where the vertical line and circles cross.
Draw a neat arc within the first circle.
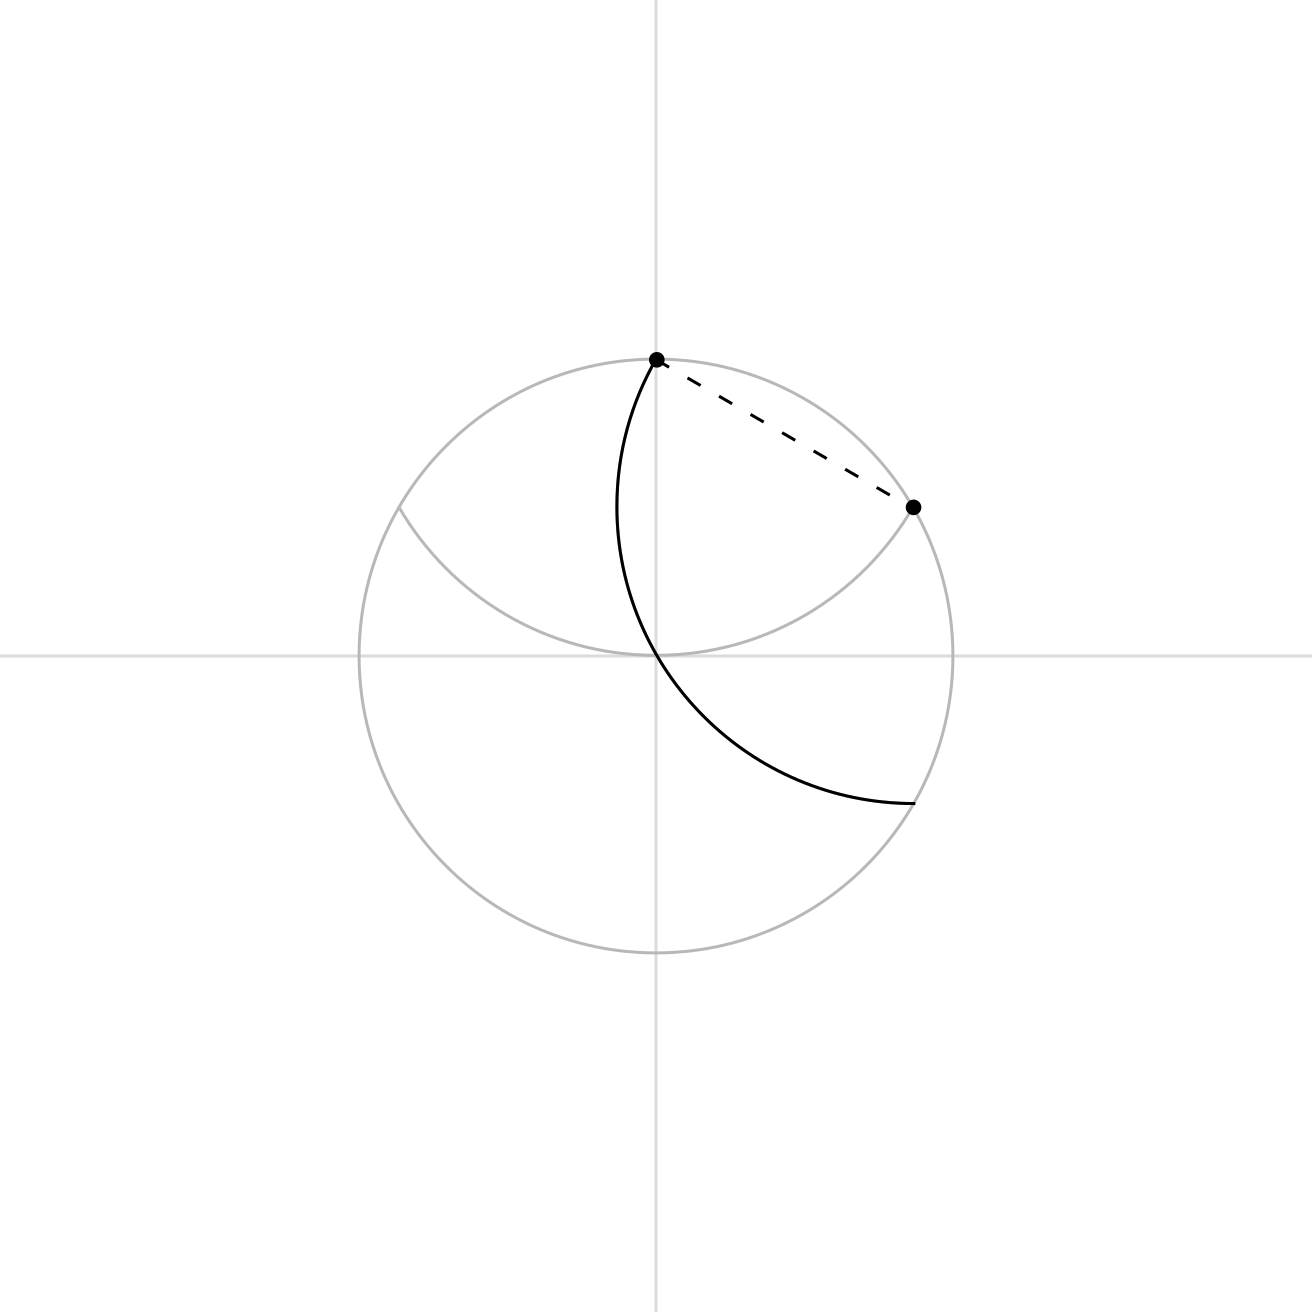
Move Around the Circle
Use where the arc touches the circle edge as your next compass point. Draw another arc using the same compass width.
The mandala is starting to grow around the centre.
Keep Repeating
Keep moving. Each time, keep the compass width the same and draw the next arc.
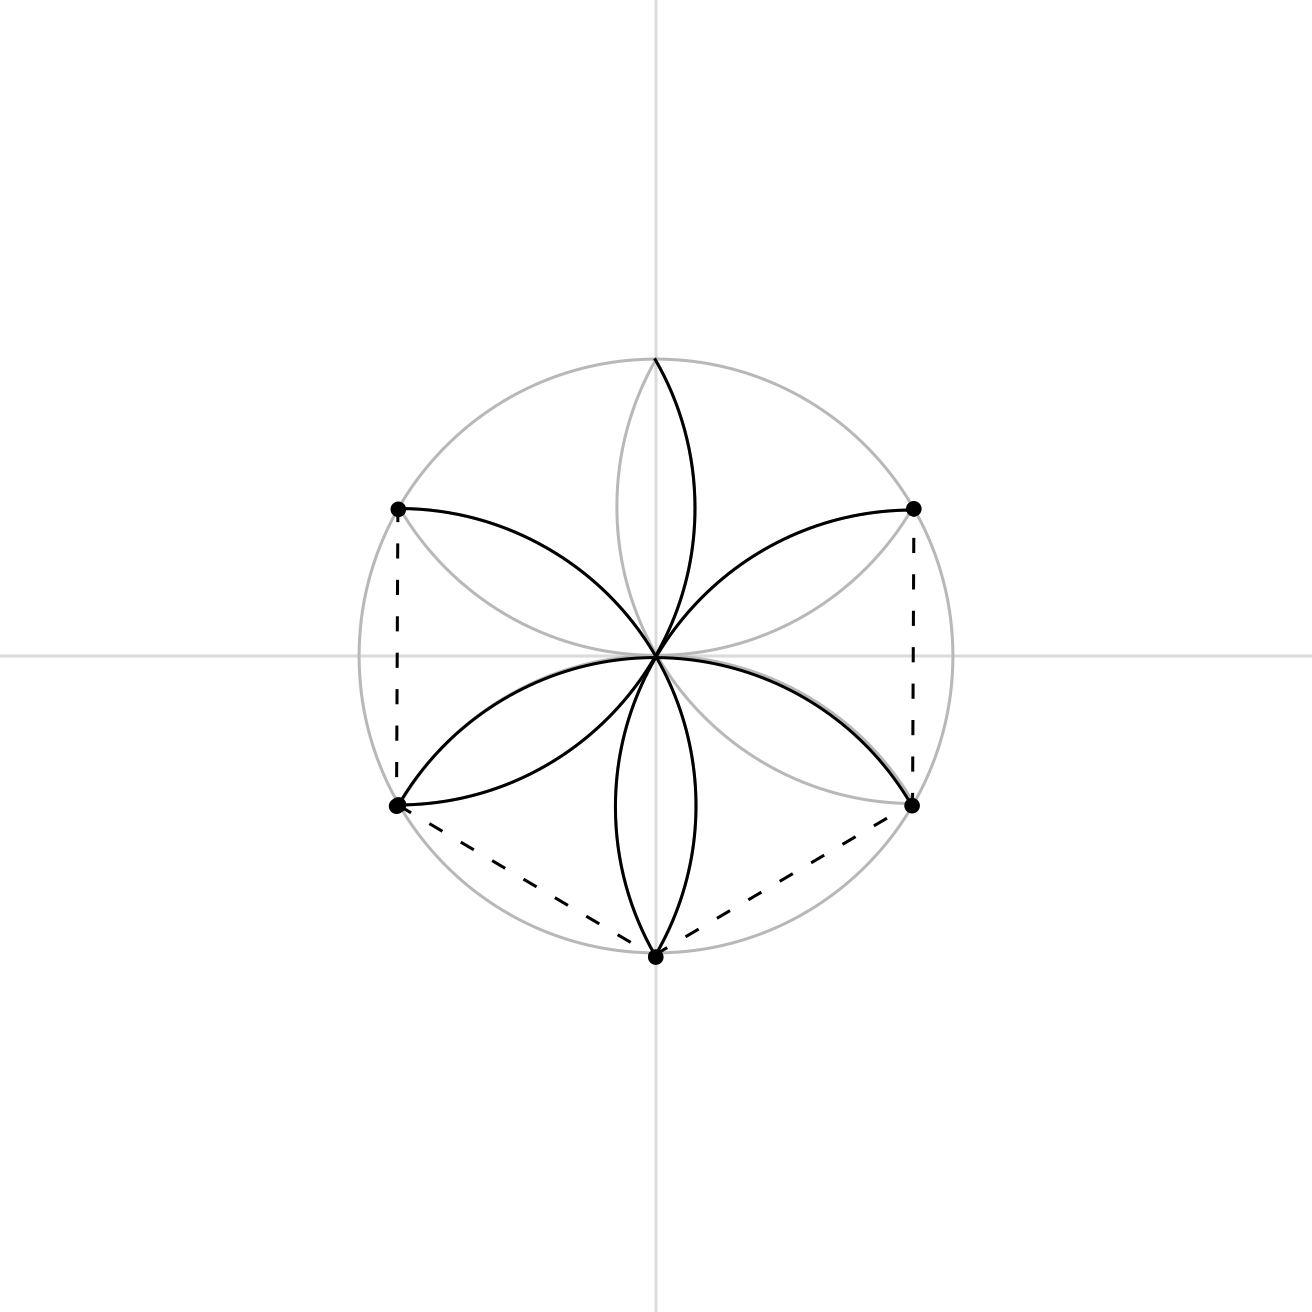
Complete the Petal Ring
Eventually, the petals meet evenly around the centre.
You should now see a six-petal flower shape inside the circle.
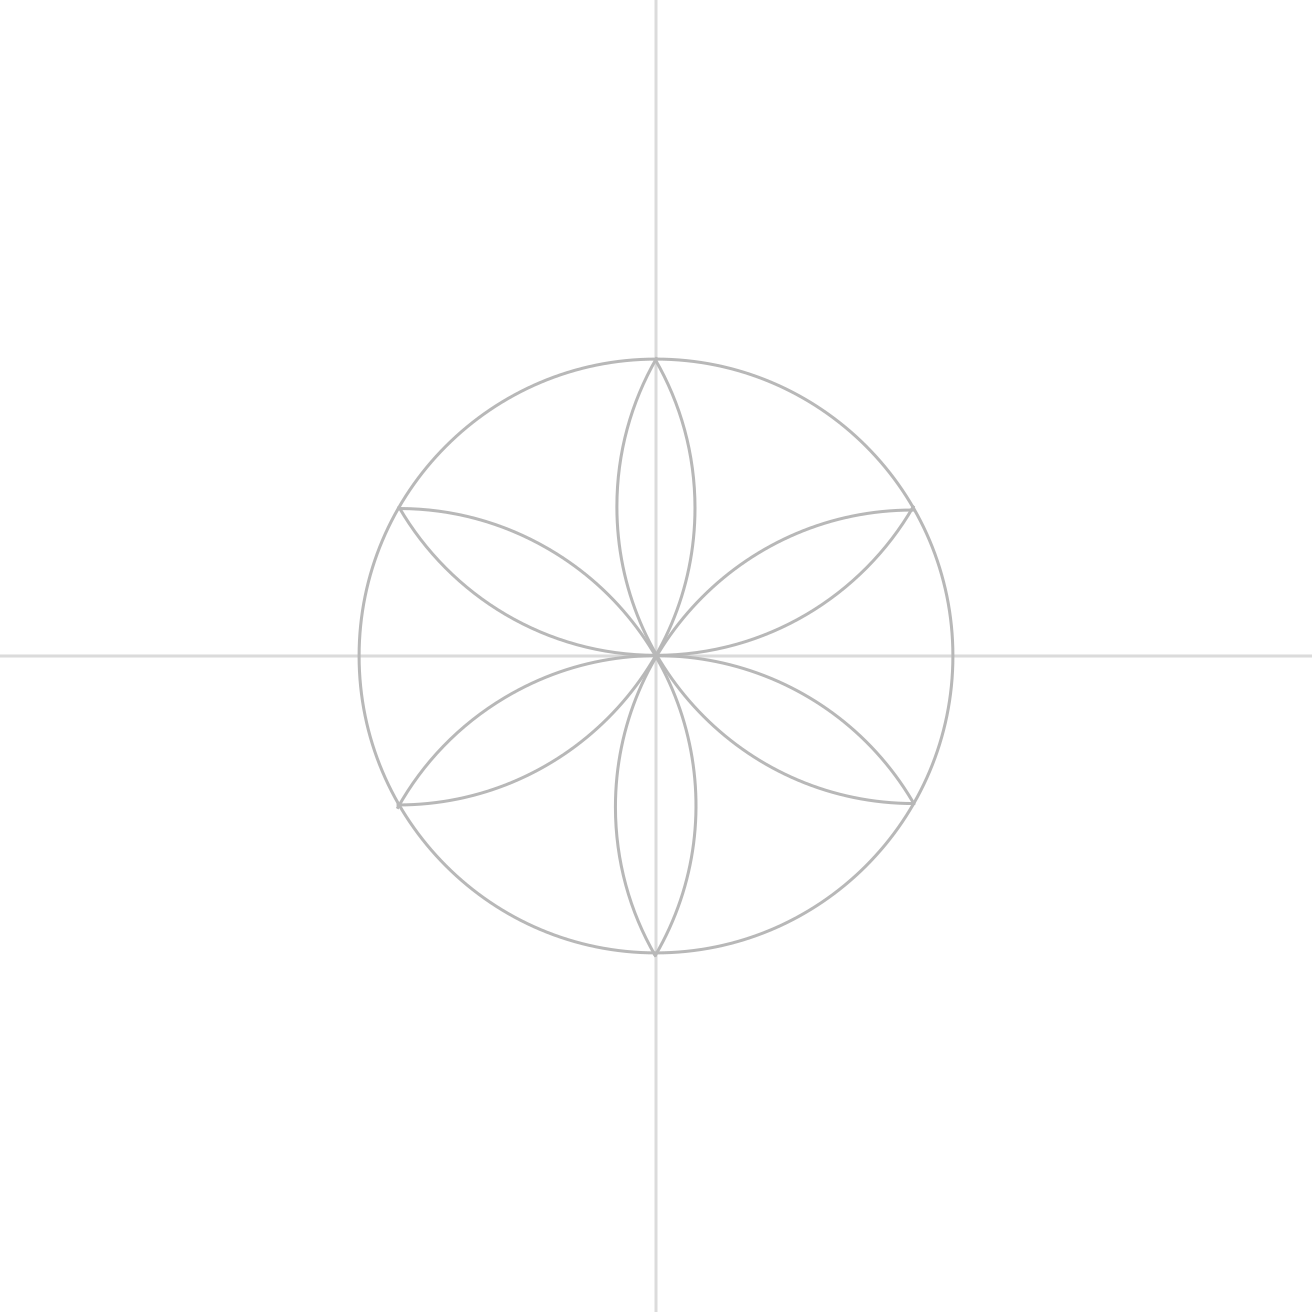
Congratulations. You’ve made a mini mandala from one repeated compass setting.
Quality Control
If your mandala looks a little wonky, good news: that’s exactly what practice is for. Check out the tool tips and try again.
Make it your own
Colour the petals, add dots, draw a small centre, or use the mandala as the beginning of a larger pattern.
You can keep it simple, or save your decorating energy for Part 2. Biscuit recommends saving some energy for snacks as well.